Mounting and connecting the device
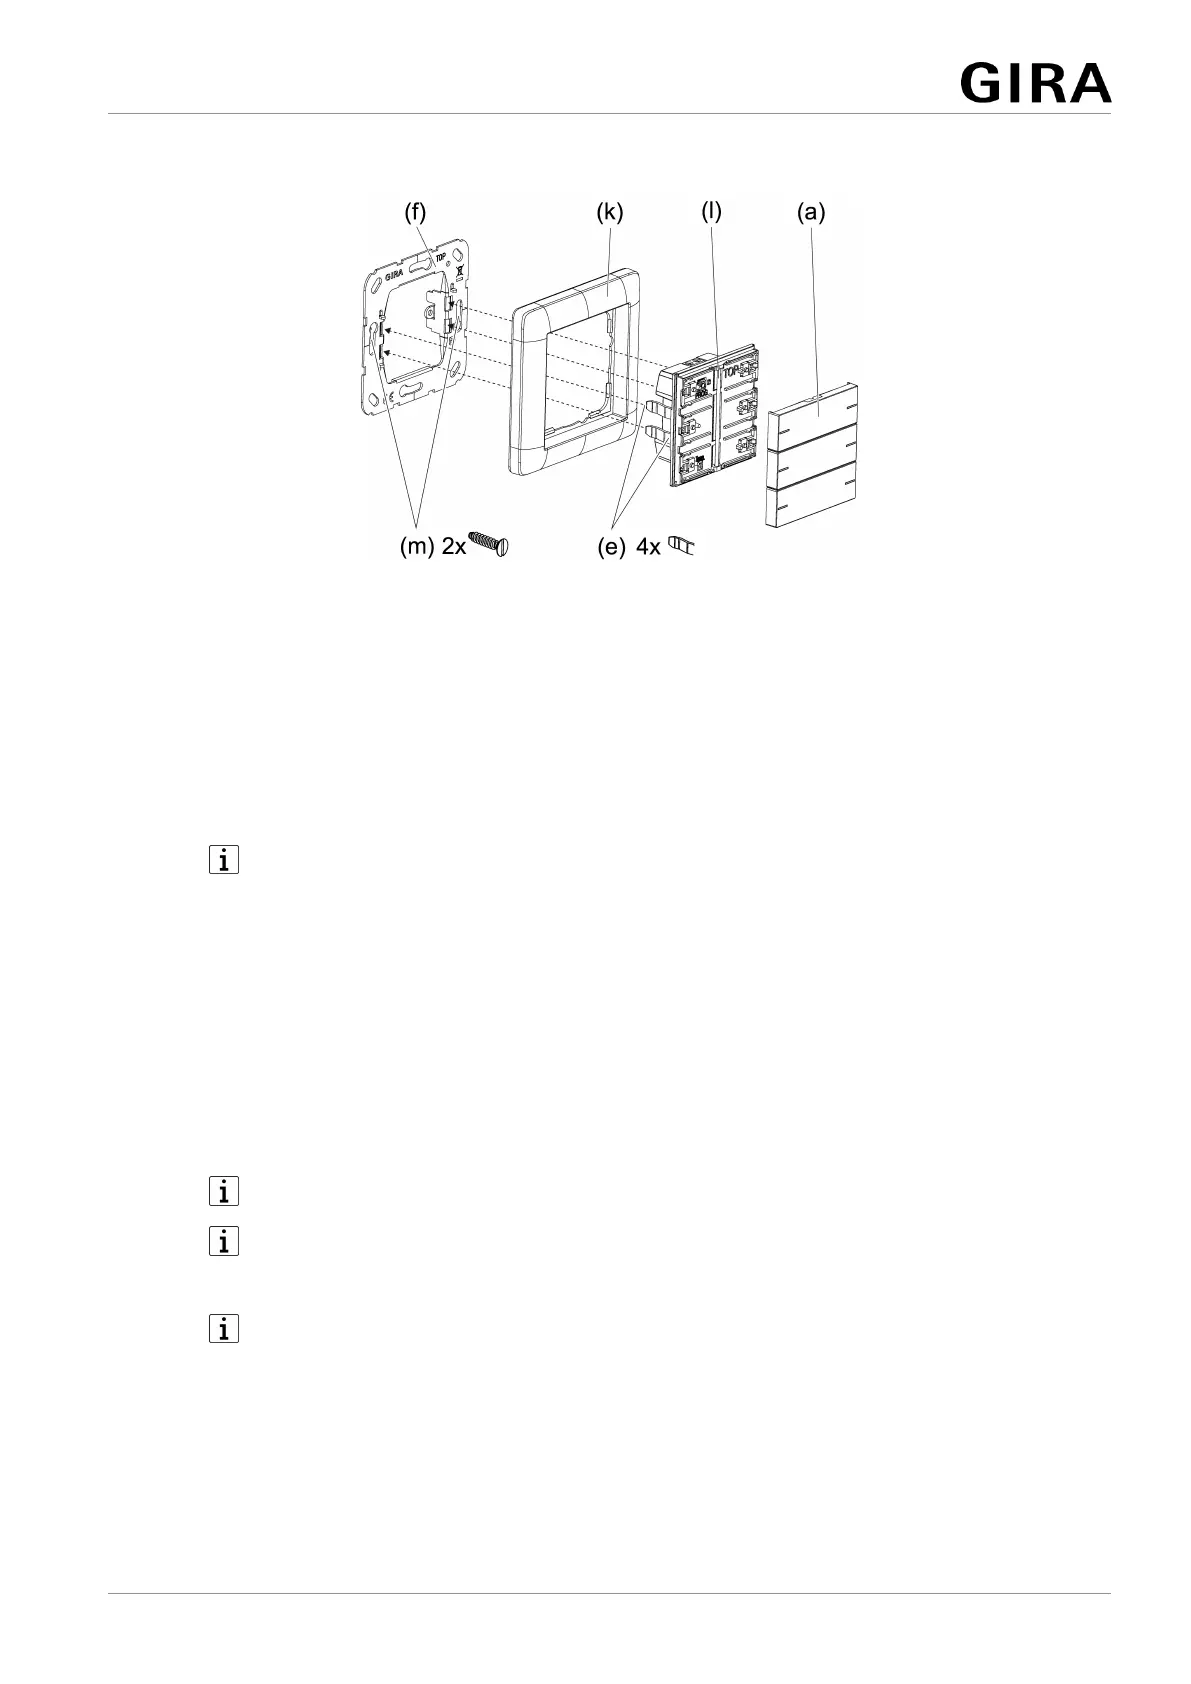
Figure5: Mount device
(a) Operating rockers (accessory)
(e) Retaining clips for device fixation at the supporting frame
(f) Supporting frame
(k) Cover frame (accessory)
(l) Push-button sensor
(m) Box screws
The device should be used in an air-tight appliance box. Otherwise temperat-
ure and humidity reading can be negatively influenced by draughts.
– Enter or scan the device certificate and add it to the project. A high resolution
camera should be used to scan the QR code.
– The device certificate should be removed from the device during mounting.
– Document all passwords and keep them safe.
Precondition: The installation position of the push-button sensor is defined.
■ Mount supporting frame in the right orientation, "standard installation position"
or "turned by -90°", on an appliance box.
Note the
TOP
marking.
Use the supplied box screws.
■ Pull off commissioning rockers from push-button sensor.
The push-button sensor is delivered with commissioning rockers. The operat-
ing rockers suitable for the push-button sensor must be ordered separately
(see accessories).
■ Connect bus line with device connection terminal observing the correct polarity
(red = +, black = -).
■ Optional: Connect remote sensor (see accessories) to connection for remote
sensor. The relevant device connection terminal is included with the remote
sensor.
9 / 19
32406222 10871142 19.12.2023
Pushbutton sensor 4 Komfort System 55