- 4 -
Battery installation
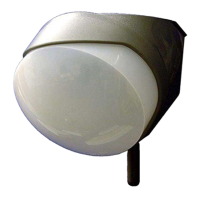
1) Remove the Opal RFX cover
2) Remove the module from the bracket
3) Remove the fresnel lens
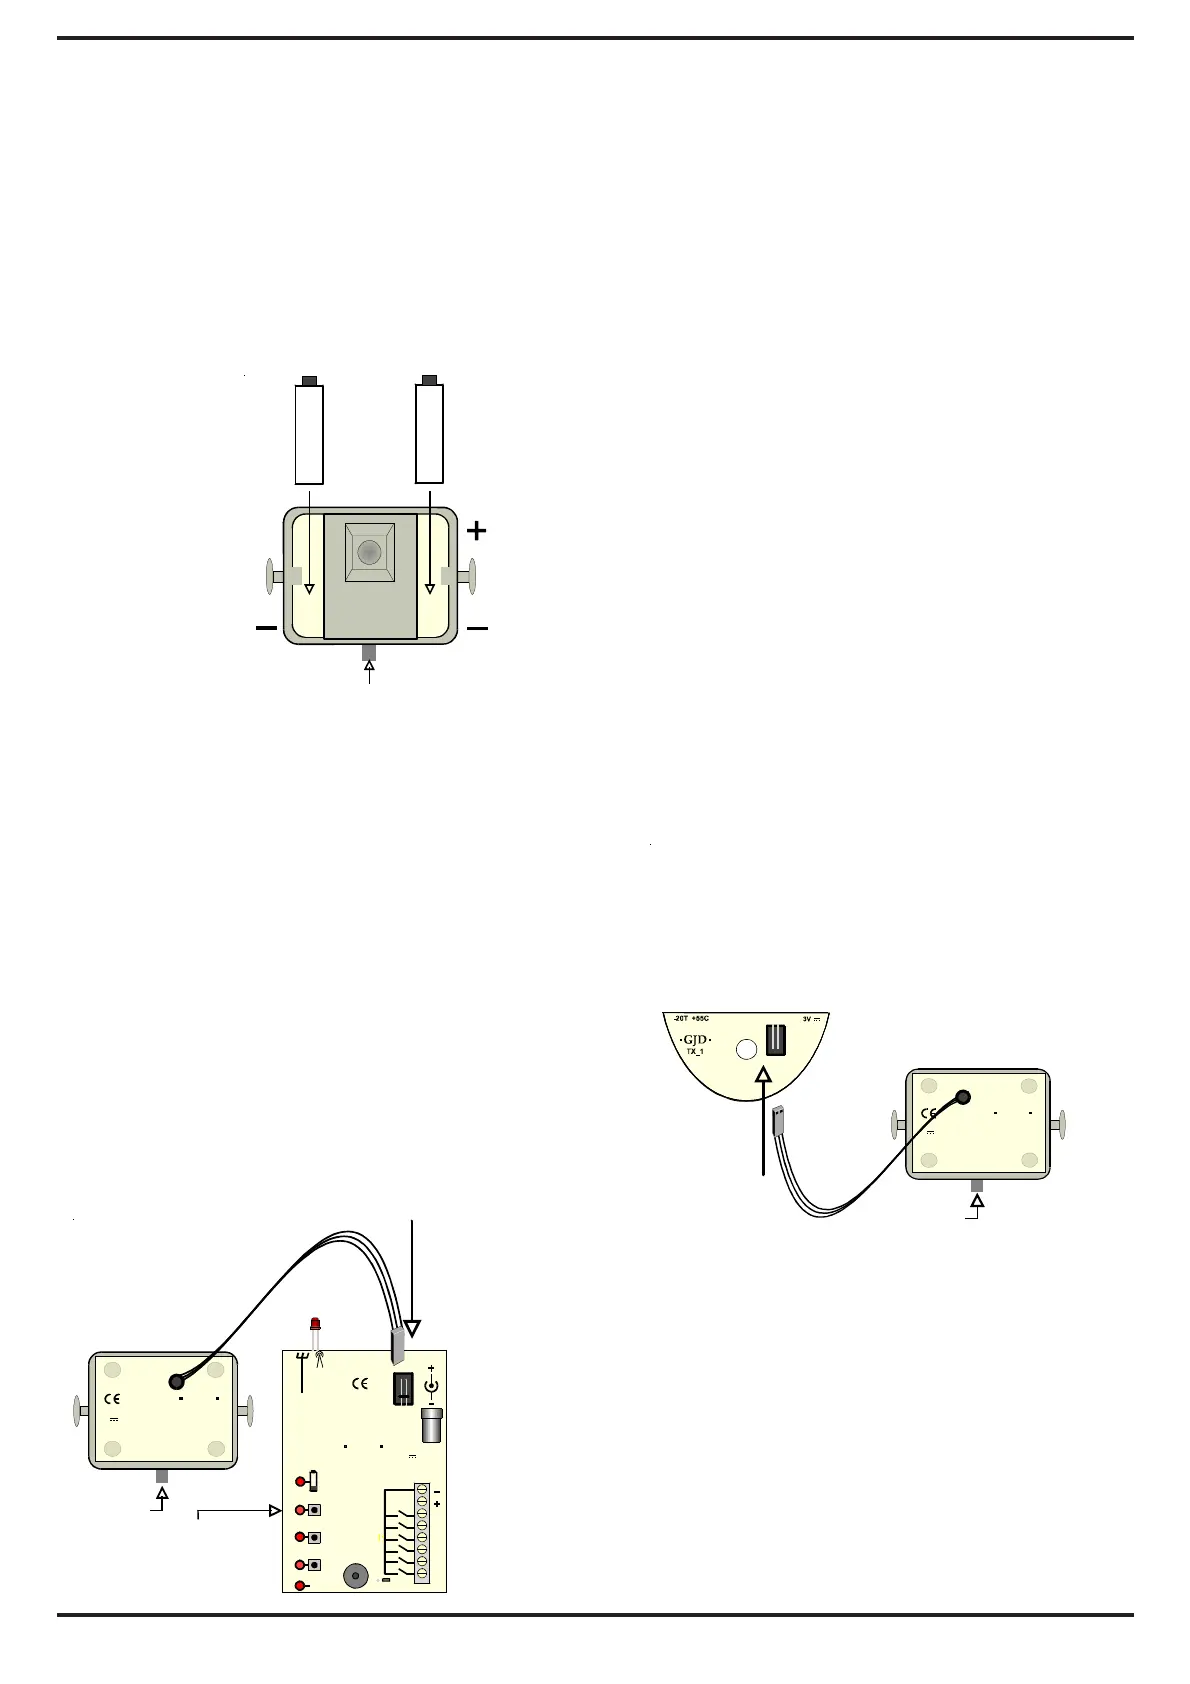
4) Insert 2 x AAA batteries into the module
as shown.(fig 2) It is easier to put the
base of the battery in first then click the
'+' in firmly.
(fig 2)
To replace the batteries – push out from
the holes on the reverse of the module.
Wireless transmission
Each detector transmits radio signals to
the receiver and has over 16.7 million
individual codes. The wireless receiver
only responds to the transmitter that has
been linked to a channel to identify it.
Setup
To transfer the code from a detector
(fig 3)
1.5 VOLT
1.5 VOLT
PROGRAM
BUTTON
+
A1
A2
A3
12V 40mA
-20T +55C
RFX3
GJD
COM
24V 250mA
LO
A1
A2
A3
S
RF
RF
LN
RATED AT
12V
N
ON
C
OUT PUTS
PROGRAM
BUTTON
3V
2XAAA
RFX
-20T +55C
GJD
CHANNEL
BUTTON
1) Apply the 12VDC Power to the
RFX Receiver
2) Plug in the link wire from the first
detector in to the RFX receiver
(see fig 3)
3) Press the respective ‘CH button’ on
the receiver once – the LED lights
4) Within 4 seconds press and release
the ‘Program button’ on the detector
once
5) The ‘CH’ indicator blinks twice.
The code for that detector is
stored
and registered to that channel.
6) Remove the connector link wire
from the receiver and plug into the
aerial transmitter in the back of
the detector. (fig 4) Detection
signals will be immediately be
transmitted to the receiver.
(fig 4)
Repeat Steps 2 to 6 for each detector.
To check whether a code is stored press
and release the channel button once. Three
beeps should sound.
To erase a code from the receiver - press
and hold down the button until the
continuous beeps end, then release.
PROGRAM
BUTTON
3
2XAAA
RFX
-20T +55C
GJD