P
patellisaAug 5, 2025
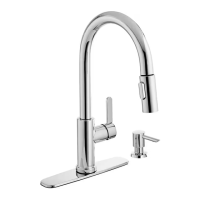
Why is the water pressure low in my Glacier bay HD67780-1008D2 Plumbing Product?
- MMitchell WilliamsAug 5, 2025
If the water pressure from your Glacier Bay Plumbing Product is low, it could be due to a clogged connector or aerator. To resolve this, turn off the water supply and disconnect the connector or aerator. Unscrew the connector or aerator and clean it under running water. Screw everything back together and test the water flow. If the pressure remains low, consider replacing the connector or aerator.