J
Jeanette OrtegaAug 19, 2025
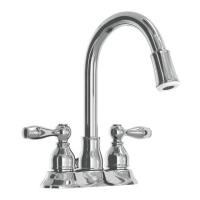
What to do if there are missing parts in my Glacier bay VT3322TA0ACC?
- MMary BurtonAug 19, 2025
If parts are missing from your Glacier Bay Plumbing Product, visit a store or call 1-855-HD-GLACIER to get the missing parts or replace the sink.