R
Rachel Roberts PhDSep 10, 2025
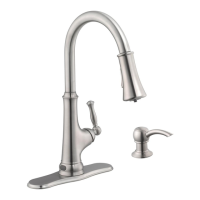
Why is the strainer loosening on my Glacier bay VT3322TA0ACC?
- AAngie BeardSep 10, 2025
If the strainer of your Glacier Bay Plumbing Product is loosening, ensure that the lock nut ring under the sink is well fastened before use.