17 221966B
5.1 Boiler Preparation
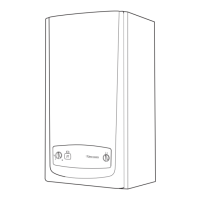
With the boiler still in the bottom tray, slide the controls cover
upwards and remove it as shown in diagram 5.1.
Remove the front cover by undoing (and keeping) the wing nut,
nut and shakeproof washer, then lift the front cover off, see
diagram 5.1.
Place the front cover on one side until required, having removed
the polystyrene packing piece.
Fit suitable compression fittings to the boiler connections.
5.2 Mounting the Boiler
Make sure that the top, swing brackets are UPRIGHT.
Lift the boiler into position, hooking over the mounting bracket.
Swing the brackets over the two screws at the top. Hold the
swing bracket(s) in place whilst tightening the screw(s) on to it,
see diagram 5.2.
Remove the blue and red electrical connections from the fan,
see diagram 5.3.
Diagram 5.1
Diagram 5.2
CONTROLS
COVER
FRONT
COVER
SHAKEPROOF
WASHER
NUT
WING
NUT
5mm
Pipe
omitted
for clarity
4285
4286
MOUNTING
BRACKET
SWING
BRACKET
SECURING
SCREWS (2)
Break the air pressure switch tube connections from the fan,
see diagram 5.3.
Remove the fan assembly by removing the screws and sliding
out, see diagram 5.3. Take care not to damage the gasket.
Slacken, but do not remove, the flue hood securing screws, see
diagram 5.4.
5 Boiler Installation

 Loading...


