0
180
0
180
- 31 -
- 32 -
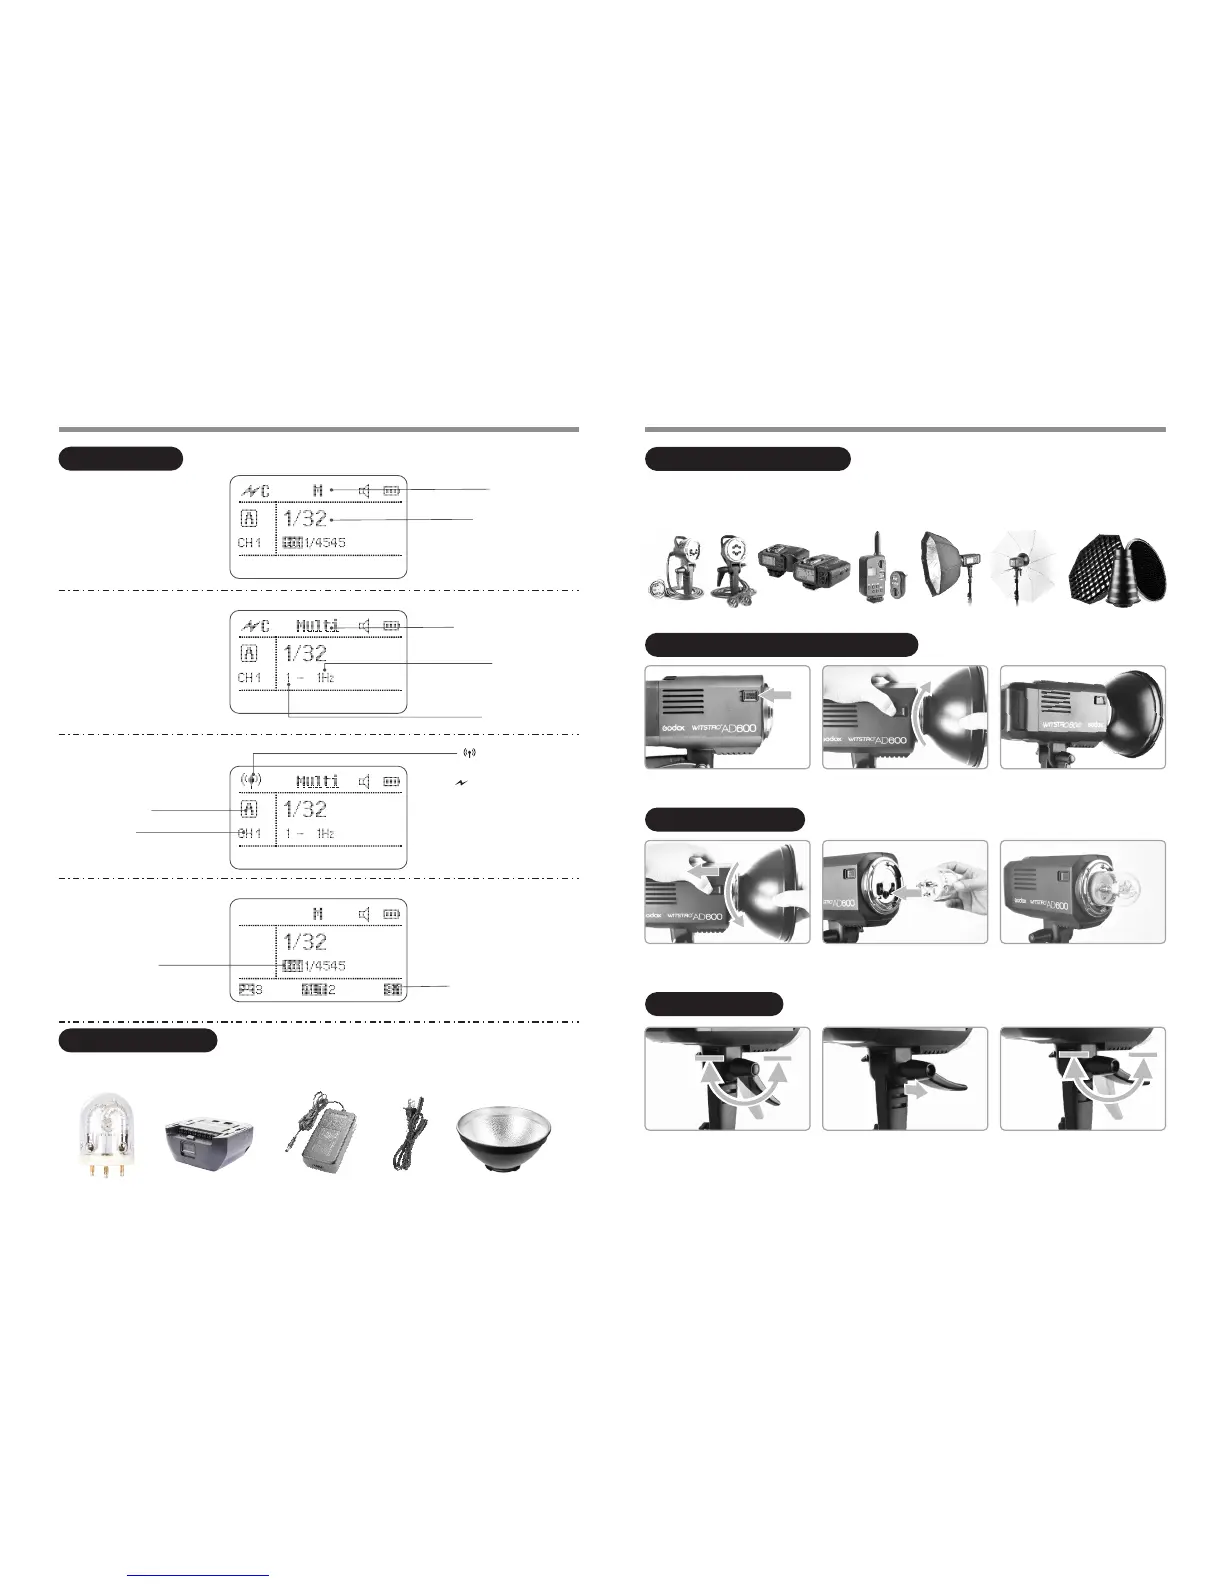
Name of Parts Name of Parts
(2) M Manual Flash
M: Manualflash
Manualflashoutput
(3) Multi Flash
Multi:Stroboscopic flash
Number of flashes
Flash frequency
S1/S2
LCD Panel:
(4) Radio Transmission Shooting/Optical Transmission Shooting
Firing group
Channel
: Radio transmission
wireless shooting
: Optical transmission
wireless shooting
Flash duration
(5) Slave Unit
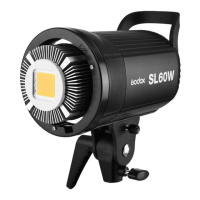
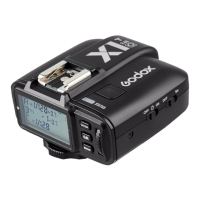
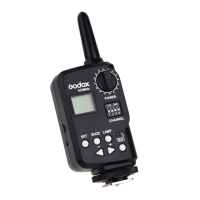
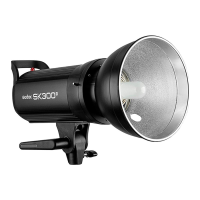
AD600 can be used in combination with the following accessories sold separately, so as to achieve best photography
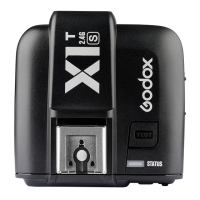
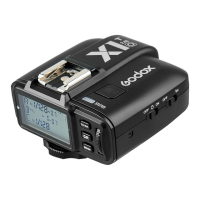
effects: H600 Portable Flash Head, H1200 Portable Flash Head, X1 Wireless Flash Trigger, FT-16 Remote Control,
Softbox, Beauty Dish, Fold Up Umbrella, Snoots, Light Stand, etc.
Separately Sold Accessories
Installing Reflector (Other Accessories)
1. Press down the Accessory Locking
Ring.
2. Insert the reflector into the Accessory
Mount and clock wise to lock it up.
Attaching Flash Tube
1. Remove the reflector or other
accessories from the flash head.
2. Match the flash tube in the Tube
Socket. Push the flash tube in until it
is securely seated into the socket.
1. Flash tube 2. Lithium battery pack 3.Battery charger 4. Power cord 5. Reflector 6. Instruction manual
Included Accessories
Adjusting Handle
1. When the Direction Adjusting Handle
is not pulled out, screw clockwise
while unscrew anti clockwise.
2. The Direction Adjusting Handle's rotation angle should be restrained from 0 to
180 degrees below the flash body. Please pull out the Direction Adjusting
Handle, adjust the appropriate angle, and manipulate the step 1 before
colliding with the flash body.
1 2 3 4 5