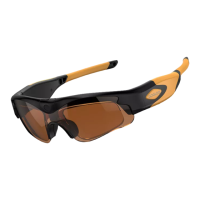
a. When device is under "OFF" status.
b. Connect the device to PC or Mac through USB port with Micro USB2.0
HS cable provided in the kit, the red, green and blue LED are on.
c. After 2~3 seconds(depends on the memory Capacity), vibrating
alert ”Z-Z” 2 times , the movable disk icon will pop up in the
d. The directory for saving video file is *Disk\ DCIM\.
e. You can then copy or cut and save to your local hard driver
f. When finished, click the movable device management icon at the
lower right corner to remove the storage disk safely; Moving out USB
cable, the vibrating alerts “Z...” continuously for 3 seconds, then
Connect the device to the computer via USB (with SD card inserted). Next,
locate and open the file “SETTING”.txt. Make your changes and then save the
file and disconnect the glasses. The settings will take effect on your next
recording.
2. Manufacturer Default Settings
VIDEO RESOLUTION = 0 RECORDING FILE LENGTH = 0
PHOTO BURST NUMBER = 2 EV = 6
SHARPNESS = 1 QUALITY = 0
LIGHT_FREQ = 1 DATE_STAMP = 0
AUDIO_VOLUME = 0 LOW_BATTERY_HINTING = 1
AUTO_POWER_OFF = 1 (In standby mode)
TIME_SET = N2016.01.01.00:00:00 (Don’t change it)
3. Turn ON/OFF The Time/Date Display (Using Computer)
1.1. Under USB storage mode, open “SETTING”.txt from the root folder of
1.2. Setting “DATE_STAMP”, Set to “0” to turn Off date stamp or set to “1”
Note: This can also be done using the phone APP “Gogloo E7E9”.
4. Setting Real Date / Time, the default is hiding format.
This device can display the current date and time in your videos.
4.1 Under USB storage mode, click the folder "time.setting" under directory
and enter*Disk\ time.setting,
i
f applicable; or "time.setting" in your