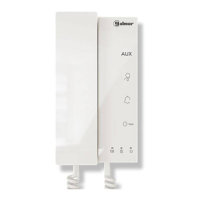
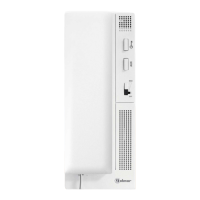
TELEPHONE DESCRIPTION
4
T562 G 2B
TELEPHONE
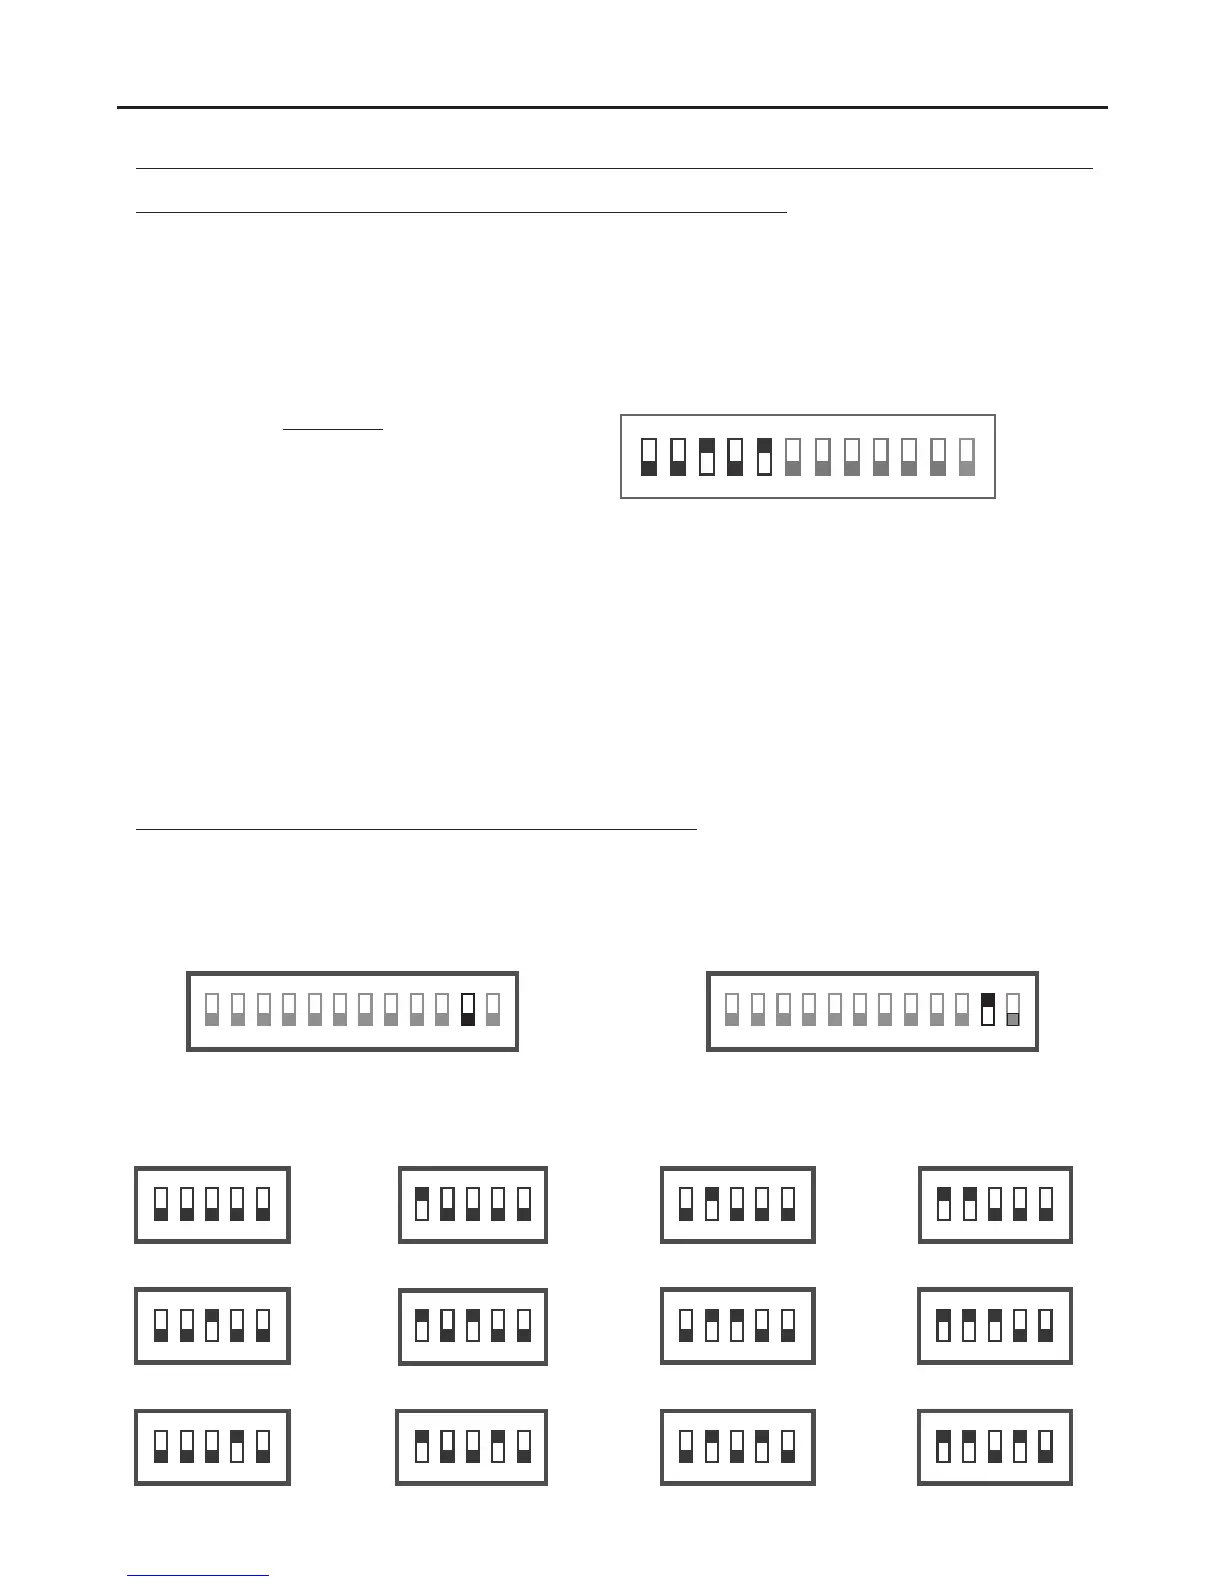
Description of dip switch and setting of telephone address (code):
1 2 3
ON
E : 0 + 0 + 4 + 0+16 = 20xample
Switch number: 1 2 3 4 5
Val ON: 1 2 4 8 16ue
Value chart
4 5 6
Dip1 Dip5:to Set the telephone address (addresses 0 to 31).
Dip6 Dip7:and Leave OFF.
Switches set to OFF have a value of zero.
The values of the switches set to ON are shown in the enclosed chart.
The telephone code will be the sum of the values of the switches set to ON.
Dip8 Dip9:and Set the telephone as master/slave. Dip8 and Dip9 OFF, master; Dip8 ON and Dip9 OFF, slave 1; Dip8
OFF and Dip9 ON, slave 2; Dip8 and Dip9 ON, slave 3.
Dip10: OFF.Leave
Dip1 :1 Sets the end of line. It should always be set to OFF in installations with only telephones.
In installations with monitors and telephones in the same apartment, set to ON for the telephones the BUS
cable ends, and set to OFF for intermediate telephones.
Dip12: Setting this to OFF makes the volume control's OFF position function as “mute”.
Setting this to ON makes the volume control's OFF position function as “doctor mode”.
7 8 9 10 11 12
Setting the telephone address codes (addresses 0 to 31):
Dip11: Sets the end of line. It should always be set to OFF in installations with only telephones. In installations with
monitors and telephones in the same apartment, set to ON for the telephones at which the BUS cable ends, and set
to OFF for intermediate telephones.
1 2 3
ON
4 5
Co 00de
1 2 3
ON
4 5
Co 04de
1 2 3
ON
4 5
Co 08de
1 2 3
ON
4 5
Co 01de
1 2 3
ON
4 5
Co 05de
1 2 3
ON
4 5
Co 09de
1 2 3
ON
4 5
Co 02de
1 2 3
ON
4 5
Co 06de
1 2 3
ON
4 5
Co 10de
1 2 3
ON
4 5
Co 03de
1 2 3
ON
4 5
Co 07de
1 2 3
ON
4 5
Co 11de
Dip1 Dip5:to Set the telephone address (addresses 0 to 31).
1 2 3
ON
4 5 6
Dip11 ON
Dip11 OFF
7 8 9 10 11 121 2 3
ON
4 5 6 7 8 9 10 11 12
Continued
 Loading...