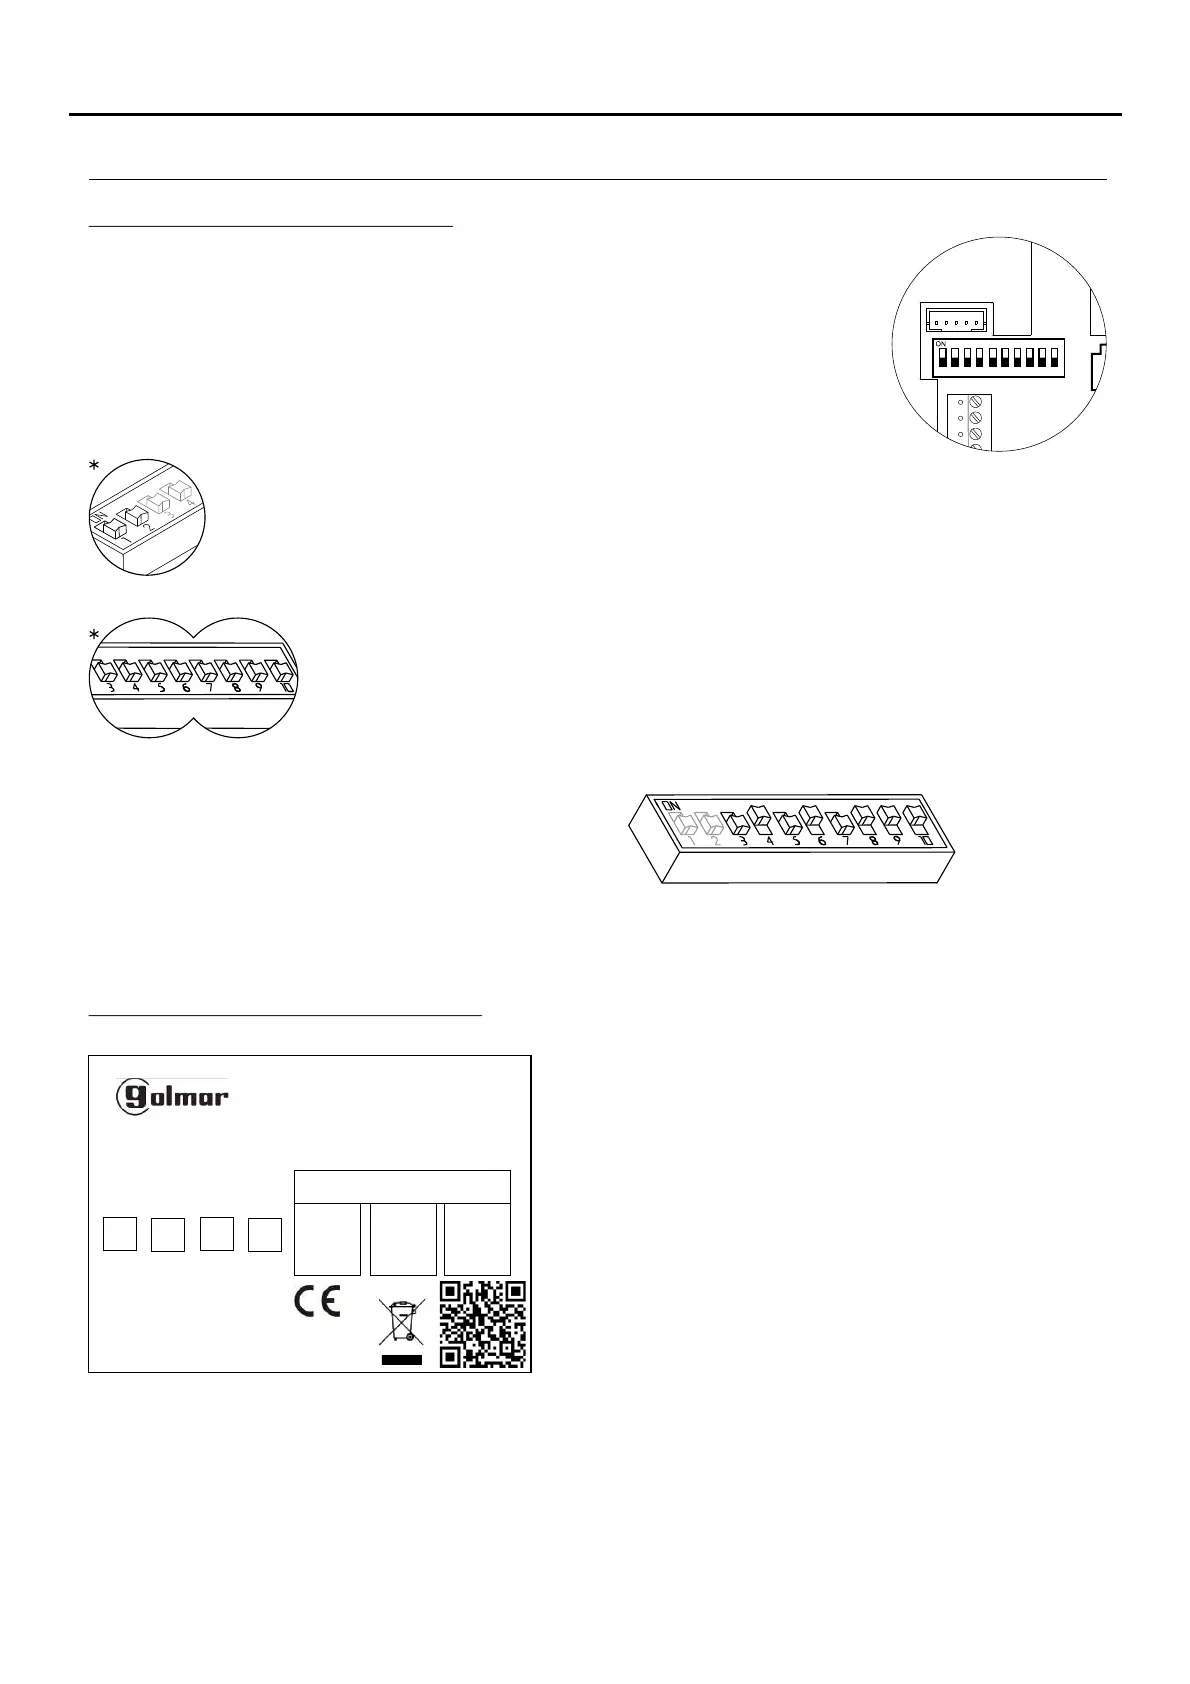
*Factory setting
DIP 3 to DIP 10: To set the monitor address (addresses 1 to 255). The switches set to OFF
have a zero value.
The values of the switches set to ON are shown in the table below.
The monitor code is the sum of the values of the switches set to ON.
DIP 1 and DIP 2: Sets the monitor as master/slave + intercom. DIP 1 and DIP 2 to OFF
master, DIP 1 to OFF and DIP 2 to ON slave 1, DIP 1 to ON and DIP 2 to OFF slave 2, DIP 1
and DIP 2 to ON slave 3.
Example: 64+0+16+0+4+2+1=870+
Switch number:
Value when ON:
4
64
5
32
6
16
7
8
8
4
9
2
10
1
3
128
Description of the SW1 DIP switch:
The SW1 DIP switch is located at the back of the monitor on the right-hand
side. It enables the monitor to be configured as master/slave and an address
to be assigned.
Important: This type of programming cannot be performed on a general
entrance door panel.
To facilitate repair, replacement or the addition of monitors to
the existing installation, fill in the label with the relevant
information.
MASTER: main monitor.
SLAVE: slave monitor.
INTER: secondary monitor with intercom function.
A1: monitor connected to an auxiliary device.
CODE: call button code.
STAIRWAY: code of the channel (building).
Description of the identification label:
TEKNA-S PLUS
11742126 V.XX
00000000000 SN ADDRESS
INTER A1 SLAVE MASTER
ATENCIóN
Alta tensión. No abrir la tapa.
Manipular sólo por personal
del servicio técnico.
WARNING. GOLMAR S.A
High Voltage. Don´t open cover C/ Silici, 13
Handle only by technical service 08940 - SPAIN
ESCALERA
STAIR
PISO
FLOOR
PUERTA
DOOR
6
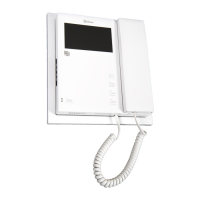
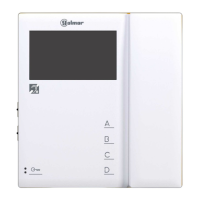
DESCRIPTION OF THE MONITOR
TEKNA-S PLUS MONITOR
SW1
1 2 3 4
5 6 7 8 9 10
CN2
CN3