Do you have a question about the golmar TEKNA-S PLUS and is the answer not in the manual?
Essential safety measures to follow before installation and during operation.
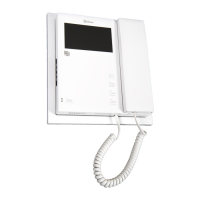
Lists the key features and capabilities of the Tekna-S Plus monitor.
Explains how the monitor functions within the intercom system.
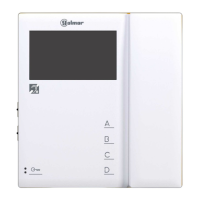
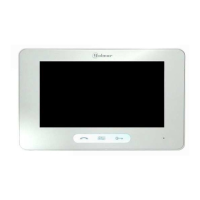
Identifies and describes the physical parts of the Tekna S Plus monitor.
Details the CN3 and CN2 terminal connections and their pin assignments.
Explains the purpose and operation of the monitor's function buttons (A, B, C, D, G).
Describes the monitor's feature for communication with hearing aids via T-mode.
Details how to configure the monitor using the SW1 DIP switches for master/slave and address.
Explains the information provided on the monitor's identification label.
Describes the RJ-45 connector and its wiring for UTP cable installations.
Explains the function and placement of the end of line jumper (JP1).
Details the use of the EL-562S module for twisted pair video installations.
Guidance on positioning the wall mounting connector at the correct height and distance.
Instructions for fixing the wall mounting connector to the wall.
Steps for connecting cables and mounting the monitor to the connector.
Guidelines for locating and positioning the embedding box in the wall.
Instructions for passing cables and fitting the wall mounting connector to the box.
Steps for mounting the monitor into the fitted wall mounting connector.
Step-by-step guide for programming the monitor as Master, Slave, or Slave+Intercom.
Alternative method for configuring monitor master/slave status and address using DIP switches.
Configure doctor mode and select ringtone melodies for call identification.
Instructions for accessing Menu 2 or exiting the advanced programming mode.
Customize buttons B/C functions and configure intercom settings with other monitors.
Instructions for accessing Menu 3 or exiting the advanced programming mode.
Set ringtone repeat count and door panel communication/call times.
Activate in-call video and instructions for accessing Menu 4 or exiting.
Restore all advanced programming options to their factory default state.
Instructions for accessing Menu 1 or exiting and restarting the monitor.
Using the SAR-12/24 relay to activate auxiliary devices like stairway lights or second doors.
Connecting an external button to activate the door panel lock release.
Setting up intercom communication between multiple units within a single apartment.
Connecting a button for receiving calls from the apartment's main front door.
How to connect and activate a second camera using the SAR-12/24 relay.
Diagram and explanation for wiring the system using coaxial cables.
Diagram and explanation for wiring the system using twisted pair cables (UTP).
| Brand | golmar |
|---|---|
| Model | TEKNA-S PLUS |
| Category | Measuring Instruments |
| Language | English |