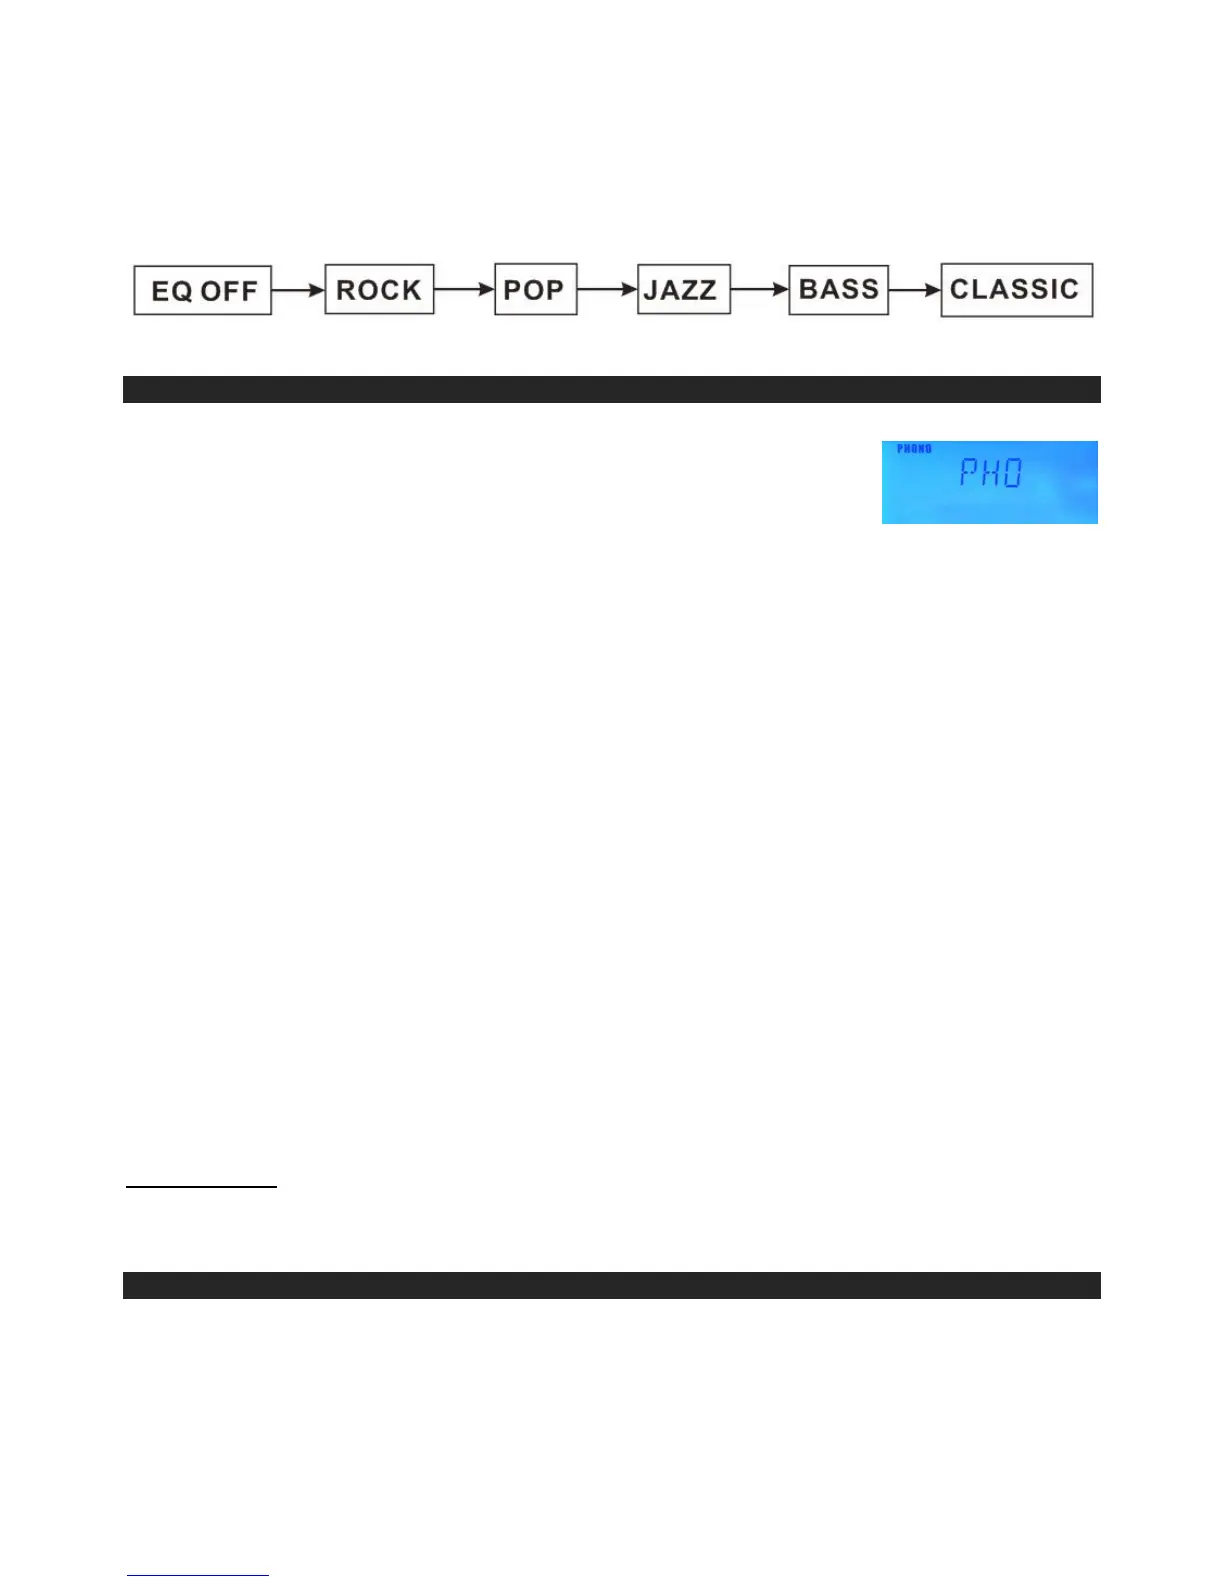
At any time during playback, press the EQ key (on remote control) repeatedly to choose the
desired
sound effect according to the music you are listening to:
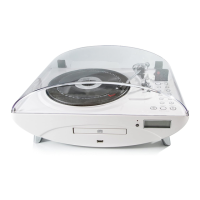
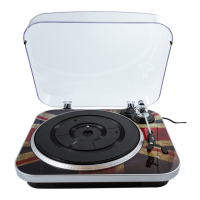
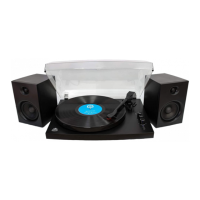
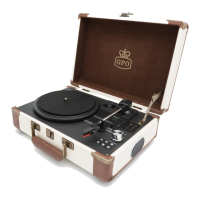
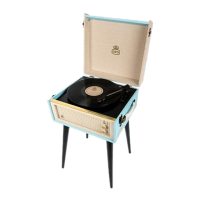
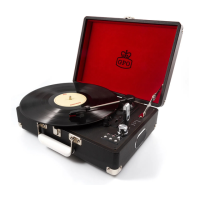
PLAYING PHONO RECORDS
1. Raise the Turntable Dust Cover.
2. Remove the stylus protector and release the Tone Arm Clamp (4)
3. Press the Function Selector (21) to “PHONO”.
4. Place a record on the turntable, over the center spindle.
5. Set the Speed Selector Switch to 33, 45 or 78 rpm according to
the record you are playing. Place the included 45 RPM adaptor (5) over the center
spindle when playing 45 rpm records.
6. Move the Tone Arm to the beginning of the record or to the beginning of a particular
track. Gently lower the Tone Arm onto the record to start playing. Adjust the Volume if
needed. The Turntable will stop automatically when the record finishes.
7. To stop the record before it ends, lift the Tone Arm (4) using the Cue-lever (6) and
return it carefully onto the Tone Arm Clamp (4).
8. Replace the stylus protector on the stylus when not in use.
NOTE:
i. Do not stop or turn the platter manually.
ii.
Moving or jarring the turntable without securing the Tone arm clamp could
result in damage to the Tone arm.
AUTO-STOP SWITCH OPERATION
The Auto-Stop area on some records may extend beyond the preset setting. As a result
the turntable could possibly stop before the last track finishes. If you experience this during
playback, set the AUTO-STOP Selector (3) to the “OFF” position. The turntable will now run
to the end of the record, but will no longer stop automatically. To stop the turntable you will
need to either Press ON/STANDBY (22) key once to turn the unit “OFF”, or return the
AUTO-STOP Switch (3) to the “ON” position. After the record stops, lift and return the Tone
Arm (4) carefully back onto the Tone Arm Clamp (6).
IMPORTANT:
Moving or jarring the Turntable without securing the Tone Arm Clamp (6) could result in
damage to the Tone Arm (4).
ENCODING RECORDS TO MP3
You can convert you favorite records into MP3 files and store them on a USB Flash
Drive .
1.
Insert a USB flash drive into the USB PORT (29) located on the front panel.
2.
Press the RECORD Button (9), “WAITING” will begin in the display to CHECK THE
 Loading...