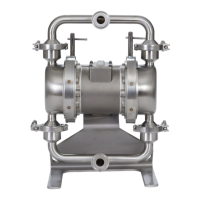
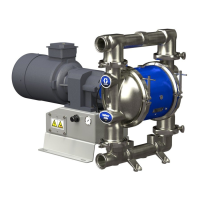
Repair
Reassemble Reassemble
Reassemble
the the
the
Overmolded Overmolded
Overmolded
Diaphragms Diaphragms
Diaphragms
NOTICE NOTICE
NOTICE
Afterreassembly,allowthethreadlockertocure
for12hours,orpermanufacturer’sinstructions,
priortooperatingthepump.Damagetothepump
willoccurifthediaphragmshaftboltloosens.
TIP: TIP:
TIP:
Ifyouarealsorepairingorservicingthecenter
section,followCenterSectionRepair,page19,
beforereplacingdiaphragms.
1.Lubricateandinstalltheshaftu-cups(106)so
thelipsface
out out
out
ofthehousing(101).
2.Assembleplate(9)ontodiaphragm(10),with
screw(14).Roundedsideofplate(9)should
facediaphragm.MakesurethesidemarkedAIR
SIDEfacesthecenterhousing.
NOTE: NOTE:
NOTE:
Threadlockermustbeappliedtoscrew
(14)asshownforalldiaphragmassemblies.
Applyahigh-strengththreadlockerto
attachthescrewtothediaphragm.
Applyamedium-strengththreadlocker
totheshaftsideofthescrew.
3.Screwassembleddiaphragmassemblyintoshaft
(24)andhandtighten.
4.Greasethelengthofthediaphragmshaft(24),
andslideitthroughthehousing(101).
5.Assembletheotherdiaphragmassemblytothe
shaftasexplainedinstep2.
6.Gripbothdiaphragmssecurelyaroundtheirouter
edgesandrotateclockwiseuntilbottomedonthe
shaft.
NOTE: NOTE:
NOTE:
Applywaterproof,sanitarylubricanttothe
clamp(21)andclampingsurfaceofthecover(4,
15)toeaseassembly.
NOTE: NOTE:
NOTE:
Toensureproperspacingandalignment
ofmanifolds,installclamps(21)looseenoughto
allowforuidcovermovementbeforesecuring
thecoversandclampsinplace.
NOTE: NOTE:
NOTE:
Useafoodgradeanti-seizelubricanton
theclampthreadstoaidassembly.
3A6782F
17
 Loading...