80DWFK6HULHV'&
,QYHUWHU6HUYLFH0DQXDO
66
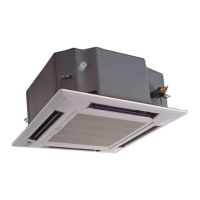
c. Main body of hoisting air conditioner
Figure 1-3-4
Ɣ
The primary step for install the indoor unit.
When attach the hoisting stand on hoisting screw, do use nut and gasket individually at the upper and
ORZHURIWKHKRLVWLQJVWDQGWR¿[LW7KHXVHRIJDVNHWDQFKRUERDUGFDQSUHYHQWJDVNHWEUHDNRII
Ɣ
Use install cardboard
Please refer to the install cardboard about the dimension of ceiling opening.
The central mark of the ceiling opening is marked on the install cardboard.
,QVWDOOWKHLQVWDOOFDUGERDUGRQWKHXQLWE\EROWSLHFHDQG¿[WKHDQJOHRIWKHGUDLQDJHSLSHDWWKH
outlet vent by bolt.
Ɣ
Adjust the unit to the suitable install place.
Ɣ
Check if the unit is horizontal.
Inner drainage pump and bobber switch are included in the indoor unit, check if 4 angle of every unit are
KRUL]RQWDOE\ZDWHUOHYHU,IWKHXQLWLVVODQWWRZDUGWKHRSSRVLWHRIWKHFRDJXODWHZDWHUÀRZWKHUHPD\EH
malfunction of the bobber switch and lead water drop.)
Ɣ
Backout the gasket anchor board used to prevent gasket break off and tighten the nut on it.
Ɣ
Backout the install cardboard.
Cautions:
Please do tighten the nuts and bolts to prevent air conditioner break off.
1.3.4Dimension Data
Figure 1-3-5
Model A B C D E F
GKH12K3CI 710 650 400 606 160 250
 Loading...