Multi Variable Air Conditioners Heat Storage Module
7
NOTICE:
① Before installation, please finish the preparation work of all pipes (connection pipe)
and wires (wired controller wire, connection wire of IDU and ODU) that need to be
connected with the indoor unit.
② Punch holes on the ceiling (air return opening or air inlet). Ceiling may have to be
strengthened to make it level and to prevent it from vibration. You may consult user or
constructor for details.
③ If the ceiling is not strong enough, you can install a beam bracket in a corner and
secure the unit on the beam.
4.1.4 Horizontal Alignment
After the heat storage module is installed, remember to check the horizontal status of the
whole unit. It should be horizontal from front to back and slant 1% from left to right, following the
drainage direction, as shown in Fig 4.5.
Fig 4.5
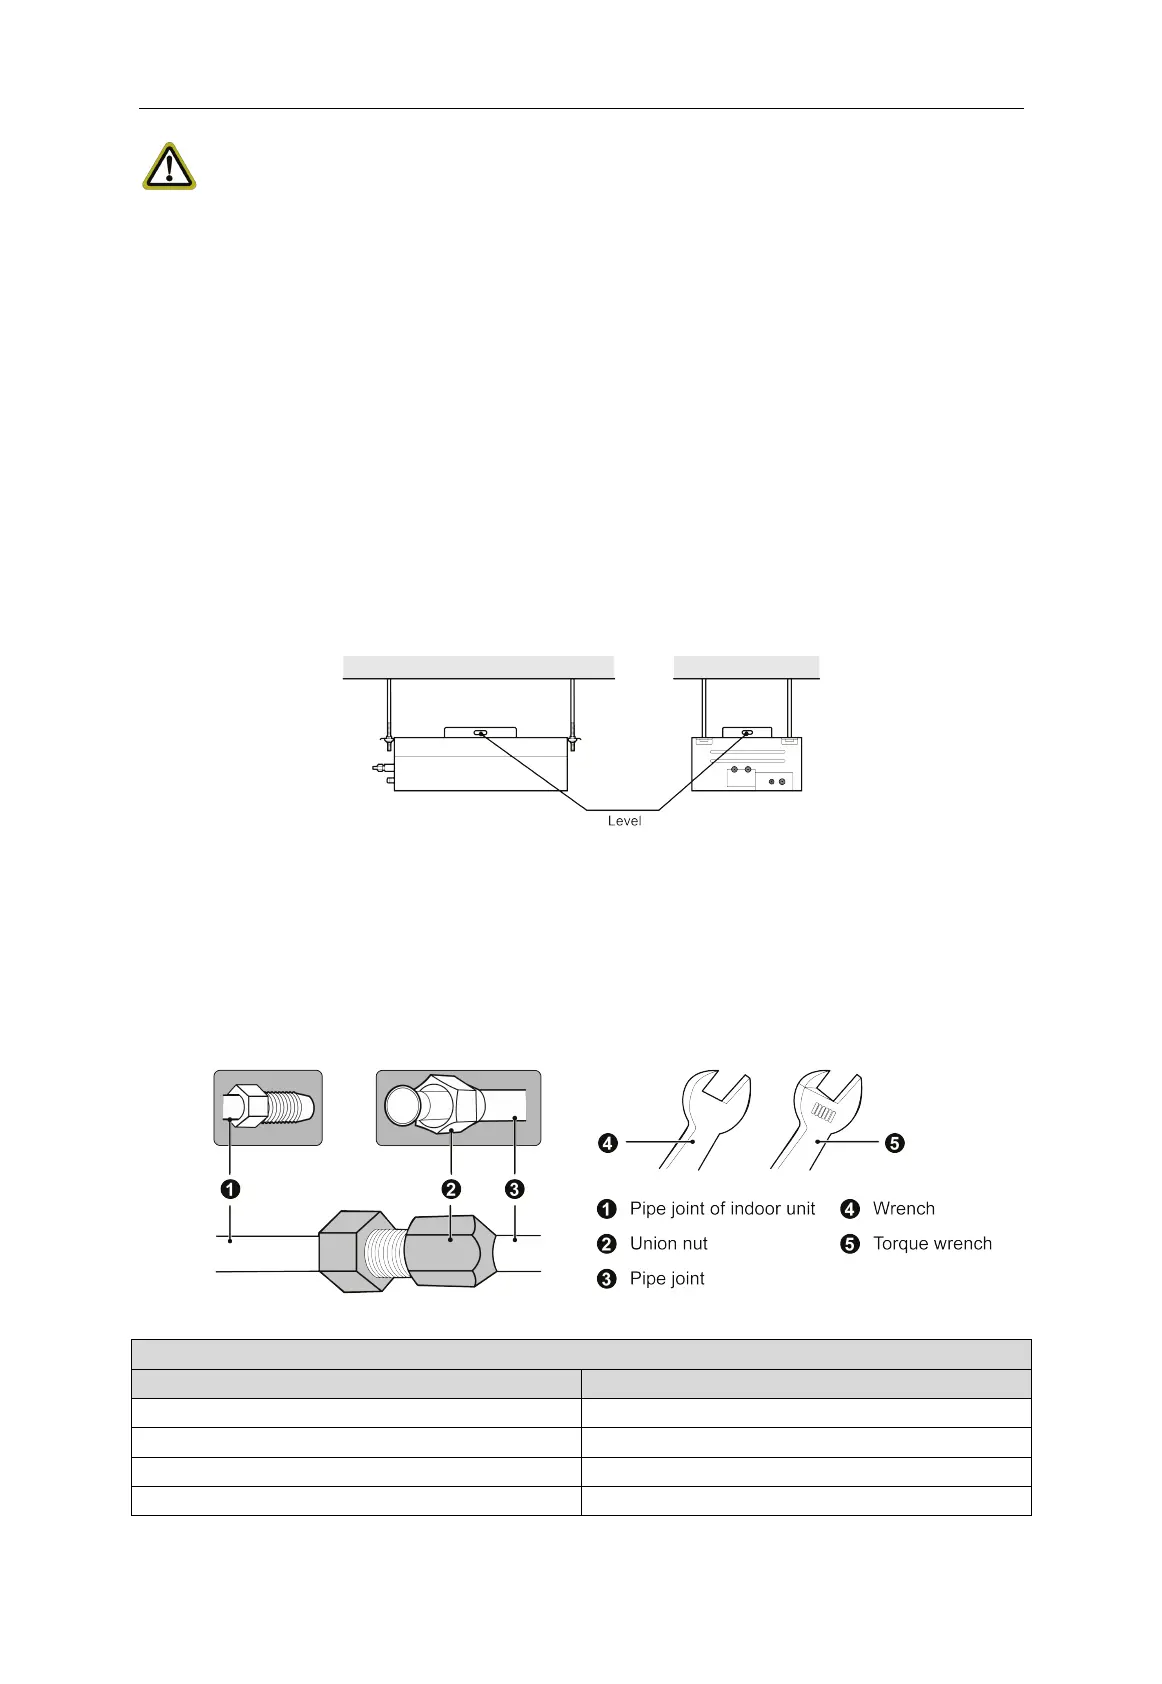
4.2 Pipe Connection
(1) Direct the flaring of copper pipe to the center of screwed connection and then screw
the flaring nut tight as shown in Fig 4.6
(2) Use a torque wrench to tighten up the flaring nut until the wrench gives out a click
sound.
Fig 4.6
Torque for tightening nut
 Loading...