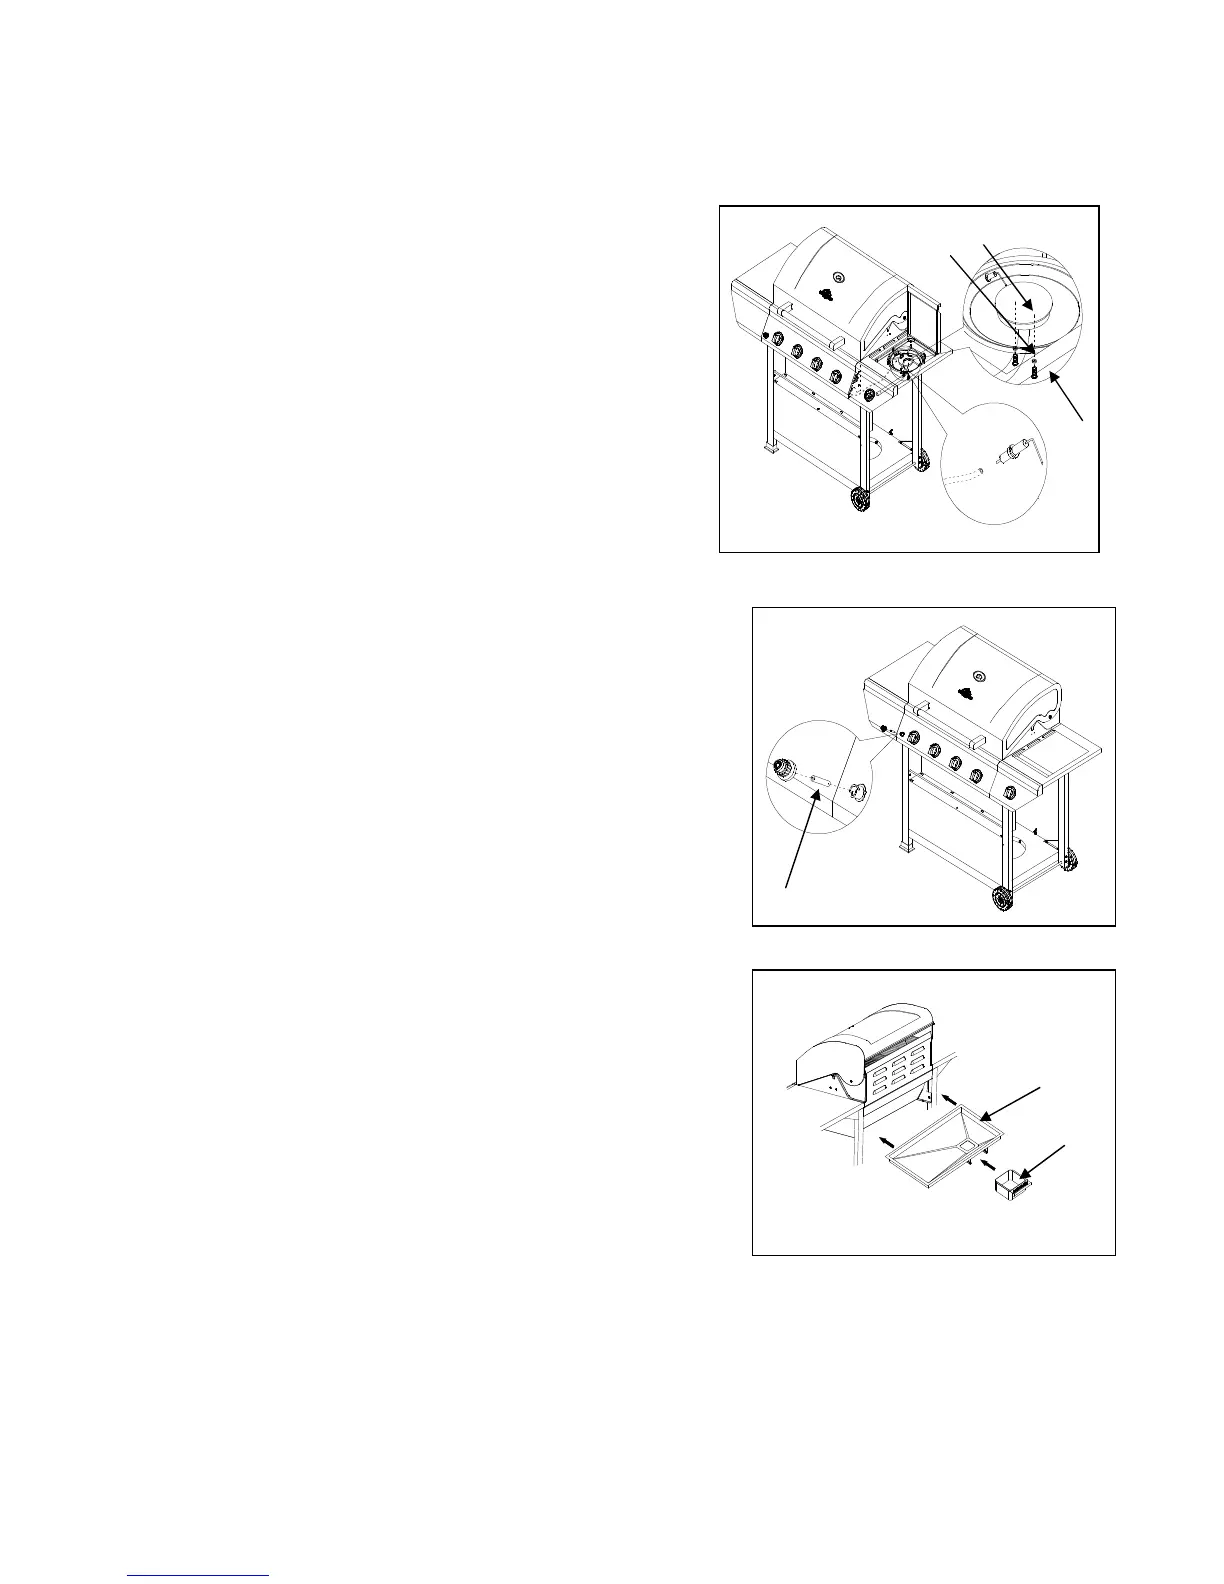
14. Side Burner Installation
a) Open side burner lid and place the Side
Tube Burner (U) through the opening.
Place the Side Tube Burner (U) tube over
the side burner gas valve and make sure Side Burner
gas valve is inserted into side burner tube. As show.
in Fig.17. Then with two 5/32-in. x 10mm Truss Head
Screws (AA) and two 5/32-in. Locking
Washers (BB) secure the side burner from underneath
to the Side Burner Shelf (D). As shown in Fig. 19.
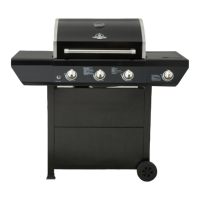
b) Connect ignition wire from Firebox Assembly (A)
control panel to the side burner igniter pin from
underneath the Side Burner Shelf & Control Panel (D)..
As shown in Fig. 18
Note: After completing side burner installation, make sure
there is no more than a 3 mm gap between igniter pin and
burner.
15. Electronic Igniter Battery Installation
Unscrew the electronic igniter button
and place the battery (V) into the housing
with the positive terminal (+) facing
outward. Replace the ignition button
after the battery has been installed
as shown in Fig. 20.
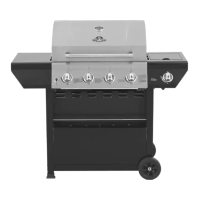
16. Install the Grease Tray
Install the Grease Tray (X) from the rear of the grill
by sliding the tray on the glides at the rear of the
grill until centered under the cooking area
As shown in Figure 21
17. Position Flame Tamers and Cooking Grids
a) The Flame Tamers (ZA) are shipped in the main
firebox assembly. Please check the placement of
and make sure the Flame Tamers (ZA) in the channels
to ensure the Flame Tamers are centered over the burners.
b) The Cooking Grids (ZB) are also shipped in the
Firebox Assembly (A). Place the Cooking Grids (ZB) in the
main firebox assembly before using your grill. The Cooking
Grids (ZB) should be positioned from the front of the firebox
to the rear for a proper fit.
Fig. 19