- 9 -
Before changing the presser foot and setting up the presser foot, the
main switch must be switched off (“O”).
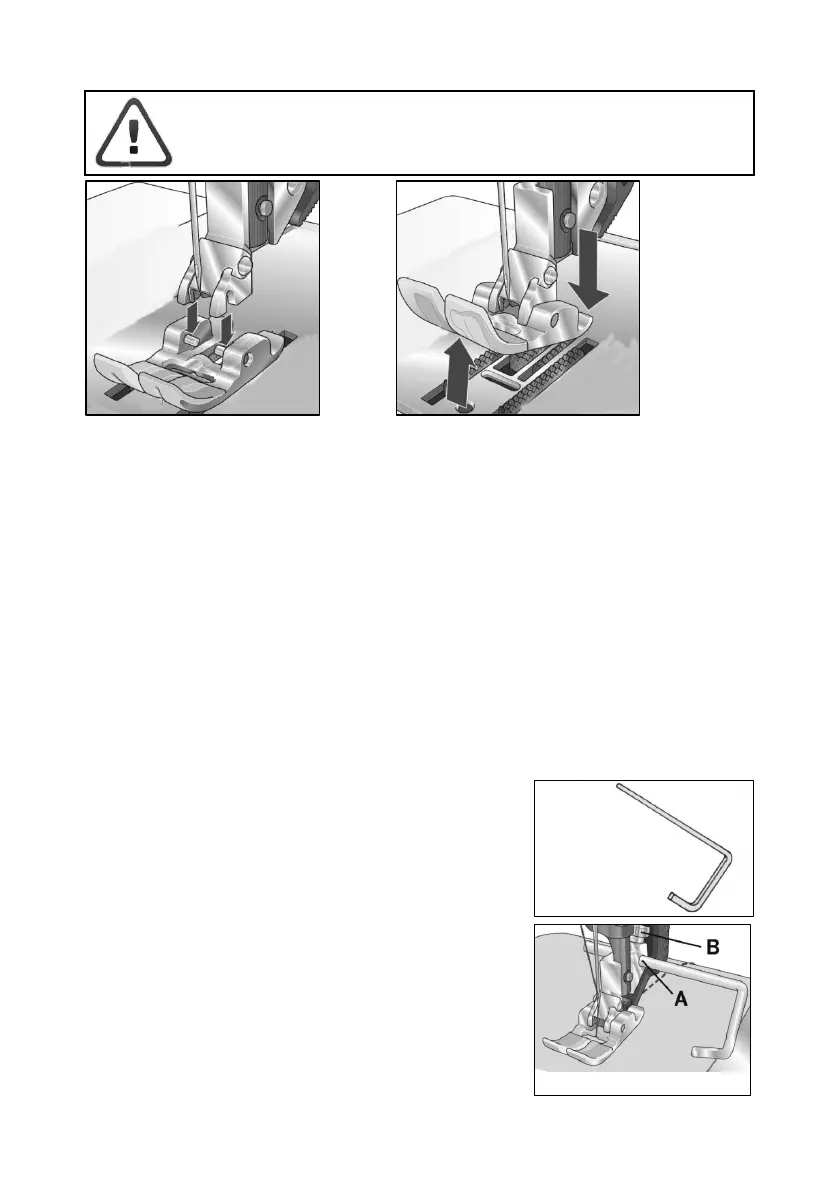
Removing the presser foot:
Position the needle at its highest
point.
Press the presser foot upwards at
the front and down at the back at
the same time so that it disengages
from the presser foot holder.
Setting the presser foot:
Place the presser foot under the presser foot
holder so that when the presser foot lifter is
lowered, the pins of the foot engage in the
presser foot holder.
Check: Please check that the presser foot is
properly engaged by raising the presser foot
lifter.
Important:
After fitting the foot in its place, by moving the presser bar lifter up/down, make sure
that the foot has been inserted correctly.
Dear customer:
We recommend to use only standard sewing feet, if not, it will cause needle
breakage or other damages. You can obtain the standard sewing feet only from
authorized dealers.
Fitting the edge guide:
Push edge guide “N” through hole “A” and secure it in
position with screw “B”. The guide can be adjusted to
the desired stitching margin for various applications.
With attached edge guide, it is easy to sew parallel
lines of stitches or to stitch parallel to the edge. The
guide either following an edge (Fig. Q) or, when
making parallel lines of stitches, run along the
preceding line of stitches. The seam thus looks more
neat and accurate.
N
Q
 Loading...