Never try to cut a warped board by hold-
ing it down against the table. If kickback
occurs, your hand could be pulled into the
blade, resulting in accidental contact with
the rotating blade, causing severe lacera-
tions or amputation.
DO NOT make through cuts with a dado
blade. The extra width of a dado blade
will increase the risk of kickback during a
through cut. Dado blades are only intended
for non-through cuts. Failure to heed this
warning could result in serious injury.
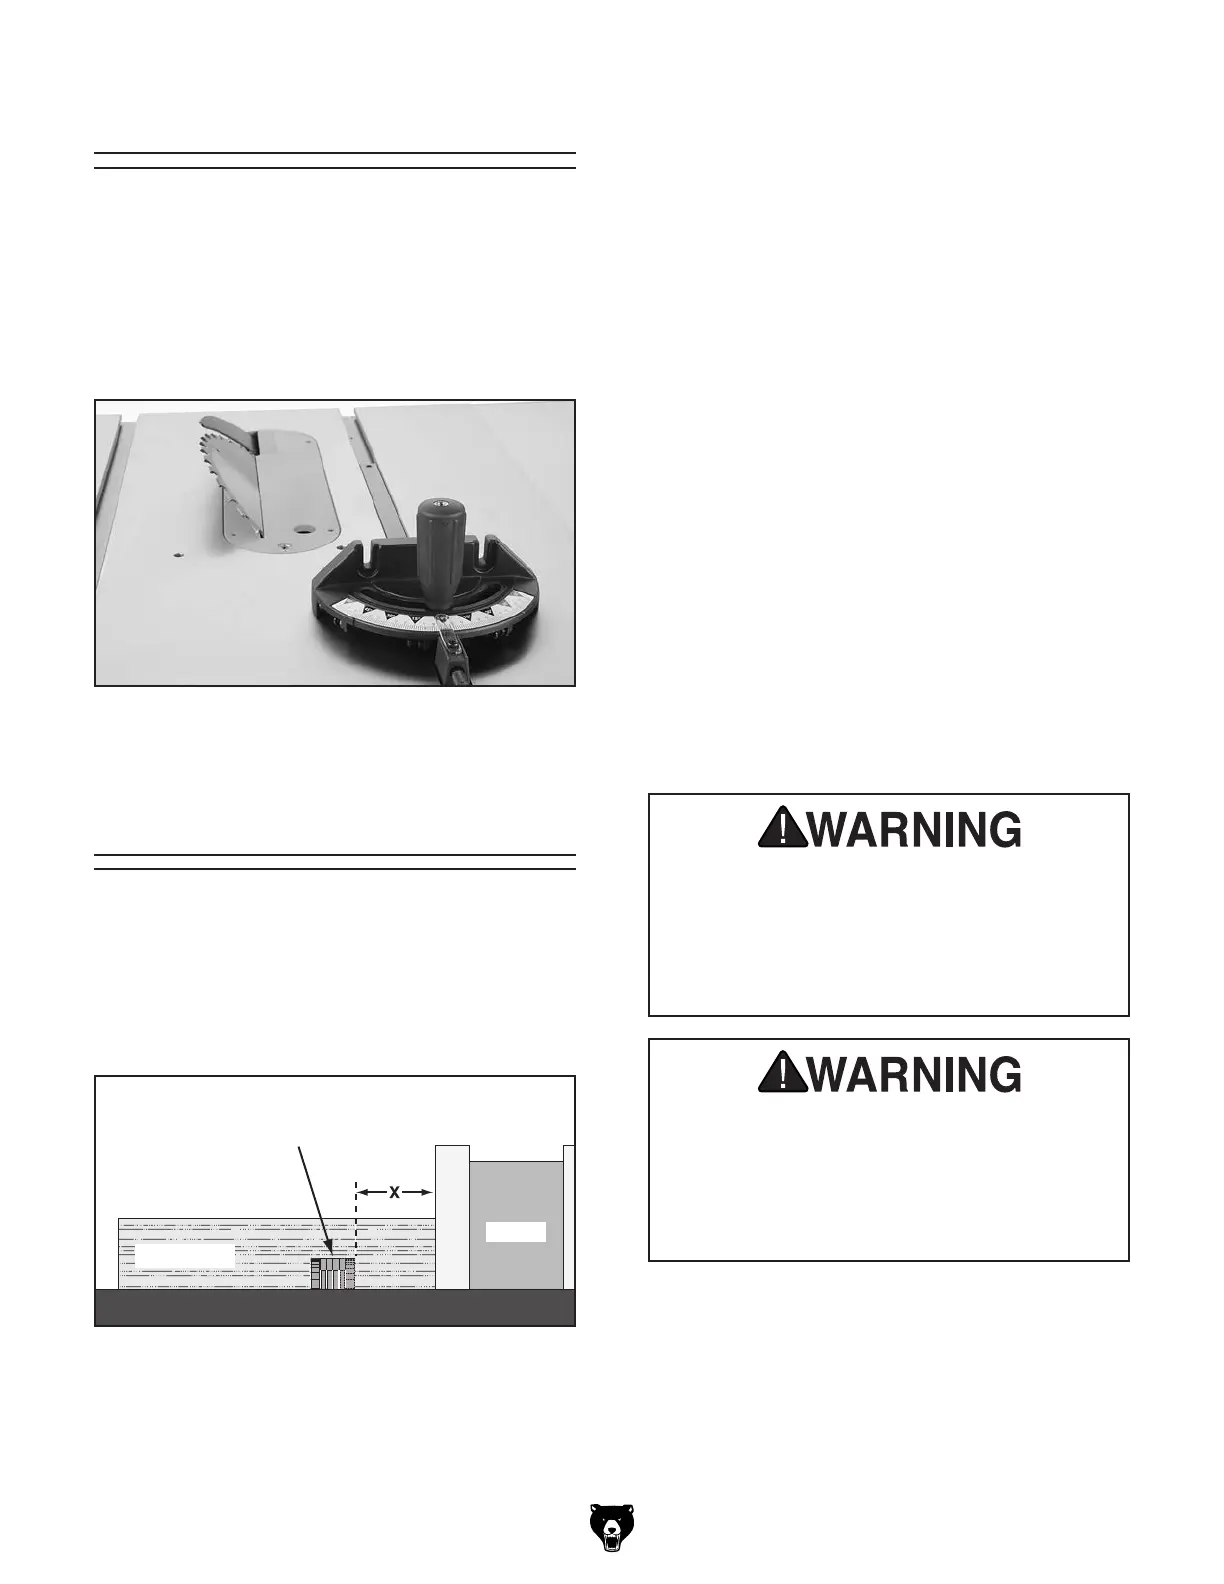
Commonly used in furniture joinery, a dado is a
straight channel cut in the face of the workpiece.
Dadoes are "non-through" cuts that can be made
with a dado blade or a standard saw blade. The
Figure
below
shows a cutaway view of a dado cut
being made with a dado blade.
Dado Blade
Workpiece
Fence
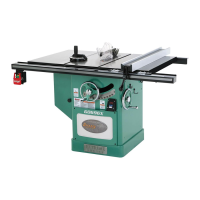
Figure 61. Example of blade tilted to 45° for
bevel cutting (blade guard removed for clarity).
Figure 62. Example of a dado being cut with a
dado blade.
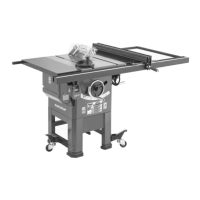
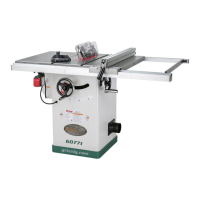
Model G0962A40 (Mfd. Since 07/22)
-41-
When the blade tilt adjustment bolts are properly
adjusted (as described starting on Page 67), the
blade tilt handwheel allows the operator to tilt
the blade to the left, between 0° and 45°. This is
used most often when cutting bevels, compound
miters, or chamfers. Figure 61 shows an example
of the blade when tilted to 45°.
Blade Tilt/Bevel Cuts
Dado Cutting
The Model G0962A40 can accommodate dado
blades up to 10" in diameter. However, you MUST
install the included riving knife while using a 10"
diameter dado blade, as it provides a barrier
behind the blade and reduces the risk of hands
being pulled into the blade if kickback occurs.
DO NOT use the riving knife if you install a dado
blade smaller than 10" in diameter. Otherwise,
the riving knife height will exceed the blade height
and the workpiece will hit the riving knife during
the cut, forcing the operator into a dangerous
situation and trying to turn the saw OFF with the
workpiece stuck halfway through the cut.
Installing Dado Blade
1. DISCONNECT MACHINE FROM POWER!
2.
Remove table insert, blade guard assembly,
spreader/riving knife, and saw blade.
3.
Attach and adjust dado blade system accord-
ing to dado blade manufacturer’s instructions.
4.
Install included dado table insert.
 Loading...