English (GB)
6
3.3.3 Lubrication
Grease specifications: See section Ball bearing grease.
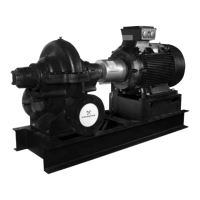
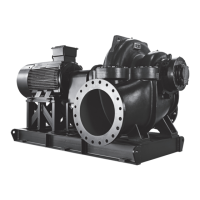
Pump bearings
Pump bearings are lubricated before delivery.
We recommend relubricating intervals of 2000 operating hours.
However, depending on duty conditions, this may vary.
To refill the bearings with fresh grease, follow this procedure:
1. Remove the bearing cap.
2. Add enough grease to fill up 1/3 of the ball bearing.
3. Note the quantity required.
4. Refit the bearing cap.
Grease quantity
Repeat this procedure the first three times. Based on the first
three relubrications, determine the correct quantity of grease
required.
For future relubrications, apply the established quantity of grease
through the lubricating nipples. You do not have to remove the
bearing caps.
For every 10,000 operating hours or every two years:
1. Remove the bearing caps from the pump.
2. Remove old grease.
3. Thoroughly clean the bearing caps.
4. Refill the bearings with fresh grease.
5. Refill the bearing caps completely with fresh grease.
6. Refit the bearing caps in accordance with the assembly
instructions.
7. Start the pump briefly several times to distribute the grease in
the bearings and to prevent overheating of the grease.
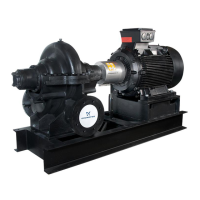
Motor bearings
Lubricate the motor bearings in accordance with the indications
on the motor nameplate.
Ball bearing grease
1)
Grundfos recommends Shell Gadus S2 V2202 or SKF LGHP 2
grease for relubrication.
Grid coupling
A grid coupling must be regreased at intervals. Normally, the
interval is one year, but it can be shorter if the environment is
aggressive or the operating conditions are harsh. Use the same
grease for the coupling as for the ball bearings. See section Ball
bearing grease.
Proceed like this:
1. Remove the coupling guards.
2. Remove the two lubricating plugs.
3. Pump grease into one of the lubricating holes to push the old
grease out of the opposite hole.
4. Keep pumping until the fresh grease comes out.
5. Refit and fasten the two plugs.
6. Mount the coupling guards again.
4. Dismantling and assembling the product
4.1 General information
Position numbers
Pump parts are indicated by numbers and refer to sections
8. Standard components and material specifications and
9. Sectional drawings.
Service tools are indicated by letters and refer to section
2. Service tools.
Before dismantling
• Disconnect the supply voltage to the motor.
• Close the isolating valves, if fitted, to avoid draining the
system.
• Remove the electric cable in accordance with local
regulations.
Before assembly
• Clean and check all parts.
• Replace defective parts by new parts.
• Order the necessary service kits.
• Always replace the gaskets and O-rings when the pump is
serviced.
During assembly
Lubricate and tighten the screws and nuts to the correct torque.
See section 2.3.1 Tightening torques.
4.2 Dismantling the pump, with sleeve
4.2.1 LS with sleeve, construction type 1
The position numbers in the following refer to section 9.1 LS with
sleeve, construction type 1 on page 22.
Removing the motor
1. Remove the coupling guard.
2. Remove the screws and nuts from the coupling halves.
3. Carefully loosen and remove the spring using a screwdriver.
4. Remove the screws holding the motor on the base frame.
5. Lift off the motor.
6. Loosen the set screws in the coupling flange of the pump.
7. Pull the coupling flange off the pump shaft using a puller.
Inlet size Grease quantity [g]
DN 65 to DN 100 11
DN 125 to DN 150 17
DN 200 to DN 300 25
DN 350 to DN 450 50
Do not overgrease.
Too much grease can cause overheating and
premature bearing failure.
Manufacturer Lubricant
Shell Gadus S2 V2202
1)
SKF LGHP 2
1)
Exxon Polyrex
Chevron
SRI grease NLGI 2
Black pearl NLGI 2
Philips Polytac
Texaco Polystar RB
 Loading...