11
ENGLISH
SETTINGS
---------------------------------------------------------------------------------------------------------------------------------------
2 The alarm programs displays; »disc«, »USB«
or »TuneR«. Press »
3
« or
»4 « and confirm with »ALARM«.
– The hours flash.
3 Set the hours by pressing »
3
« or
»4 « and confirm with »ALARM«.
– The minutes flash.
4 Set the minutes by pressing »
3
« or »4
« and confirm with »ALARM«.
– The volume flash.
5 The volume displays »VOL 12«. Select the vo-
lume with »
3
« or »4 « and con-
firm with »ALARM«.
– The volume can be selected »VOL 01« to
»VOL 31«.
6 The symbol »TIMER« will then display down on
the right screen to confirm the programming of
the alarm.
Notes:
7
If you want to disable the alarm, press
once the »ALARM« button and the symbol
»TIMER« will disappear from the screen.
EXTERNAL DATA MEDIA MODE
-------------------------------------------------------
Using CDs
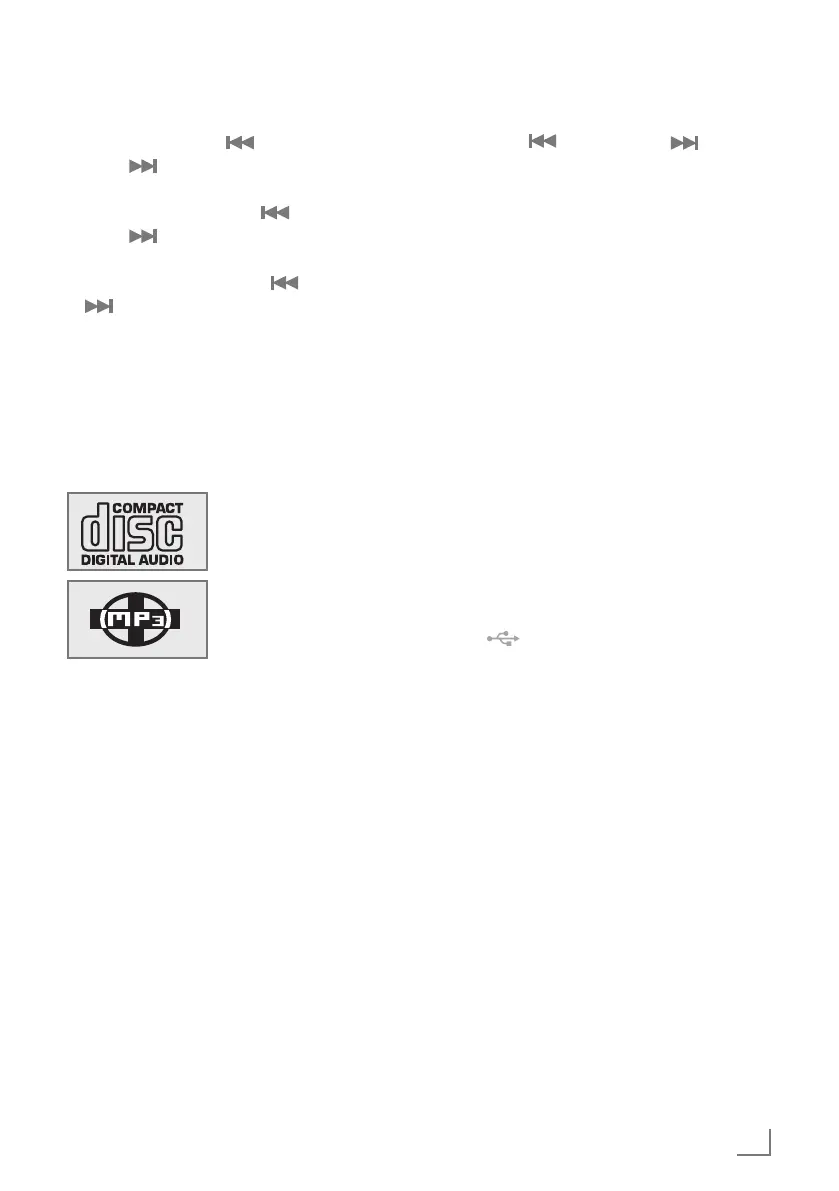
The device is suitable for
music CDs displaying the
logo shown here (CD-DA)
and for CD-Rs and CD-
RWs with audio data.
7
The device cannot play
CD-ROM, CD-I, CDV,
VCD, DVD or computer
CDs.
7
In MP3/WMA mode, the terms "album" and
"file" are very important. "Album" corresponds
to a folder on a PC, "file" to a file on a PC or
a CD-DA track. An MP3/WMA CD may not
contain more than 999 tracks/folders in total.
7
When burning CD-R and CD-RWs with audio
files, various problems may arise which could
lead to problems with playback. This can be
caused by faulty software or hardware set-
tings or by the CD being used. Should such
problems arise, contact the customer services
of your CD burner or software manufacturer
or look for relevant information, for example
on the Internet.
7
When you are making audio CDs, observe all
legal guidelines and ensure that the copyright
of third parties is not infringed.
7
Always keep the CD compartment closed to
prevent dust from collecting on the laser op-
tics. The CD compartment closes automatically
after a short time.
7
Do not attach adhesive labels to CDs. Keep
the surfaces of CDs clean.
7
You can play standard 12 cm CDs as well as
8 cm CDs on your device. An adapter is not
necessary.
Operation with an MP3 player
or USB memory stick
7
The » « socket is not compatible with USB
hubs and cannot be connected directly to a
PC.
7
The USB interface of this device is a standard in-
terface. All currently-known MP3 chip concepts
were taken into account when it was developed.
Due to rapid progress in MP3 technology and
new manufacturers appearing every day, the
compatibility of MP3 players/USB memory
sticks can only be partially guaranteed.
If USB operation is impaired or is not possi-
ble, this does not indicate a malfunction of the
device.
7
Bi-directional data transfer as defined for ITE
devices in EN 55022/EN 555024 is not pos-
sible.
7
USB transfer is not in itself an operating mode.
It is only an additional function.
7
Never remove a MP3 player/USB memory
stick during playback. This can result in dam-
age to the data and the devices.
No warranty claims are accepted for damage
incurred as a result of this.