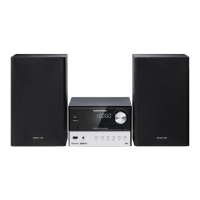
Allgemeiner Teil / General Section RCD 2000
1 - 6 GRUNDIG Service
Fig. 8Fig. 7
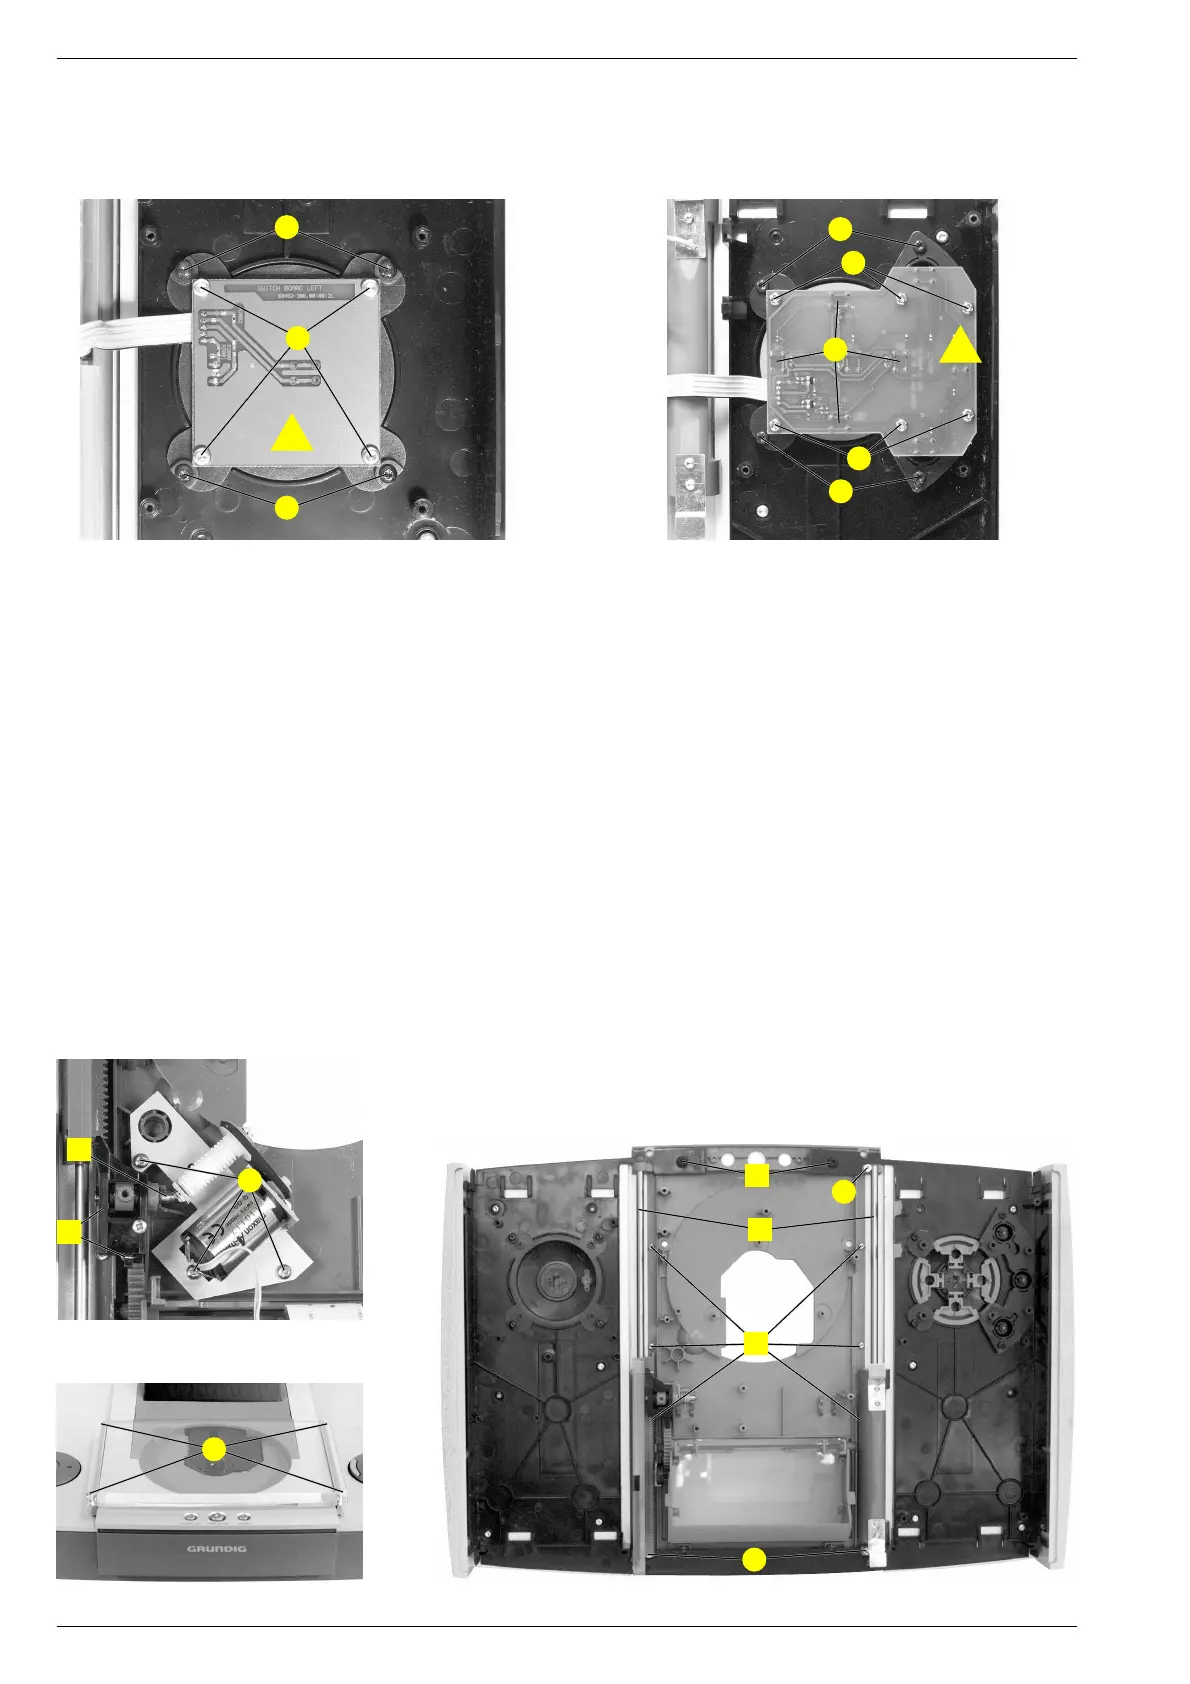
14. Removing the right buttons
- Remove the Switch Board right (para 12).
- Undo 4 screws S and remove the buttons (Fig. 8).
15. Disassembling the CD mechanism
- Remove the CD Drive (para 10).
- Remove the AF Board (para 3).
- Pull out the gear drive T (Fig. 6).
- Undo 3 screws U and take out the motor unit (Fig. 9).
- Undo 2 catches V and pull out the front cover (Fig. 3).
- Undo 3 screws C (Fig. 2) and 2 screws W (Fig. 3), undo 2
catches X (Fig. 3) and pull out the rear cover.
- Undo 4 screws Y and remove the CD cover (Fig. 10).
- Undo 3 screws Z and remove the 2 shafts A (Fig. 11).
- Pull out shaft B and take off the gear wheels C (Fig. 9).
- Undo 2 screws D and 6 screws E and take out the CD bottom plate
(Fig. 11).
Fig. 10 Fig. 11
Fig. 9
Z
E
A
D
Z
C
B
U
Y
S
P
k
Q
P
S
R
O
j
R
14. Rechte Tasten ausbauen
- Tastenplatte rechts ausbauen (Pkt. 12).
- 4 Schrauben S herausschrauben und Tasten herausnehmen
(Fig. 8).
15. CD Mechanik zerlegen
- CD Laufwerk ausbauen (Pkt. 10).
- NF-Platte ausbauen (Pkt. 3).
- Zahnradantrieb T (Fig. 6) nach oben herausziehen.
- 3 Schrauben U herausschrauben und Motoreinheit abnehmen
(Fig. 9).
- 2 Rastnasen V ausrasten und vordere Abdeckung abziehen
(Fig. 3).
- 3 Schrauben C (Fig. 2) und 2 Schrauben W (Fig. 3) herausschrau-
ben, 2 Rastnasen X (Fig. 3) ausrasten und hintere Abdeckung
abziehen.
- 4 Schrauben Y herausschrauben und CD-Abdeckung abnehmen
(Fig. 10).
- 3 Schrauben Z herausschrauben und die 2 Achsen A herausneh-
men (Fig. 11).
- Achse B herausziehen und die Zahnräder C herausnehmen
(Fig. 9).
- 2 Schrauben D und 6 Schrauben E herausschrauben und die CD-
Bodenplatte herausnehmen (Fig. 11).
 Loading...