Sponge and Water Installation~
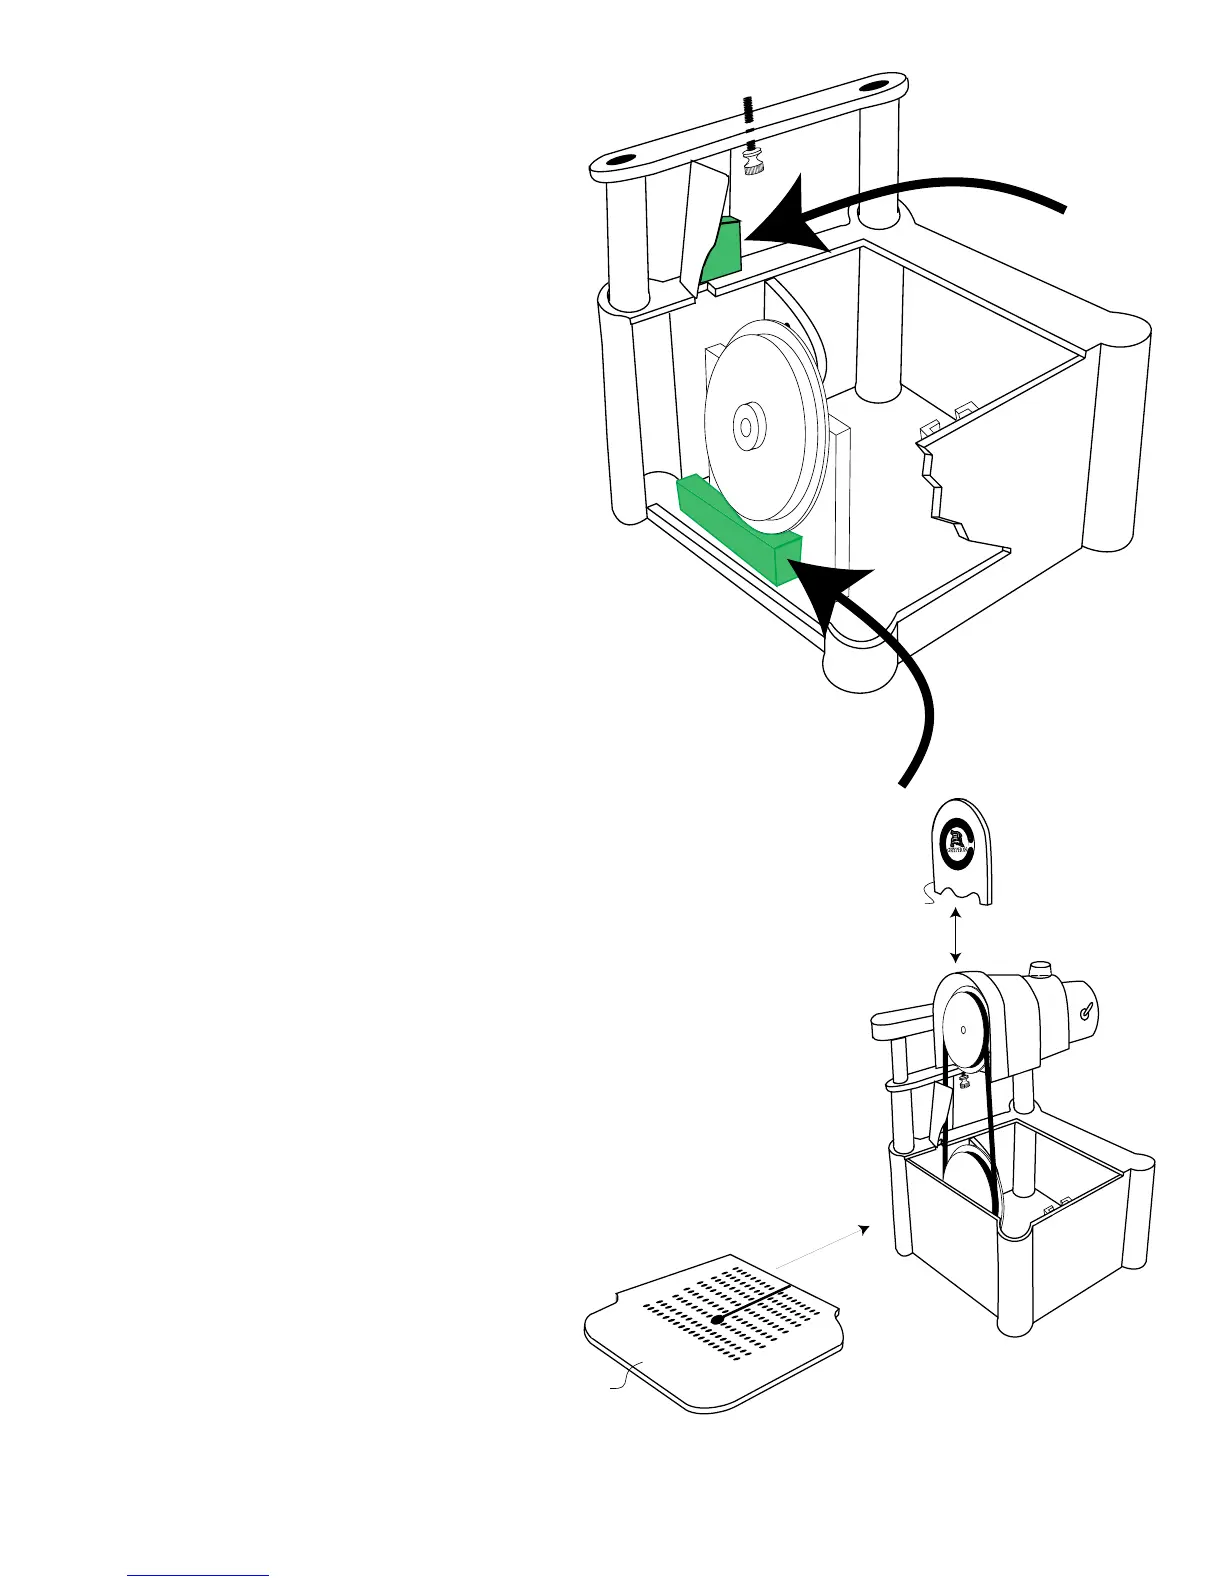
• The sponges reduce the water splash.
• Wet both Sponges.
• Insert sponges in locations shown in cutaway
drawing at right. Ridges are molded into the
saw to keep the sponges in place.
• Pour water into chassis. Water level should not
be higher than the top of the bottom sponge.
The use of a corrosion inhibitor or other
additive in the water is not recommended as it
will not benet the function of the saw.
• Rotate or replace sponges when worn.
• Additional sponges can be cut from a standard
kitchen sponge available at your grocery store.
Platform & Cover Installation~
• The Platform is installed with the texture side
up.
• When installed, the Platform surface will be
ush with the top of the Chassis.
• Install the Platform by sliding it into place as
shown. Be very careful not to nick or bend the
Blade while installing the Platform.
• The Cover, which you removed to install the Blade, is reinstalled simply by sliding
it down the front of the Top Assembly until it sits ush.
Marking your Pattern~
Since the Blade carries cooling water to the glass surface, your pattern will need
to be resistant to water. The best technique is to mark your pattern on the glass with a
thin-line paint marker (such as the Gryphon Pattern Marking Pen). These are available from
your dealer, or similar products can be obtained from artist’s supply houses.
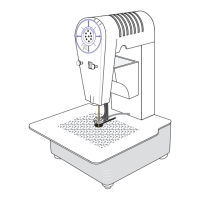
Cutting Glass~
When cutting, push your work with only a mod-
erate pressure. Very heavy pressure will not result in
faster cutting, and may bend the blade. When cutting
curves, use only a light pressure and let the blade do
the work. Aggressive pressure against the blade when
cutting curves causes rapid wear to the back of the blade.
Do not force the blade to follow a pattern, but rather guide the work through the blade. This will insure you of the longest
possible blade life. When backing out of a slot, turn motor off. Hold your thumb against the front of the blade while carefully
Platform
D
i
a
m
o
n
d
B
a
n
d
S
a
w
M
a
d
e
i
n
U
S
A
®
Cover