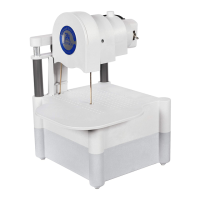
Platform
D
i
a
m
o
n
d
B
a
n
d
S
a
w
M
a
d
e
i
n
U
S
A
®
Cover
backing the glass. Remove your thumb and start the motor.
It is normal for a blade to cut more slowly as it wears. Some materials, such as lead crystal, load the blade and cutting
action slows signicantly after a time. Good cutting action will be immediately restored with only a little cutting into a piece
of clear window glass, silicon carbide, or a brick.
Cutting Other Materials~
The diamond blade on your band saw is useful for cutting a variety of hard materials. Stone, tile, ceramics and
similar materials can be cut as easily as glass. The speed at which the saw cuts will be determined by the thickness and the
hardness of the material being cut. Harder materials will wear the blade faster. Metals are too soft to be cut by a diamond
blade and will gum up the blade.
Cleaning the Saw~
The glass dust that results from your cutting is carried to the bottom of the saw where it combines with the water to
form a slurry. When the water becomes objectionably dirty you should clean out this slurry as follows:
• Remove Platform & Cover.
• Remove Blade.
• Remove Top Assembly by pulling straight up.
• Pour out dirty water outside. Do not pour into plumbing as the slurry can cause clogs.
• Use a paper towel to remove heavy slurry if required.
• Rinse out Bottom Assembly with a garden hose if desired.
• Do not use solvents to clean any part of the saw. Soapy water is all that is required.
• If you remove the Guide Holder, clean it thoroughly before replacing to insure that it ts ush.
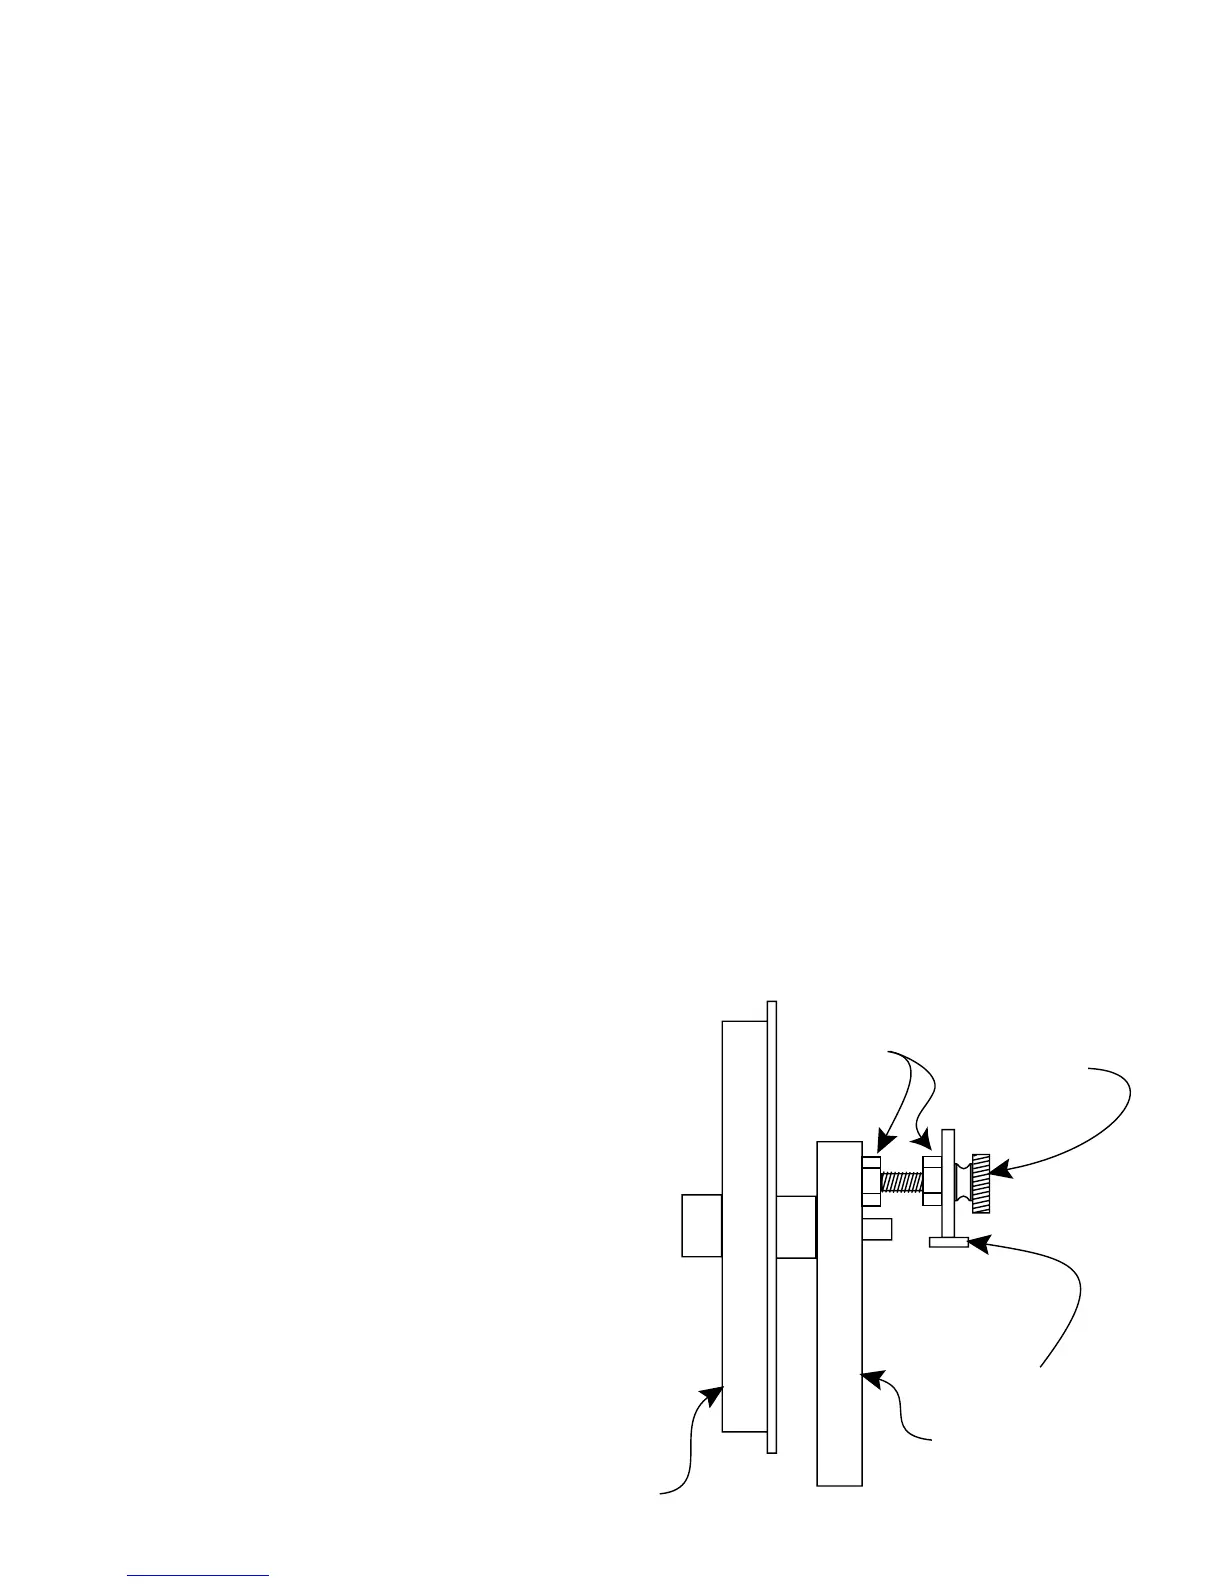
Replacing Lower Wheel Adjustment Screw~
If it should ever become necessary to replace the
Lower Adjustment Screw (used for adjusting the tilt on the
Lower Wheel), proceed as follows:
(1) Remove old Lower Adjustment Screw and both
nuts (the rear nut is glued to the knob, and
the easiest way to remove it is by cutting it
off with a sharp knife).
(2) Pass new Lower Adjustment Screw through
hole in plastic arm.
(3) Twist two nuts half way onto Lower Adjustment
Screw.
(4) Screw Lower Adjustment Screw into hole in
Lower Shaft Assembly.
(5) Twist nut nearest the Plastic Arm so that it
almost touches Plastic Arm, but still allows
knob to turn.
Lower
Wheel
Lower
Adjustment
Screw
Locking
Nuts
Plastic
Arm
Lower Shaft
Assembly