3
Maintenance, Cleaning,
and Storage
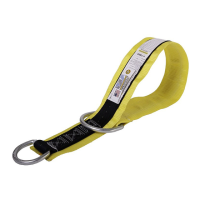
Cleaning after use is important for maintaining
the safety and longevity of the Cross Arm Strap.
Remove all dirt, corrosives, and contaminants
from the equipment before and after each use.
If Cross Arm Strap cannot be cleaned with plain
water, use mild soap and water, then rinse and
wipe dry. NEVER clean Cross Arm Strap with
corrosive substances.
When not in use or during transport, store
equipment where it will not be affected by heat,
light, excessive moisture, chemicals, or other
degrading elements.
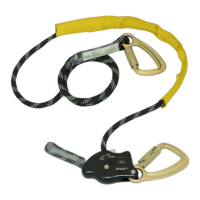
Limitations
Fall Clearance: There must be sufficient
clearance below the work surface to arrest
a fall before the user strikes the ground or an
obstruction. When calculating fall clearance,
account for free fall, maximum arrest distance,
harness stretch, a minimum 2 ft (0,6 m) safety
factor, swing fall, and all other applicable factors.
See Guardian Fall Clearance Calculator:
https://guardianfall.com/digital-resources/
fall-clearance-calculator
Swing Falls: Prior to installation or use, make
considerations for eliminating or minimising all
swing fall hazards. Swing falls occur when the
anchor is not directly above the location where
a fall occurs. Always work as close to in-line
with the anchor point as possible. Swing falls
significantly increase the likelihood of serious
injury or death in the event of a fall.
English
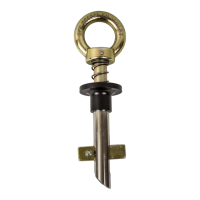
Compatibility
When making connections, eliminate all
possibility of roll-out. Roll-out occurs when
interference between a connector and the
attachment point causes the connector gate to
unintentionally open and release.
All connections must be selected and
deemed compatible with the harness by
aCompetentPerson.
All connector gates must be self-closing, self-
locking, and withstand a minimum load of
3,600lb (16 kN).
See Diagram A on page 9.