2-17
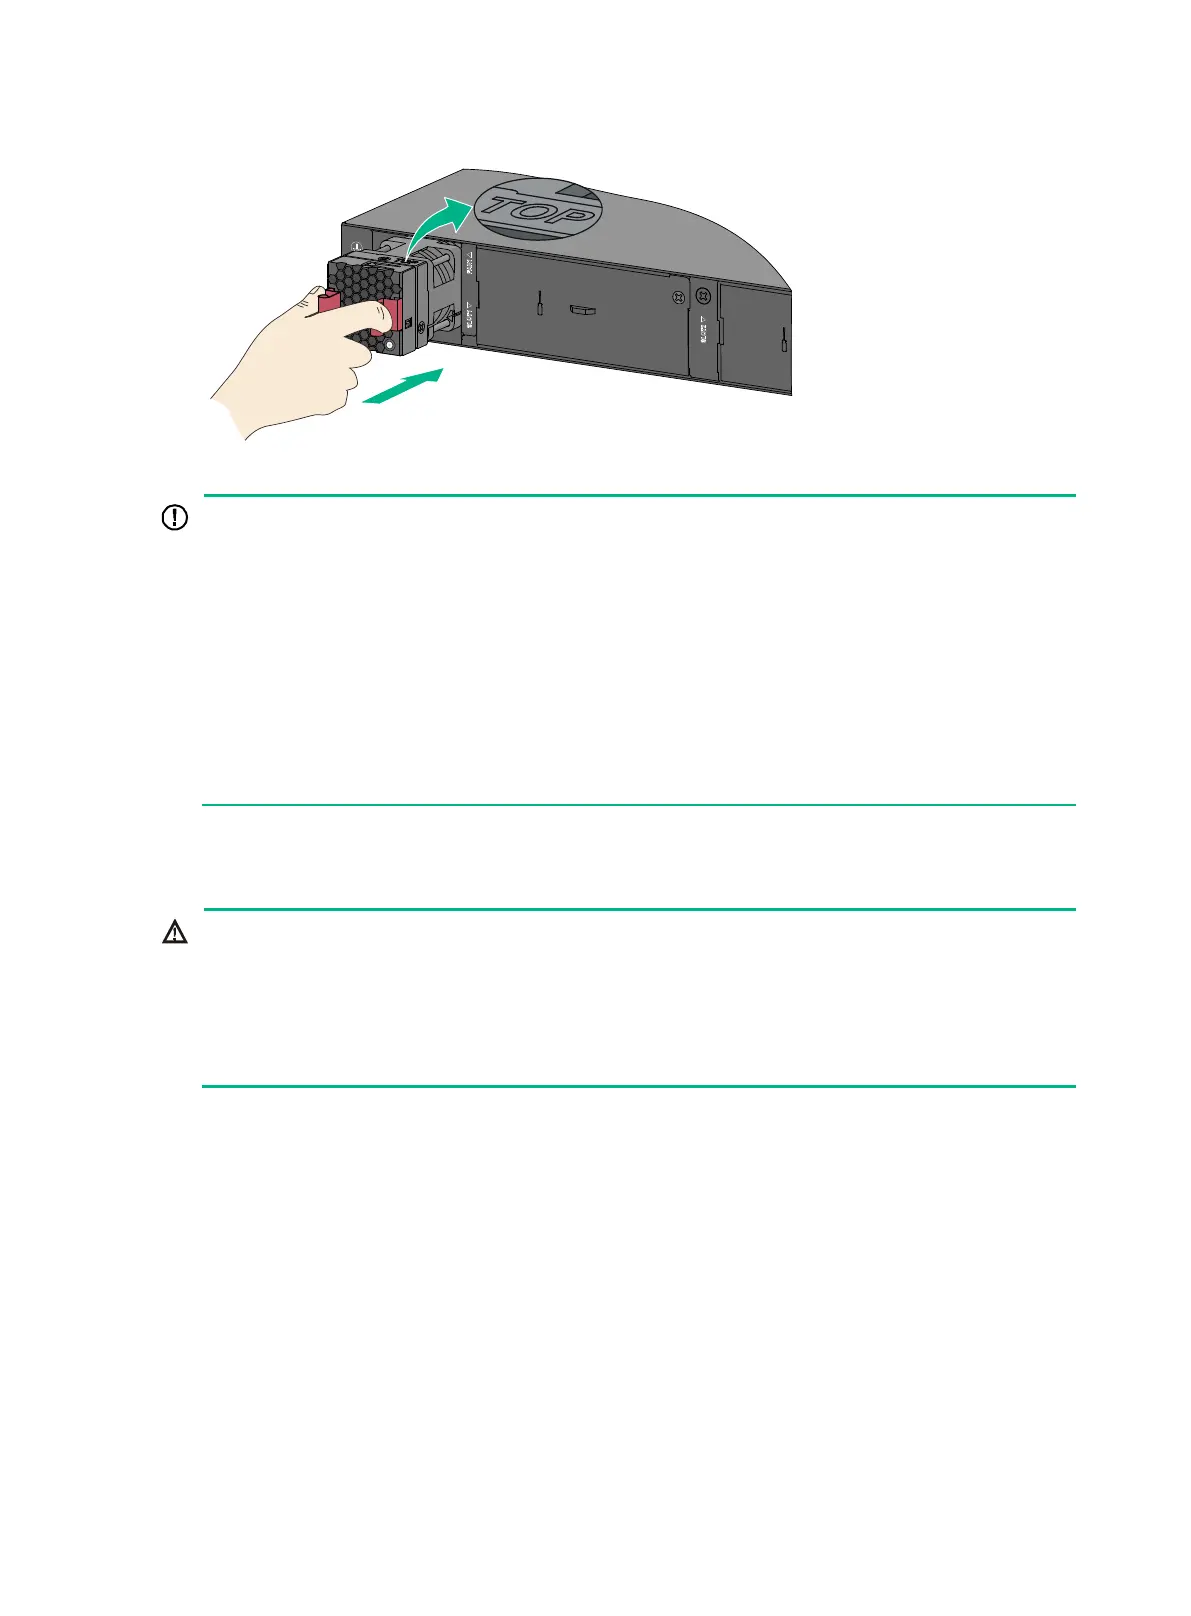
Figure2-21 Installing a fan tray
In versions earlier than Release 6326 (not inclusive) or Release 65xx versions earlier than
Release 6525 (not inclusive), you must use the
fan prefer-direction command to
preferred airflow direction of the switch to be consistent with that of the fan tray
log in to the switch. If the fan trays have a different airflow direction than the preferred one, the
system outputs traps and logs. By default, the preferred airflow direction of the switch is from
port side to the power supply side, the same as that of the LSWM1FANSCBE
information about the fan prefer-direction
command, see the configuration guides and
command references for the device.
In other versions, the switch does not check the preferred airflow direction at system start. You
only need to ensure consistent airflow directions of all fan trays on the switch. If the airflow
directions of the fan trays are inconsistent, the system outputs traps and logs.
Removing a fan tray
!
To avoid bodily injury, disturbing the dynamic balance of the fan tray, and causing loud noises, d
not touch the rotation axis, or any bare wires, fan blades, or terminals on the fan tray.
Do not place the fan tray in a moist place. Prevent liquid from entering the fan tray.
Fan trays with faulty internal wiring and conductors require maintenance from maintenance
engineers. Do not disassemble the faulty fan trays.
To remove a fan tray:
1. Wear an ESD wrist strap. Make sure the strap makes good skin contact and is reliably
grounded.
2. Holding the fan tray handles, pull the fan tray slowly out of the slot along the guide rails.
3. Put the removed fan tray in an antistatic bag.
 Loading...