16
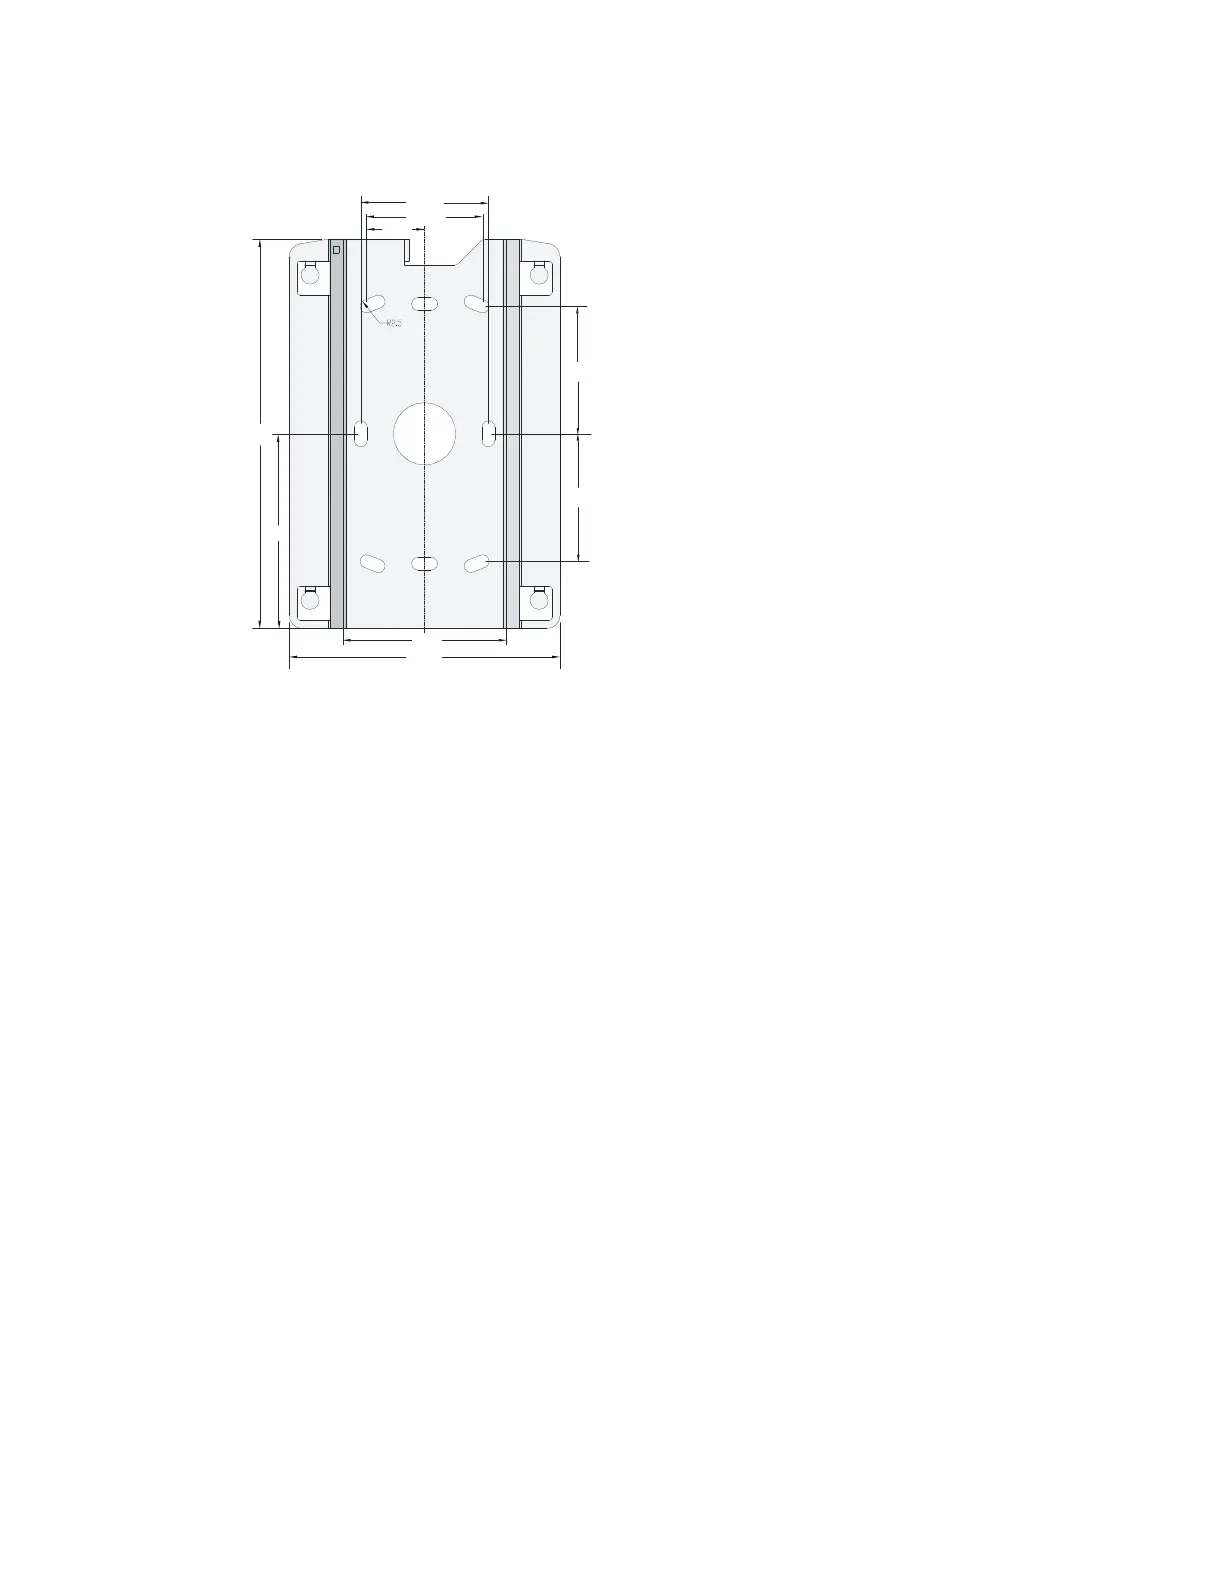
Figure 7 Screw hole locations and screw hole size
2. Insert the pointed end of anchors into the drilled holes and tap the flat end of
anchors with a rubber hammer until they are all flush with the wall surface.
3. Align the holes in the wall-mounting bracket with the anchors and insert screws
through the installation holes into the anchors, as shown in Figure 8 Position the
bracket so that the arrow points up.
4. Adjust the position of the wall-mounting bracket as necessary, and tighten the
screws.
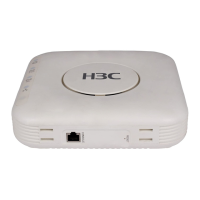
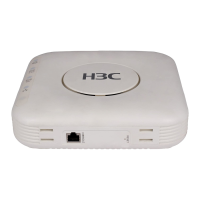
49.0
44.6
22.3
49.1
49.1
150.0
75.0
62.9
104.0
 Loading...