1
Installing the AP
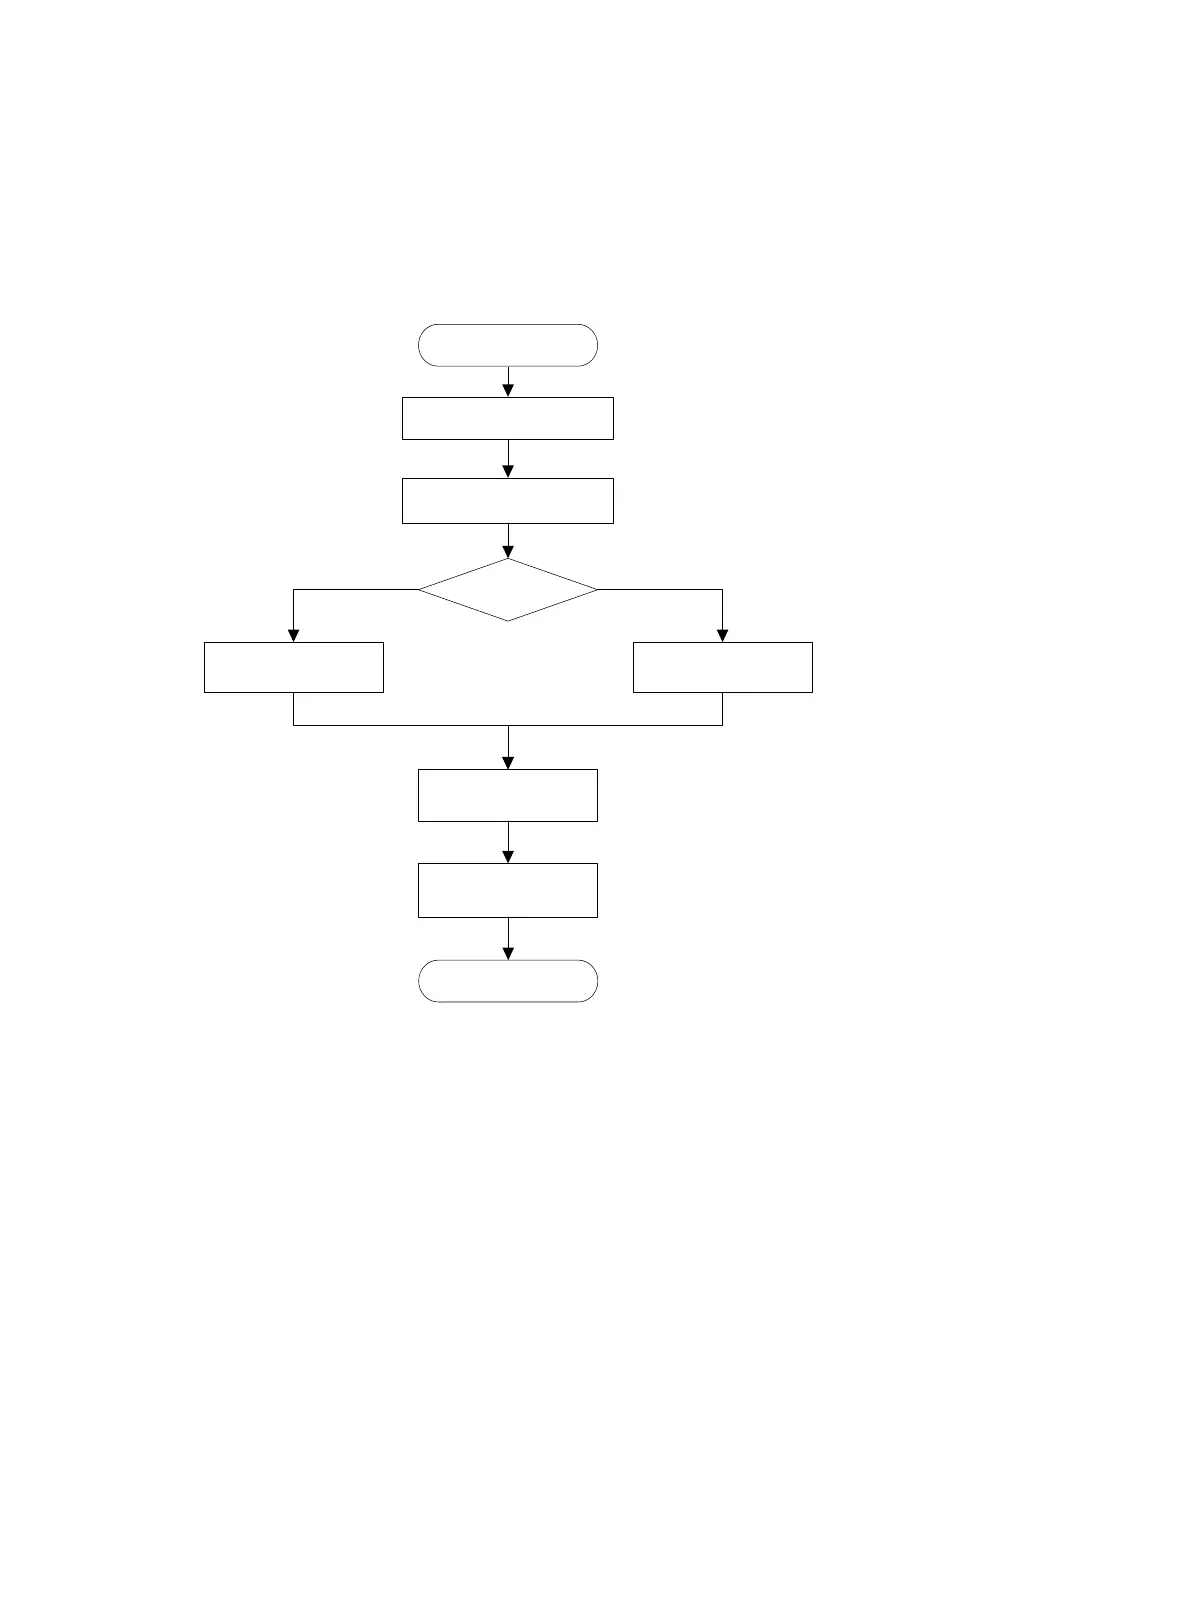
Installation flowchart
Figure 4 Installation flowchart
Pre-installation tasks
Before installing the AP, perform the following tasks:
Connect the AP to a power source and the network. Examine the LEDs to verify that the AP is
operating correctly. For information about AP LEDs, see ports and LEDs in Hardware
Information and Specifications.
Record the MAC address and serial number at the rear of the AP for future use.
Make sure you have completed cabling at the installation site.
If the Ethernet interface rate is 2.5 or 5 Gbps, use Cat-5e or above network cables. For
information about the supported interface rates, see technical specifications in Hardware
Information and Specifications.
The AP is typically installed on a high position. As a best practice, access and configure the AP
before installing it.
If a cable is routed outdoors, make sure a lighting arrester is attached to the AP port. Prepare a
lighting arrester yourself as needed.
Start
Complete pre
-installation
tasks
Determine the installation
position
Mount the AP
On a wall
On a ceiling
Connect the AP to the
power source
Connect the AP to the
network
End
 Loading...