Overview
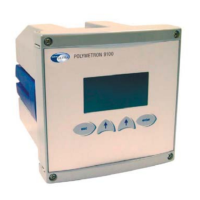
Figure 1 Front and rear panels
1 User interface 7 Frame for panel mounting
2 Overflow vessel 8 Reagent canister holder
3 Measuring cell 9 Local controller box
4 Flow rate adjustment for each channel 10 Electrolyte reservoir
5 Door lock 11 Pump box
6 Reagent shelf 12 Sample inlet valves
Installation
W A R N I N G
The analyzer should only be assembled by qualified staff. Mains power should only be connected once
installation has been completed and checked
Mounting the analyzer
W A R N I N G
Do not connect power prior to mounting and plumbing the instrument.
C A U T I O N
Personal injury hazard. Instruments or components are heavy. Use assistance to install or move. Make sure that
the wall mounting is able to hold 4 times the weight of the equipment.
C A U T I O N
Wherever the analyzer is to be mounted, it is important to note that it must be placed in an upright position with
the transmitter at the top. It is recommended to use a spirit level to ensure that the analyzer is correctly positioned
and not leaning to one side or forward. This is essential to guarantee the accuracy of the analyzer.
English 7
 Loading...