system components.
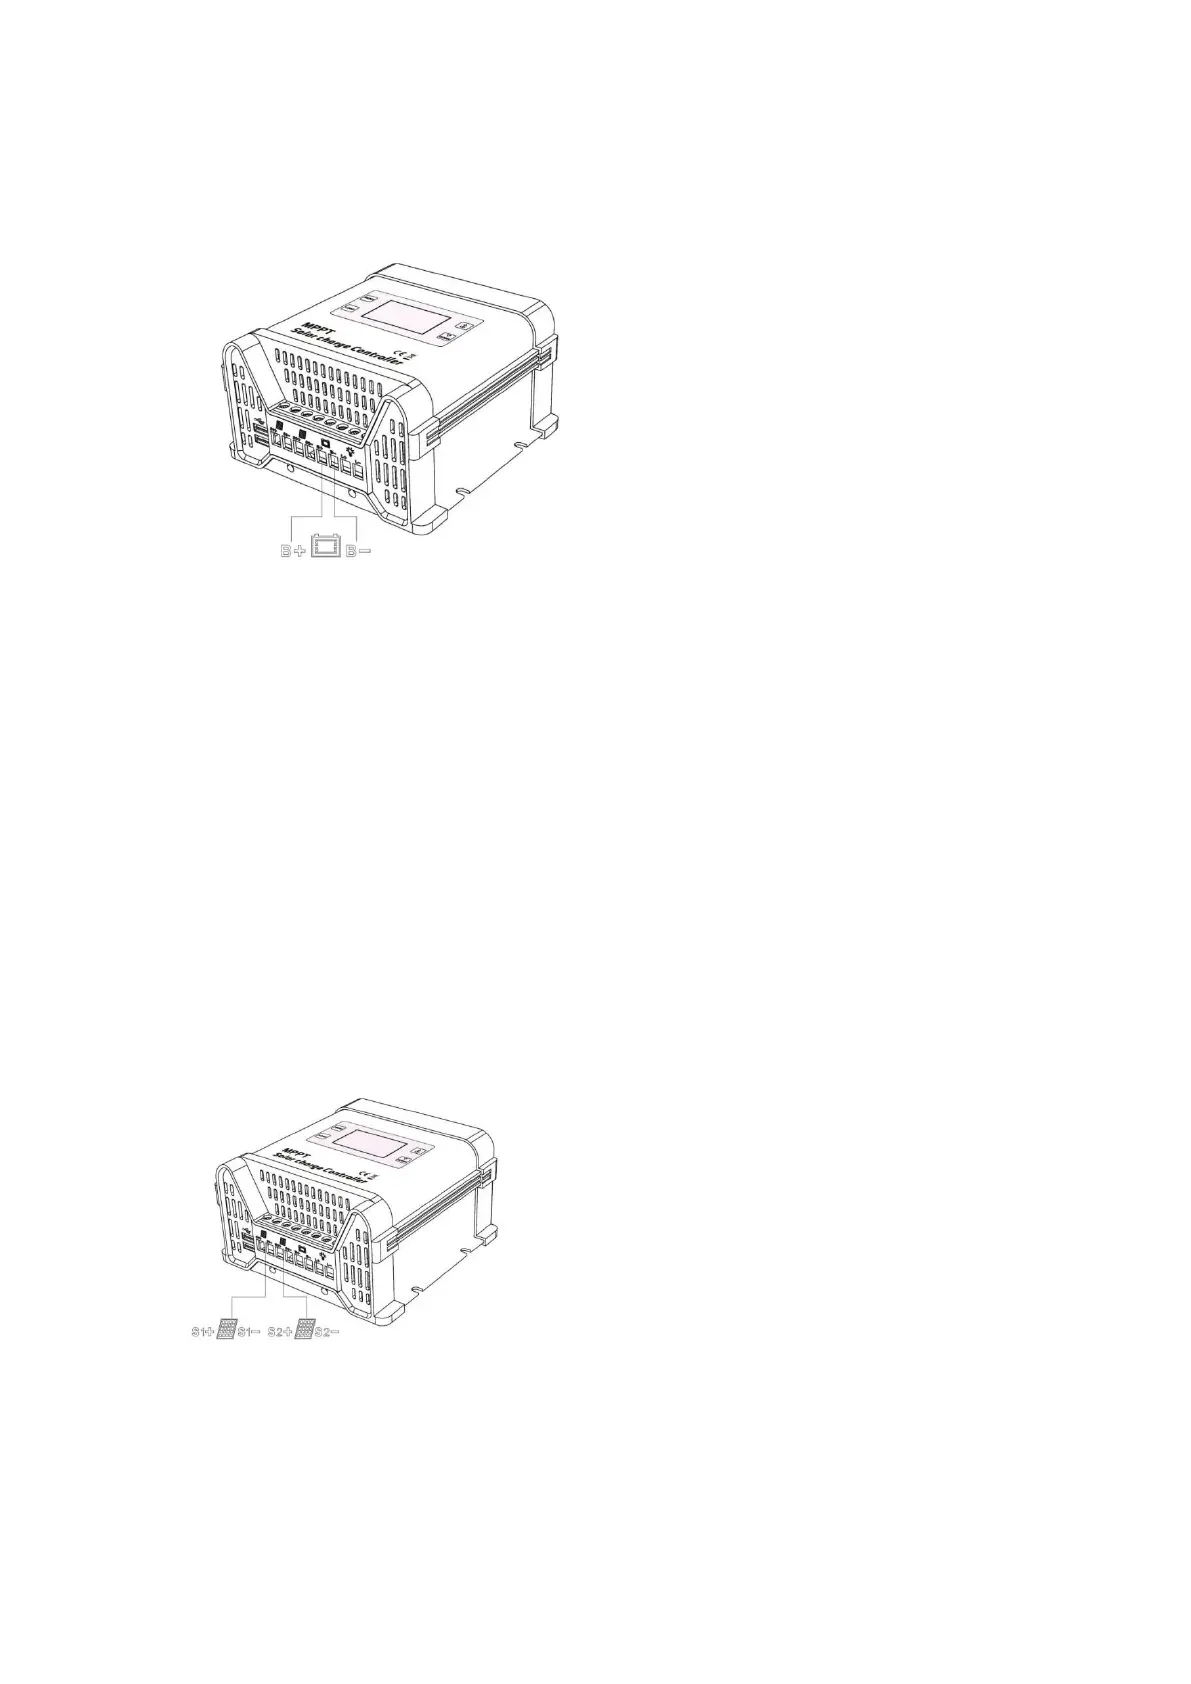
1.Connecting the battery with the MPPT solar controller by using the screw type
terminals intended for this purpose. Make sure you use a proper cable cross section
to keep the voltage drop and heating of the cables as low as possible. The screw type
terminals are designed for cable cross sections of up to 16m
Required minimum cross sections:
2.5m to 10A 2.5m to 20A 4m to 30A
6m to 40A 10m to 50A 10m to 60A
Make sure that the line between battery and MPPT solar charge controller is fused according to
Instructions. For example, you can use a slow acting 40A fuse with a 30A MPPT controller.