2.Connecting the solar module
Connecting the solar module with the solar controller to the corresponding screw type terminals.
Make sure the correct polarity! To avoid any voltage from the wires, first connect the controller,
then the solar array.
Note: place the positive and the negative wires close to each other to minimize electromagnetic
effects.
Notes: solar panels provide voltage as soon as exposed to sunlight. Mind the solar panel
manufacture's recommendations.
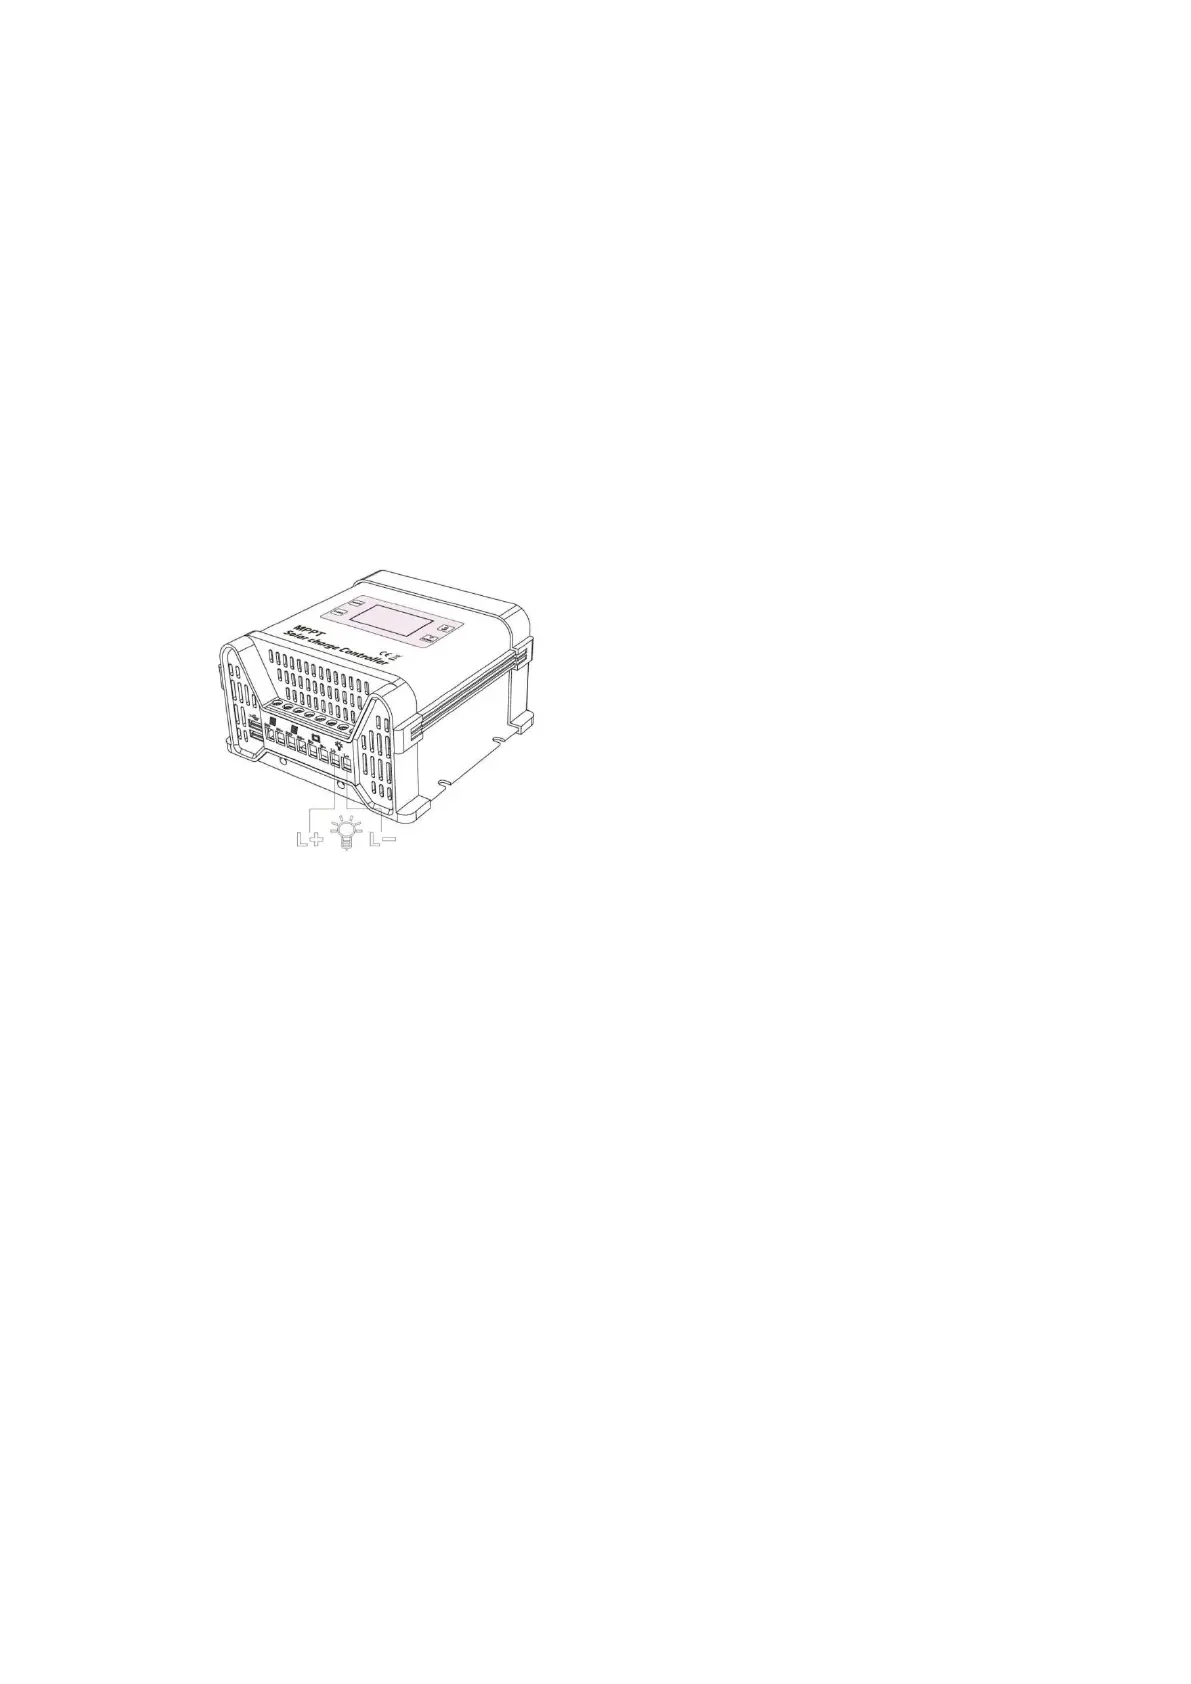
3.Connecting to the load
Connection the wires leading to the loads with proper polarity. To avoid any voltage on thr wires,
please first connect the wire to load, then to the controller.
Note: if the DC loads were protected by short circuit, over current or lower voltage, there is a in
shall flash(LCD screen displays).
Note: there is fuse inside of the controller for protection. If fault happens, fuse blow.
Description of functions and safety features
Step-up function
The MPPT solar controller is equipped with a step-up function, i.e. the solar controller charges
even if the solar voltage is lower than the battery voltage. Here, the maximum charging current is
1A.
Note: please note that this function is not given if the solar voltage is lower than the solar
controller's own consumption. In this case, the solar controller switches to standby.(See