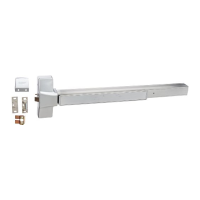
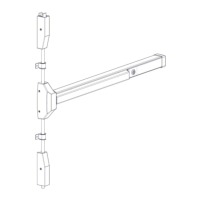
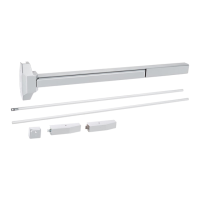
Mortise Lock Exit Device
Installation Instructions
I-ED01553
Rev 4, Rev Date: 06/19/18 27390043 Page 7 of 10
Remove end cap from end cap bracket. Mark the hole locations by holding the end cap bracket against the door. Make sure the exit
device is level before inserting the end cap bracket into the end of the exit device body. Mark and drill/tap holes. Install end cap
bracket and end cap using supplied screws.
For metal doors, drill and tap for ¼-20 machine screws.
For wood doors, pre-drill 1/8” Diameter holes.
For Through Bolting, drill 5/16” Diameter clearance holes on exit device side (push side) and 3/8” Diameter holes on pull side.
10. HAND TRIM (BE AND CE FUNCTIONS ONLY)
Make sure the handle is oriented to the side of the escutcheon that corresponds with the door handing. Make sure the spring cage is
oriented so the arrow is pointing in the direction of the desired handle rotation. If it is not oriented properly, remove the two screws
and rotate the spring cage 180 degrees and reinstall the screws. Install the handing pin.