EasyManua.ls Logo

hager 4700S User Manual

hager 4700S
8 pages
To Next Page IconTo Next Page
Page #1 background imageLoading...
Page #1 background image
4700 Series Surface Vertical Rod Exit Device
Installation Instructions
Grade 1
I-ED00793
Rev 4, Rev Date: 05/31/2018 Page 1 of 8
Hager Companies 139 Victor Street, St. Louis, MO 63104 (800) 325-9995 www.hagerco.com
TOOLS REQUIRED
Metal
Wood
Wood and Metal
Screws
For wood doors, drill
1/8” hole
Machine Screws
#7 drill, ¼”-20 tap
#16 drill, #12-24 tap
Sex Bolts
Drill 5/16” thru from device
side. Drill 3/8” from other side
(pull side).
Check building and fire codes
to see if your application
requires the use of sleeve
nuts and bolts.
DEVICES COVERED IN THIS DOCUMENT:
4700S Panic Surface Vertical Rod Device 4700L Panic Less Bottom Rod (LBR) Device
4700SF Fire Exit Surface Vertical Rod Device
#16 Drill
#12-24 Tap
#7 Drill
¼”-20 Tap
1/8” Drill
Question and Answer IconNeed help?

Do you have a question about the hager 4700S and is the answer not in the manual?

hager 4700S Specifications

General IconGeneral
Model4700S
BrandHager
Voltage12/24 VDC
Strike Body MaterialStainless Steel
Endurance1, 000, 000 cycles
DutyContinuous
ANSI/BHMAANSI/BHMA A156.31 Grade 1
Fire RatedYes
Power6 W

Summary

Applications and Tools

Double Door Installation

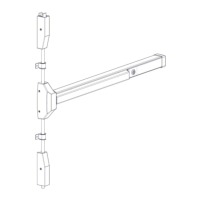
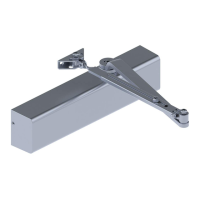
Illustrates mounting for standard double door setups.

Double Door with Rim Device

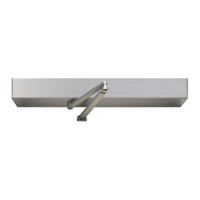
Shows installation context for double doors paired with a rim device.

Tools and Fasteners Required

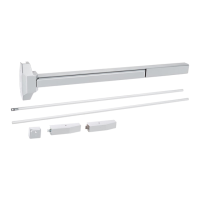
Lists essential tools, screws, taps, and sex bolts for secure mounting.

Cutting and Mounting the Device

Mark and Drill Mounting Holes

Details how to measure and drill holes for device mounting on the door.

Install Exit Device Chassis

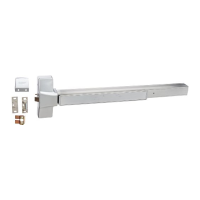
Guides on mounting the main exit device body onto the door.

Install End Cap Assembly

Instructions for fitting the end cap bracket and end cap.

Bottom Strike and Latch Installation

Install Bottom Latch Mounting Bracket

Steps for attaching the bottom latch mounting bracket to the door.

Install Bottom Strike

Step-by-step guide for installing the bottom strike mechanism.

Install Bottom Latch and Rod

Top Mounting Bracket and Latch Installation

Install Top Mounting Bracket

Guides for fitting the top mounting bracket to the door frame.

Install Top Latch and Strike

Guides on fitting the top latch assembly and strike to the door frame.

Install Top Rod

Final Installation Steps

Adjust and Test Installation

Procedures for testing device operation and making necessary adjustments.

Install Covers and Rod Guides

Instructions for installing chassis and latch covers, plus rod guides.

Dogging Device Operation

Details on how to engage and disengage the dogging feature.

Related product manuals