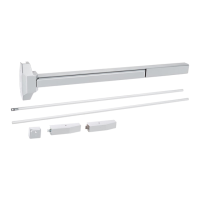
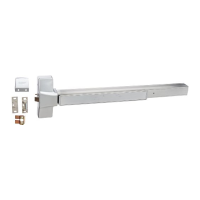
4700 Series Surface Vertical Rod Exit Device
Installation Instructions
Grade 1
I-ED00793
Rev 4, Rev Date: 05/31/2018 Page 6 of 8
Hager Companies 139 Victor Street, St. Louis, MO 63104 (800) 325-9995 www.hagerco.com
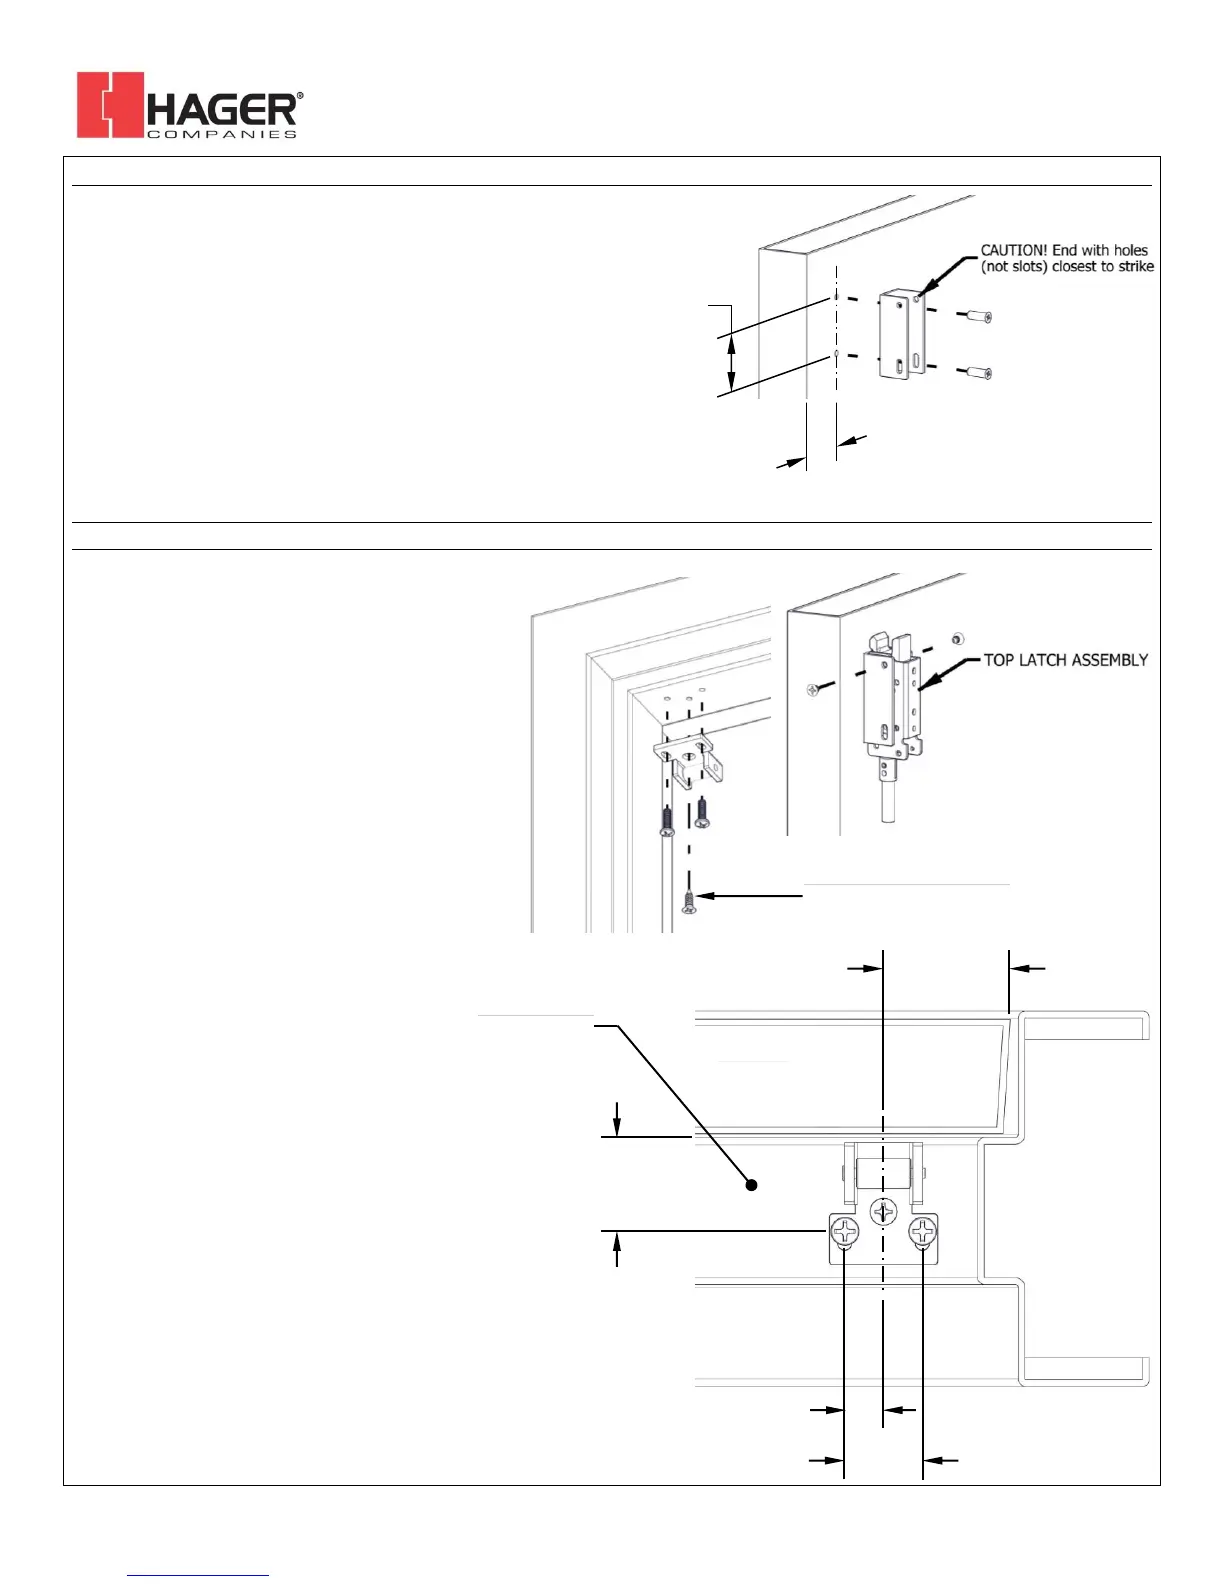
8. INSTALL TOP MOUNTING BRACKET
Remove top latch cover and mounting bracket from top latch
assembly. Fold and apply template to door using edge of door
and face of top stop. Mark and drill holes as shown on
template for both top latch bracket and strike. Be sure the
vertical centerline for the top latch mounting holes is 1 7/16”
from the edge of door. Install top mounting bracket.
- For metal doors, drill and tap for 1/4"-20 machine screws
- For wood doors, pre-drill 1/8” holes
- For Sex Bolts, drill 5/16” clearance holes on exit device side (push
side) and 3/8” on pull side
Screws:
Metal doors or Sex Bolt: 1/4"-20 machine screws (2)
Wood door: #12 wood screws (2)
9. INSTALL TOP LATCH AND STRIKE
STEP 1: Install top strike to face of stop
using only the two outer slotted
mounting holes.
STEP 2: Install top latch assembly to top
mounting bracket using provided
screws and top two holes in
bracket.
STEP 3: Close door, check alignment of
strike and top latch, adjust if
required, and install screw into
center hole in strike.
- For metal stop, drill and tap for #12-24
machine screws
- For wood stop, pre-drill 1/8” holes
Strike Screws:
Metal Stop:
#12-24 button head machine screws (2)
#12-24/#10 flat head combo machine/wood screw (1)
Wood Stop:
#10 button head wood screws (2)
#12-24/#10 flat head combo machine/wood screw (1)