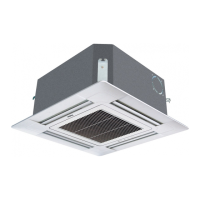
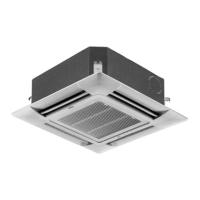
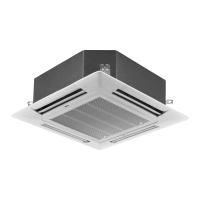
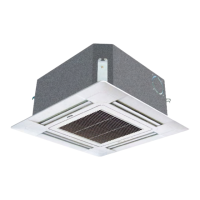
Indoor Unit
215
Super Match
Installation Procedure
Before installation
■ Try to bring the packed unit to the installation place.
■ When it is inevitable to unpack the unit, be careful not to damage the unit. Wrap it
with nylon etc.
■ After unpacking, be sure to put it with the front side of the unit facing up.
■ When delivering, don’t hold plastic parts like inlet and outlet grill etc.
Installation o outdoor unit
Selection of outdoor unit installation place
■ Place strong enough to support the unit and will not cause vibration and noise.
■ Place where discharged wind and noise doesn’t cause a nuisance to the neighbors.
■ Place where is less affected by rain or direct sunlight and is sufciently ventilated, or
to install a shield.
■ Place with enough space for smooth air ow.
Fixing of the outdoor unit
■ Fix outdoor unit using M10 bolt to concrete oor horizontally.
■ If installed on the wall or on top of a roof, bracket should be xed securely to resist
earthquake or storms.
■ Use rubber pad during installation against unit vibration.
Selection of indoor unit installation place
■ Place where it is easy to route drainage pipe and outdoor piping.
■ Place away from heat source and with less direct sunlight.
■ Place where cool and warm air could be delivered evenly to every corner of the room.
■ Place near power supply socket. Leave enough space around the unit (refer to installation drawings).
Installation of indoor unit
1. Position of the wall hole
Wall hole should be decided according to installation place and
piping direction. (refer to installation drawings)
2. Making a wall hole
Drill a hole of 70mm dia. with a little slope towards outside.
Install piping hole cover and seal it with putty after installation.
3. Fixing of indoor unit
With the unit set up vertically, x the tting metal to the unit with
screws, then x the tting metal to the wall with cement nail and
washer, as shown right:
Moreover, if wanting to x the unit more rmly, you should x
the bottom panel to the ground with concrete bolts, as shown
right:
 Loading...