Do you have a question about the Haiku L3127-X5 and is the answer not in the manual?
Ensure power is disconnected before wiring the fan.
Connect supply power wires to the wiring harness.
Connect supply ground wire to harness ground wires and mounting bracket.
Secure supply ground wire (a) to harness (b) and bracket (c).
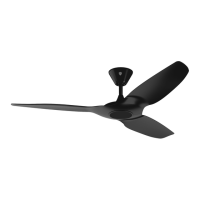
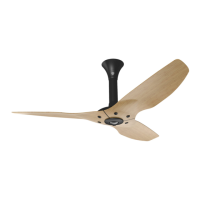
Ensure airfoil stickers match fan hub stickers before installation.
Install each airfoil (b) to the motor assembly (a) with screws (c).
Lower the extension tube (a) onto the motor shaft, aligning stickers.
Connect yellow Earth/Ground connector (c) to motor connector (d).
Secure Earth/Ground wire to motor shaft using captive screw (b).
Plug wiring harnesses (a, b) into receptacles on the motor.
Align and secure the extension tube to the motor shaft with hardware (c, d, e).
Connect large harnesses (a) and small harness (b) to motor receptacles.
Align and secure the extension tube with M8 bolt (c), washer (d), and nylock nut (e).
Position lower cover ring (a) evenly on the motor.
Thread wires through trim (b) and slide trim down onto cover ring.
Align trim screw holes with motor screw holes and secure with screws (c).
Place lower cover ring (a) on motor, rotating clockwise until it stops.
Thread wires through trim (b) and secure trim with screws (c).
Slide diffuser ring (a), wiring cover (b), and mounting ball (c) down the extension tube.
| Model | L3127-X5 |
|---|---|
| Type | Ceiling Fan |
| Blade Span | 52 inches |
| Motor | DC Motor |
| Energy Efficiency | Energy Star Certified |
| Warranty | Limited Lifetime |
| Control | Remote Control |
| Power Consumption | 30W |