8
8. TROUBLESHOOTING GUIDE
WARNING:
Disconnect the power plug before servicing.
Failure to do so may result in electric shock.
CHECK
: Is the tip inserted properly?
ACTION
: Insert the tip completely.
CHECK
: Is the connection cord and/or the
heater/sensor broken?
ACTION
: See the appropriate section of this
manual regarding how to check the
connection cord and/or the heater/
sensor for breakage.
●
The tip does not heat
up.
• The sensor error is dis-
played.
●
Solder does not wet the
tip.
CHECK
: Is the tip temperature too high?
ACTION
: Set the appropriate temperature.
CHECK
: Is the tip contaminated with oxide?
ACTION
: Remove the oxide by cleaning the tip
on a damp sponge or Hakko 599B tip
cleaner.
●
The tip temperature is
too high.
CHECK
: Is the connection cord broken?
ACTION
: See “Checking the connection cord
for breakage”.
CHECK
: Is the Tip ID number key entered cor-
rectly?
ACTION
: Enter the correct value.
●
The tip temperature is
too low.
CHECK
: Is the tip contaminated with oxide?
ACTION
: Remove the oxide by cleaning the tip
on a damp sponge or Hakko 599B tip
cleaner.
CHECK
: Is the Tip ID number key entered cor-
rectly?
ACTION
: Enter the correct value.
●
The soldering iron error
is displayed.
• The LED heater lamp does not
light.
CHECK
: Is the connection cord broken?
ACTION
: See “Checking the connection cord
for breakage”.
CHECK
: Is the FM-2023 plug disconnected?
ACTION
: Connect the FM-2023.
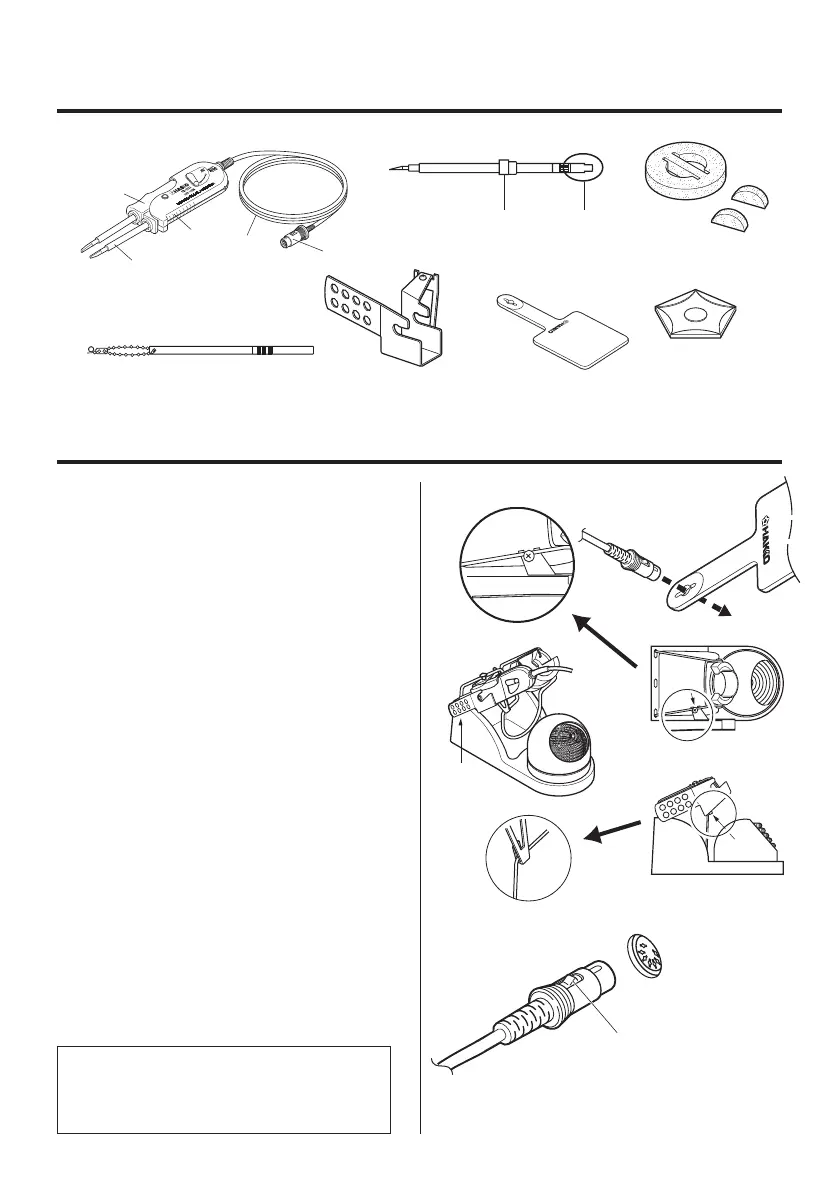
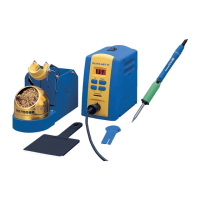
5. SETTING UP THE FM-2023
1. Connector cord
Pass the connector cord through the hole
in the heat resistant pad.
2. Iron holder
Attach the holder clip to iron holder
No.FH100-01 or FH100-02.
Hang the lower hook of holder clip on the
lower wire of the iron holder and attach it
with the screw.
(Setup follows)
1. Do not let the tips extend beyond the
back of the iron holder base.
(See drawing No.1)
2.
Before tightening the screw, make sure
that the 2 projections of holder clip
are touching the upper wire of the iron
holder. (See drawing No.2 and No.3)
3. Connections
1. Connect the plug to the FM-202.
2. Place the FM-2023 in the iron holder.
3. Plug the power cord into the power
supply. Be sure to ground the unit.
Push the plug in as far as
it will go, and try to remove it
without pressing the release pin.
If it stays in the receptacle
it is properly seated.
Receptacle
When the plug clicks ,
it is fully inserted.