6
Assembly (continued)
5
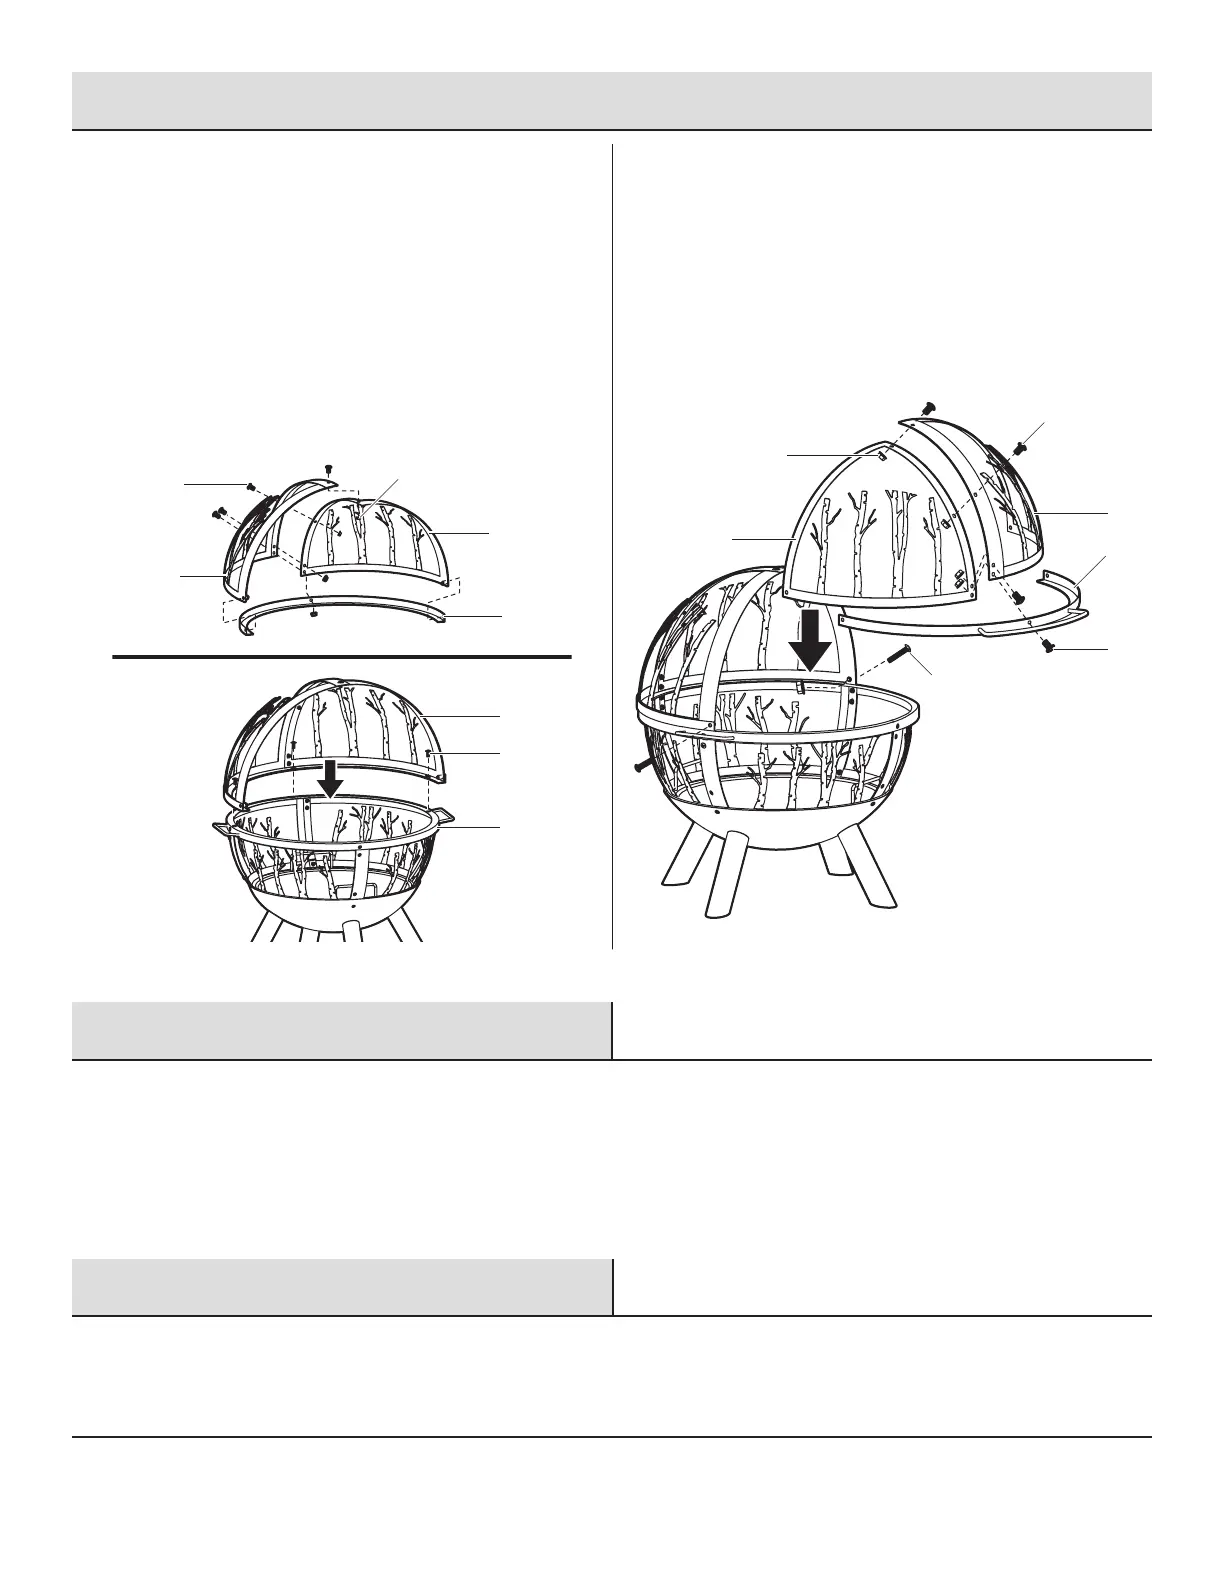
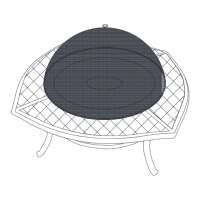
Assembling the top screen
□ Attach the right top section (J) to the left top section (K)
using the 12 MM bolts (AA) and hexnuts (DD).
□ Attach the top sections (J, K) to the connecting ring (E)
using the 12 MM bolts (AA) and hexnuts (DD).
□ Attach the top screen to the center ring (D).
□ Attach the top section to the bottom, using the 12 MM bolts
(AA) and hexnuts (DD).
D
J
AA
E
J
DD
K
AA
6
Assembling the door screen
□ Attach the right door section (L) to the left door section (M)
using the 12 MM bolts (AA) and hexnuts (DD).
□ Attach the door sections to the connecting ring with handle
(F) using the 12 MM bolts (AA) and hexnuts (DD).
□ Attach the door screen to the top screen using the 35 MM
bolts (CC) and hexnuts (DD).
A
L
AA
CC
F
DD
M
Operation
□ Add up to 5 lbs. of kindling and rewood to the rebowl. Use paper or restarter under the kindling and light with a match. Add
more rewood as needed. The capacity of the re pit is 5 lbs. of fuel.
□ Close the door screen. Always keep the door screen closed during use.
Care and Cleaning
□ Clean out ashes after each use only after the re pit is completely cooled.
□ Do not attempt to clean while hot.
□ Store the re pit in a dry place out of the weather.
□ Clean cooking grate with soap and water. Dry with a clean rag.



 To Next Page