5
HAMPTONBAY.COM
Please contact 1-855-HD-HAMPTON for further assistance.
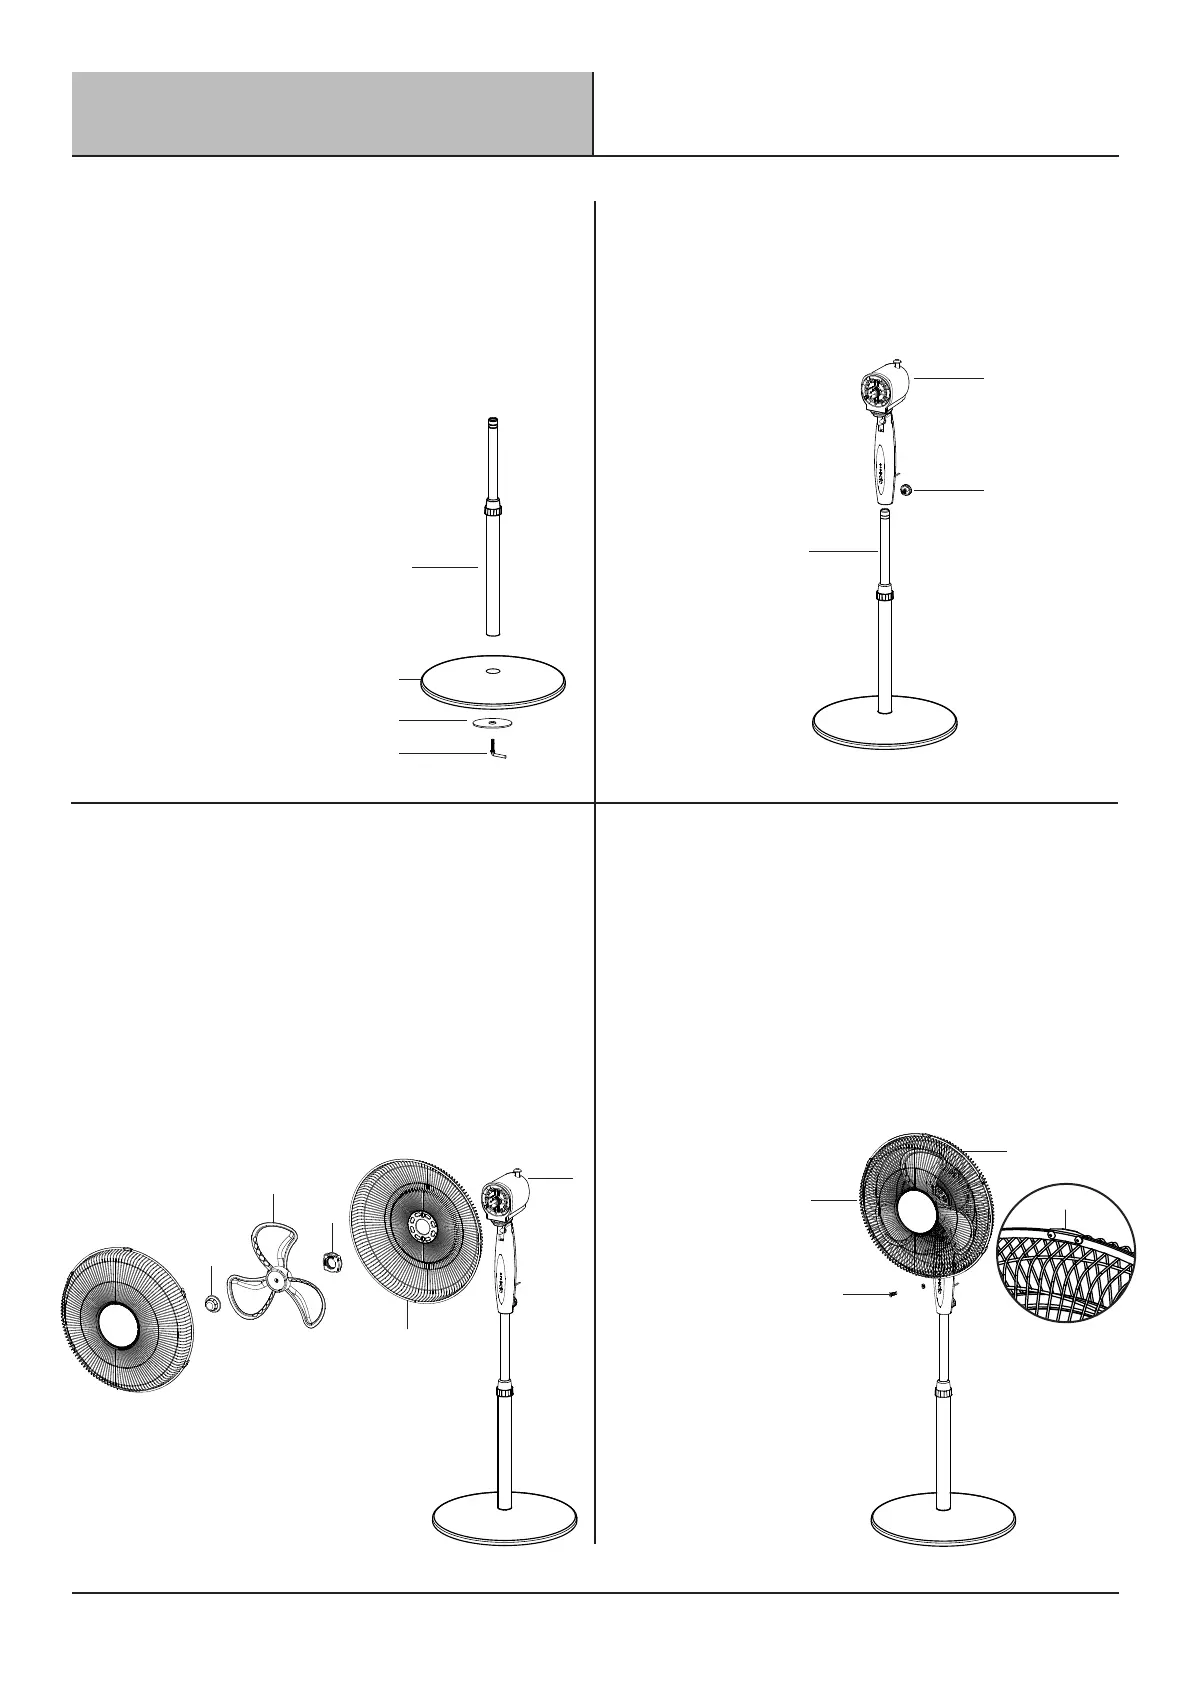
□ Remove L-shaped Locking Screw (Q) and Washer
(P) from the Outer Pole (N). Insert the lower end of
the Outer Pole (N) through the hole in the center of
Base (O) and twist clockwise into position.
□ Turn the base upside down (pole facing the oor).
□ Insert the threaded end of the
L-shaped Locking Screw (Q) into
the hole of the Washer (P) and
through the base.
□ Turn the L-shaped Locking Screw
(Q) clockwise to securely attach
the pole to the base.
□ Set the base on the oor,
L-shaped Locking Screw (Q)
down.
□ Loosen Fan Post Screw (K) and slide Motor Housing (J) over
top of Extension Pole (L). Tighten Fan Post Screw (K).
□ Line up the 2 holes of the Rear Grill (G) with the posts on
the Motor Housing (J) assembly.
□ Secure Rear Grill (G) to Motor Housing (J) assembly with
Rear Grill Mounting Nut (F). Turn clockwise to tighten.
□ Slide Blade (E) over Motor Shaft (H).
□ Secure fan blade to motor shaft with the Blade Cap (D).
Turn counter-clockwise to tighten.
□ Open the expandable Grill Clips (C) located around the
perimeter of the Front Grill (A).
□ Align the hole located at the bottom of the Rear Grill (G)
with the hole at the bottom of the Front Grill (A).
□ Close all the Grill Clips (C) around the perimeter of the grill.
□ Remove the nut from the Grill Locking Screw (B). Insert
the screw into the hole at the bottom of the grill. Secure in
place by tightening the nut over the back of the screw.
Installation
L
K
J
J
G
A
B
C
N
Q
G
F
E
D
P
O
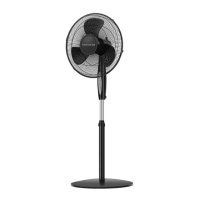
1 Base installation
3 Rear grill and fan blades
installation
4 Front grill installation
2 Motor installation