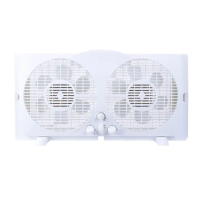
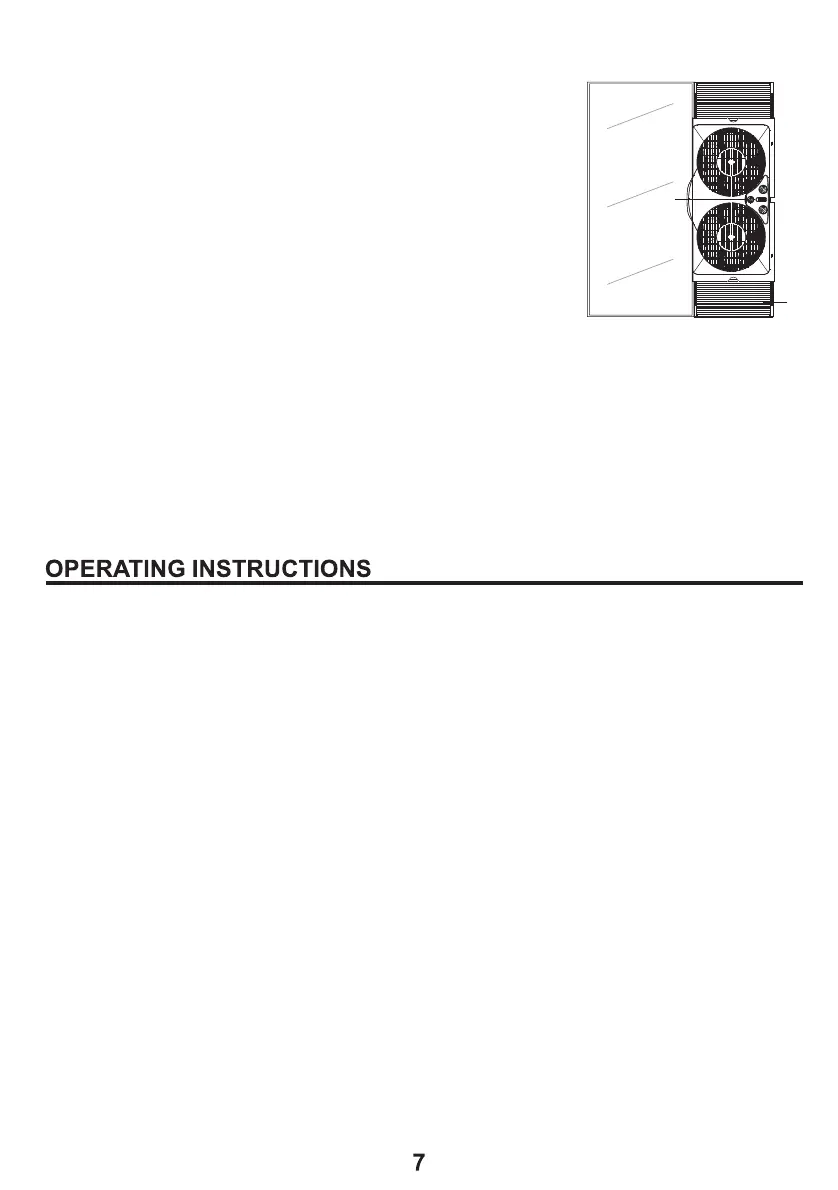
FOR VERTICAL SLIDER-TYPE WINDOWS (Fig.4)
1. Position the fan in the window with the
thermostat control (D) facing the center of
the opening.
2. To adjust height, remove fan from window,
extend the expandable panel (G) until it
matches the height of the window.
3. With the window fully open, position the fan
in the window with thermostat control facing
the center of the opening.
4. Fan must fit securely against the inside edge of the window
opening.
5. Slide the sliding window to meet the edge of the fan.
6. Adjust the expandable panel to fill in remaining space between
fan and window frame.
1. Make sure rotary switches are in the OFF position.
2. Plug into 120V AC electric outlet.
3. Set the individual fan motors on either In ( intake ),
Out ( exhaust ) or Exch (exchange) using the control lever.
4. Turn the Thermostat Control to its highest setting
(full clockwise).
5. To start the unit turn the rotary switches to desired speed:
0=Off, 1=Low, 2=Medium, 3=High.
6. While the window fan is on, turn the Thermostat Control
counter-clockwise towards the smaller dots until the fan stops
(Away from Cooler). This is the selected comfort level.
7. If the fan is stopped and you want to turn it back on, turn the
Thermostat Control clockwise until the fan starts, towards the
larger dots (Towards Cooler).
Fig. 4
D
G