25
For a correct installation:
• Remove the syringe plunger; cut top off supplied sachet with silicone grease and empty contents
into the syringe. Using the syringe, sparingly lubricate the O‑ring with a thin film of the sup‑
plied grease. Avoid getting any kind of grease or fingerprints onto the optical window. DO NOT
SUBSTITUTE other grease/lubricants as it may cause the O‑Ring to swell.
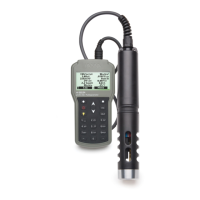
• Insert the sensor into the correctly color coded opening while positioning the connector key toward
the center of the probe. Make sure the connector is seated correctly (the sensor will no longer move
freely) before tightening the locking threads with your fingers.
• Continue to tighten the locking threads with the tool supplied in the maintenance kit until the sensor is
secured tightly against the probe body.
• To protect the sensors, screw the protective shield onto the probe body.
• With the meter off, connect the probe to the DIN socket on the bottom of the meter. Align the pins
and key then push the plug into the socket. Tighten the knurled, threaded shell.
• Turn on the meter by pressing the ON/OFF key. The meter should automatically recognize the
installed sensors and identify them on the probe status screen. If you have an error message or
the sensor is not recognized, reconnect the sensor(s) or probe and try again.
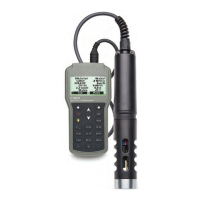
SENSOR INSTALLATION
 Loading...