26
Chapter 5 - INITIALIZATION AND MEASUREMENT
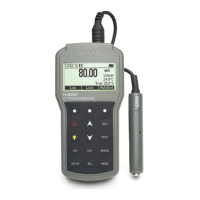
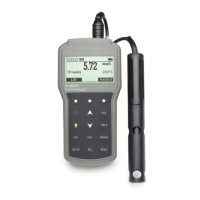
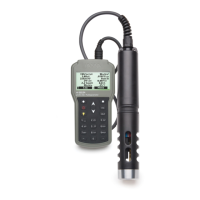
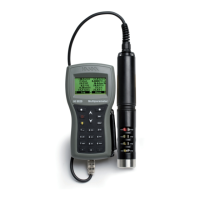
HI9829 is supplied with 4 rechargeable, size C NiMH (Nickel‑metal hydride) batteries.
The battery symbol on the LCD indicates the remaining battery charge. The meter has a low battery
warning, and when the symbol starts blinking, batteries should be charged or replaced with new ones.
When the batteries are discharged the meter will automatically shut off to avoid erroneous readings.
Meter Battery Installation
Replace batteries in safe areas only.
Remove the 4 screws on the rear of the instrument
and insert the batteries observing polarity.
If you wish to replace the supplied rechargeable
batteries with nonrechargeble alkaline batteries,
move the switch in the battery compartment upward.
A warning message is displayed if you connect the
charging cable to a meter with alkaline batteries.
Nonrechargeable alkaline batteries can explode or leak if you try to charge them. Verify
that the switch is in the up position when using alkaline batteries to prevent recharging.
Note: Do not mix old and new alkaline batteries.
Charging Meter Batteries
Two cables are available for charging the HI9829 batteries: HI710045 and HI710046.
AC power supply
In order to charge the rechargeable batteries, use the HI710045 cable and the 12 Vdc power adapter.
• With the meter OFF, disconnect the probe.
• Connect the HI710045 cable to the probe connector on the meter and power adapter, then connect
the adapter to an AC power outlet.
• The battery charging animation will be displayed.
BATTERY INSTALLATION
 Loading...