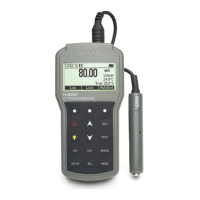
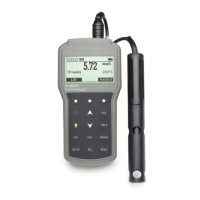
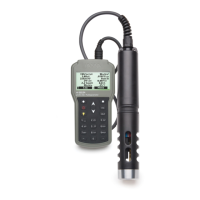
38
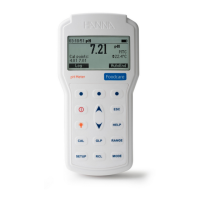
Procedure
The measured pH value is displayed, along with the temperature and the buffer value on the second
level.
If necessary, press the <Cal point> softkey and use the / keys to select the correct buffer.
• Immerse the sensors in the first buffer rinse solution and stir gently.
• Immerse the pH sensor and temperature probe into
the selected buffer and stir gently. The temperature, pH
buffer value and the “Not ready” message are displayed.
• Once the reading has stabilized the countdown timer will
count down until the display shows the “Ready” message.
• Press <Confirm> to accept the calibration point.
• After the calibration point is confirmed, to avoid cross‑
contamination immerse the sensors in the next calibration
buffer rinse solution and stir gently.
• Press <Cal Point> to select the next buffer (if neces‑
sary), and repeat the calibration procedure outlined above
with the second and third buffers.
Note: The calibration procedure can be terminated after a single or 2 point calibration by press-
ing <ESC>. The message “Storing” followed by “Calibration completed” will be displayed.
• Press <OK> to return to the Calibration menu.
• Press <Measure> to return to the measurement screen.
Custom buffer calibration
• The HI9829 permits a single custom buffer to be used for
pH calibration. This can be used along with standard buffers
as part of a 2 or 3 point calibration or as a single point.
• To select this option first press <Cal. point> and then
<Custom> while the meter is waiting for stable reading.
•
A text box window will appear. Use the keypad to enter
the value of the buffer at the current temperature. The valid range for custom a buffer is from
0.00 to 14.00 pH.
pH CALIBRATION
 Loading...