46
• The third level displays the status message.
• Press <Custom> to insert a custom value (temperature compensated value). Insert the desired
value using the keypad, then press <Accept>.
• When the reading becomes stable, the stability timer will count down and <Confirm> will appear.
Press <Confirm> to save the calibration.
• After confirmation, the following messages are displayed: “Storing” and “Calibration com‑
pleted”.
• Press <OK> to return to the “Calibration” menu.
• Press ESC twice to return to main menu.
• Press <Measure> to return to the measurement screen.
Absolute Conductivity
• Select “Absolute conductivity” from the “Conductivity
calibration” menu.
• Use the keypad to enter the custom value with the desired
resolution. Press <Accept> to confirm.
• Fill the calibration beaker with conductivity standard with
known conductivity at the temperature of standardization.
• Pour additional standard into a second beaker to be used to rinse the sensor.
• Immerse the sensor into the rinse beaker and raise and lower the beaker to ensure that the EC
sensor channels are filled with fresh standard.
• Place the calibration beaker over the EC sensor and dislodge any trapped bubbles. Screw the beaker
into place.
• Wait for the reading to stabilize. The stability timer will count down and <Confirm> will
appear.
• Immerse the sensor into the rinse standard by raising and lowering the beaker a few times to ensure
that the EC sensor channels are filled with fresh standard.
• Place the calibration beaker over the EC sensor and dislodge any trapped bubbles. Screw the beaker
into place. Wait for the reading to stabilize.
• The main display shows the actual reading, while the secondary level displays the current temperature
and the standard value.
• To change the standard value, press <Cal. point> and the list of available standard values is
displayed: 0 µS/cm, 84 µS/cm, 1413 µS/cm, 5.00 mS/cm, 12.88 mS/cm, 80.0 mS/cm and
111.8 mS/cm.
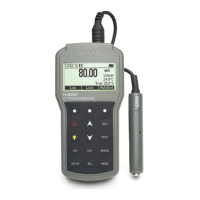
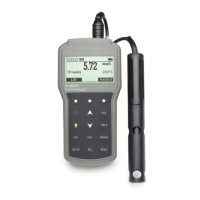
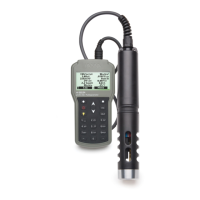
CONDUCTIVITY CALIBRATION
 Loading...