Functions
N a m e
F u n c t i o n s
No paper.
Under recording.
Alarm 1 ON.
Alarm 2 ON.
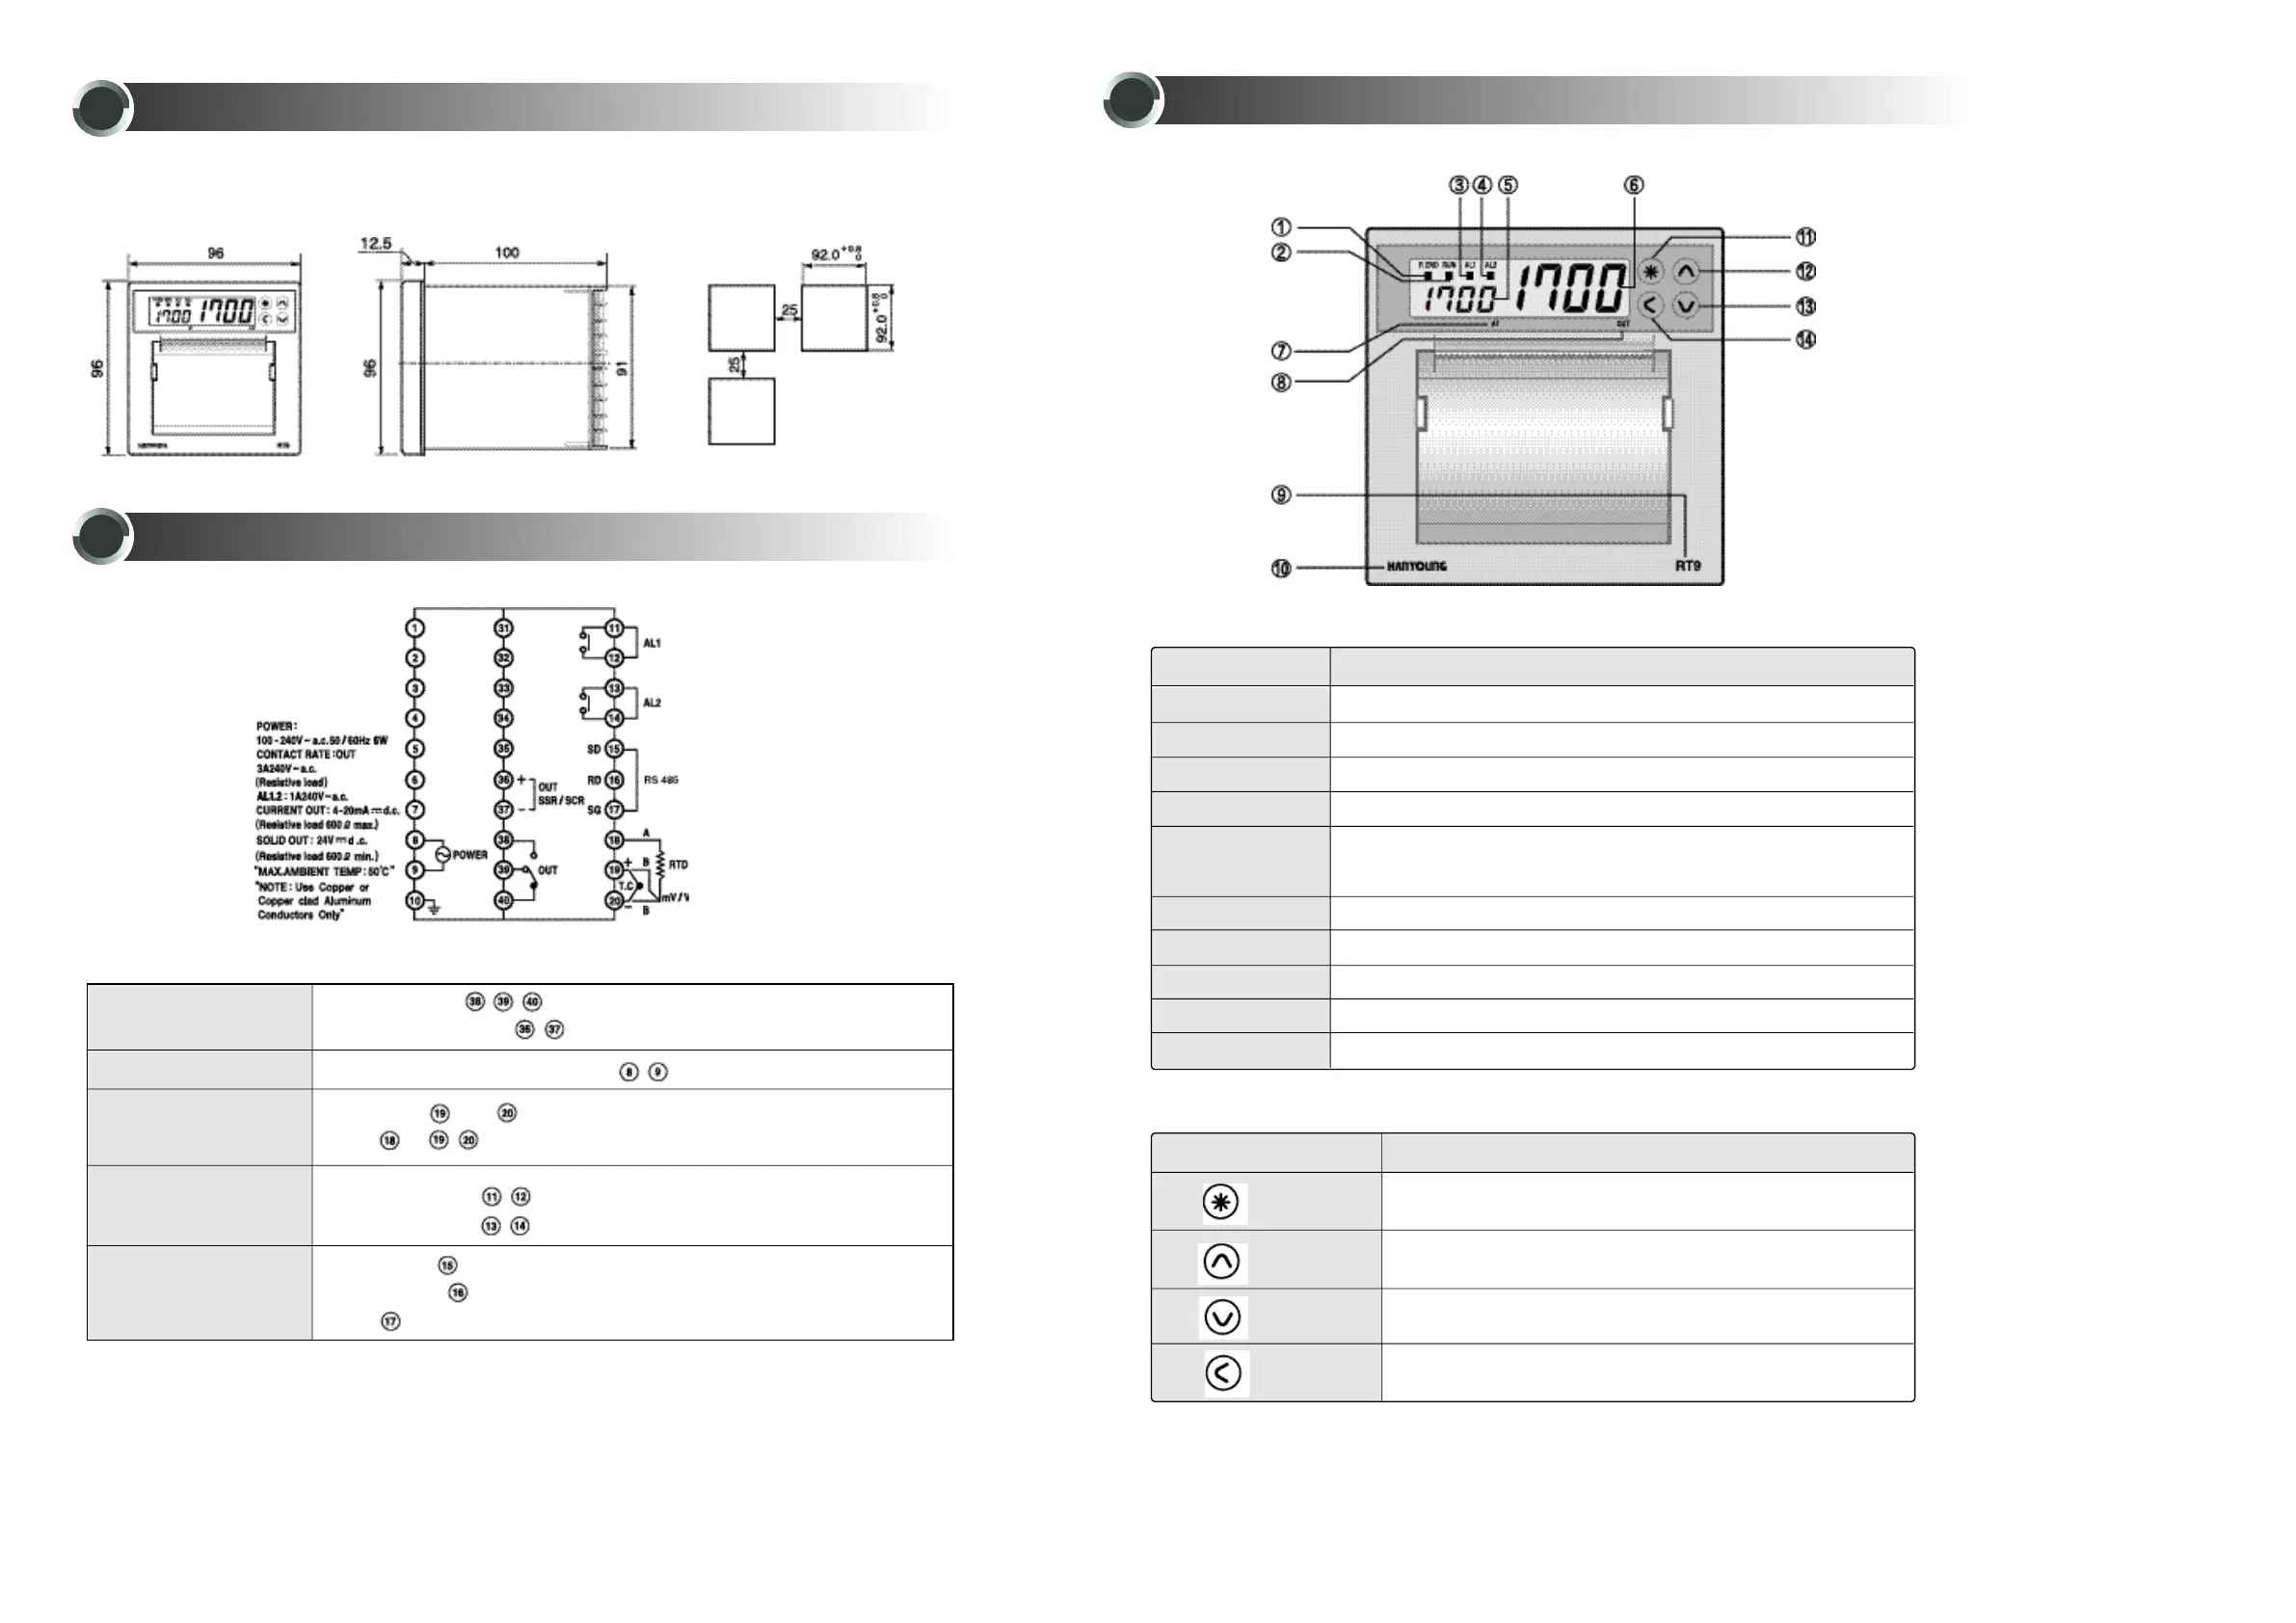
Displays set value and various parameters.
(RT9-0 : Displays input type)
Display the process value. When setting, display various modes.
Flickers when the auto tuning operates.
Lights when the control output is ON.
Model name
M a n u f a c t u r e r
Used to change mode.
Used to increase set-value.
Used to decrease set-value.
Used to select digit for changing.
① P.END
② RUN
③ AL1
④ AL2
⑤ S e t - v a l u e ( S V )
⑥ P r o c e s s - v a l u e ( P V )
⑦ AT
⑧ OUT
⑨ RT9
⑩ HANYOUNG
K e y
⑪ 모드버튼
⑫ 증가버튼
⑬ 감소버튼
⑭ 쉬프트버튼
NAME & FUNCTION
2) Displays
1) Front
12
7
3) Control keys
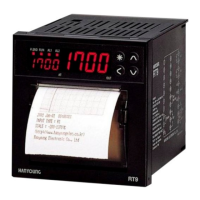
● RT9 ( 9 6×96 mm )
DIMENSIONS & PANEL CUTOUT
5
11
TERMINAL ARRANGEMENT
6
Relay(Terminal no. )
SSR / SCR (Termina no. )
100 - 240 VAC 50/60 Hz. (Termina no. )
Termocouple: →+, → -
R.T.D: A, → B
Alarm1 (Termina no. )
Alarm2 (Termina no. )
Sending data ( )
Receiving data ( )
Earth ( )
1) Control Output
2) POWER
3) Input sensor
4) AL1 / AL2
5) Communication
●
Terminal
●Panel cutout
(Unit : mm)
 Loading...