Do you have a question about the Happymodel Mobula7 HD PNP and is the answer not in the manual?
Illustrates wiring connections for flight controller components like motors and signals.
Guides on connecting and enabling serial receivers (SBUS, IBUS, DSMX, CRSF).
Details selecting receiver provider and enabling Serial RX for UART ports.
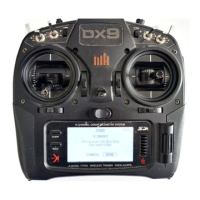
Explains how to set up transmitter switches for arming/disarming and confirms transmitter channel mapping.
Explains manual VTX channel switching via button presses.
Configure VTX band, channel, and frequency using Betaflight CLI commands.
Enable Smartaudio for UART2 and use transmitter sticks to access VTX OSD menu.
Download BLHeliSuite for ESC configuration and firmware updates.
Steps to flash ESC firmware using BLHeliSuite, selecting the correct target.
Configure ESC settings like startup power, direction, and timing.
Install STM32 Virtual COM Port and DFU drivers, then replace with WINUSB.
Update flight controller firmware using Betaflight configurator and DFU mode.
Instructions for installing CW and CCW propellers onto the correct motors.
Note on checking motor direction if it appears reversed.
Configure ESC features like DSHOT600 protocol and motor stop.
Configure a transmitter switch to activate the flip-over-after-crash feature.
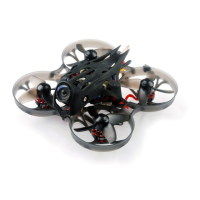
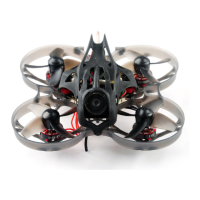
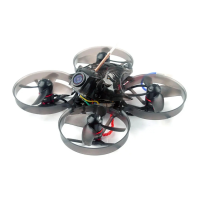
| Flight Controller | Crazybee F4 Pro V3.0 |
|---|---|
| Battery Connector | PH2.0 |
| Propellers | 40mm 3-blade |
| Wheelbase | 75mm |
| Video Transmitter | 25-200mW |
| ESC | 5A BLHeli_S |
| Protocol | FrSky D8/D16 or Flysky AFHDS 2A |
| Battery | 2S 300mAh LiPo |
| Flight Time | 3-5 minutes (depending on battery and flying style) |