Page 9<&(%$*4.8"4,7%H'*#$"&8#I%/7*,#*%4,77%JKLLLKLMMKNOPO1Item 56825
?@<6AQD@CEA6E@ER6 S@?CR%T6GUCEVT6GUCEV%ACW? SETUP
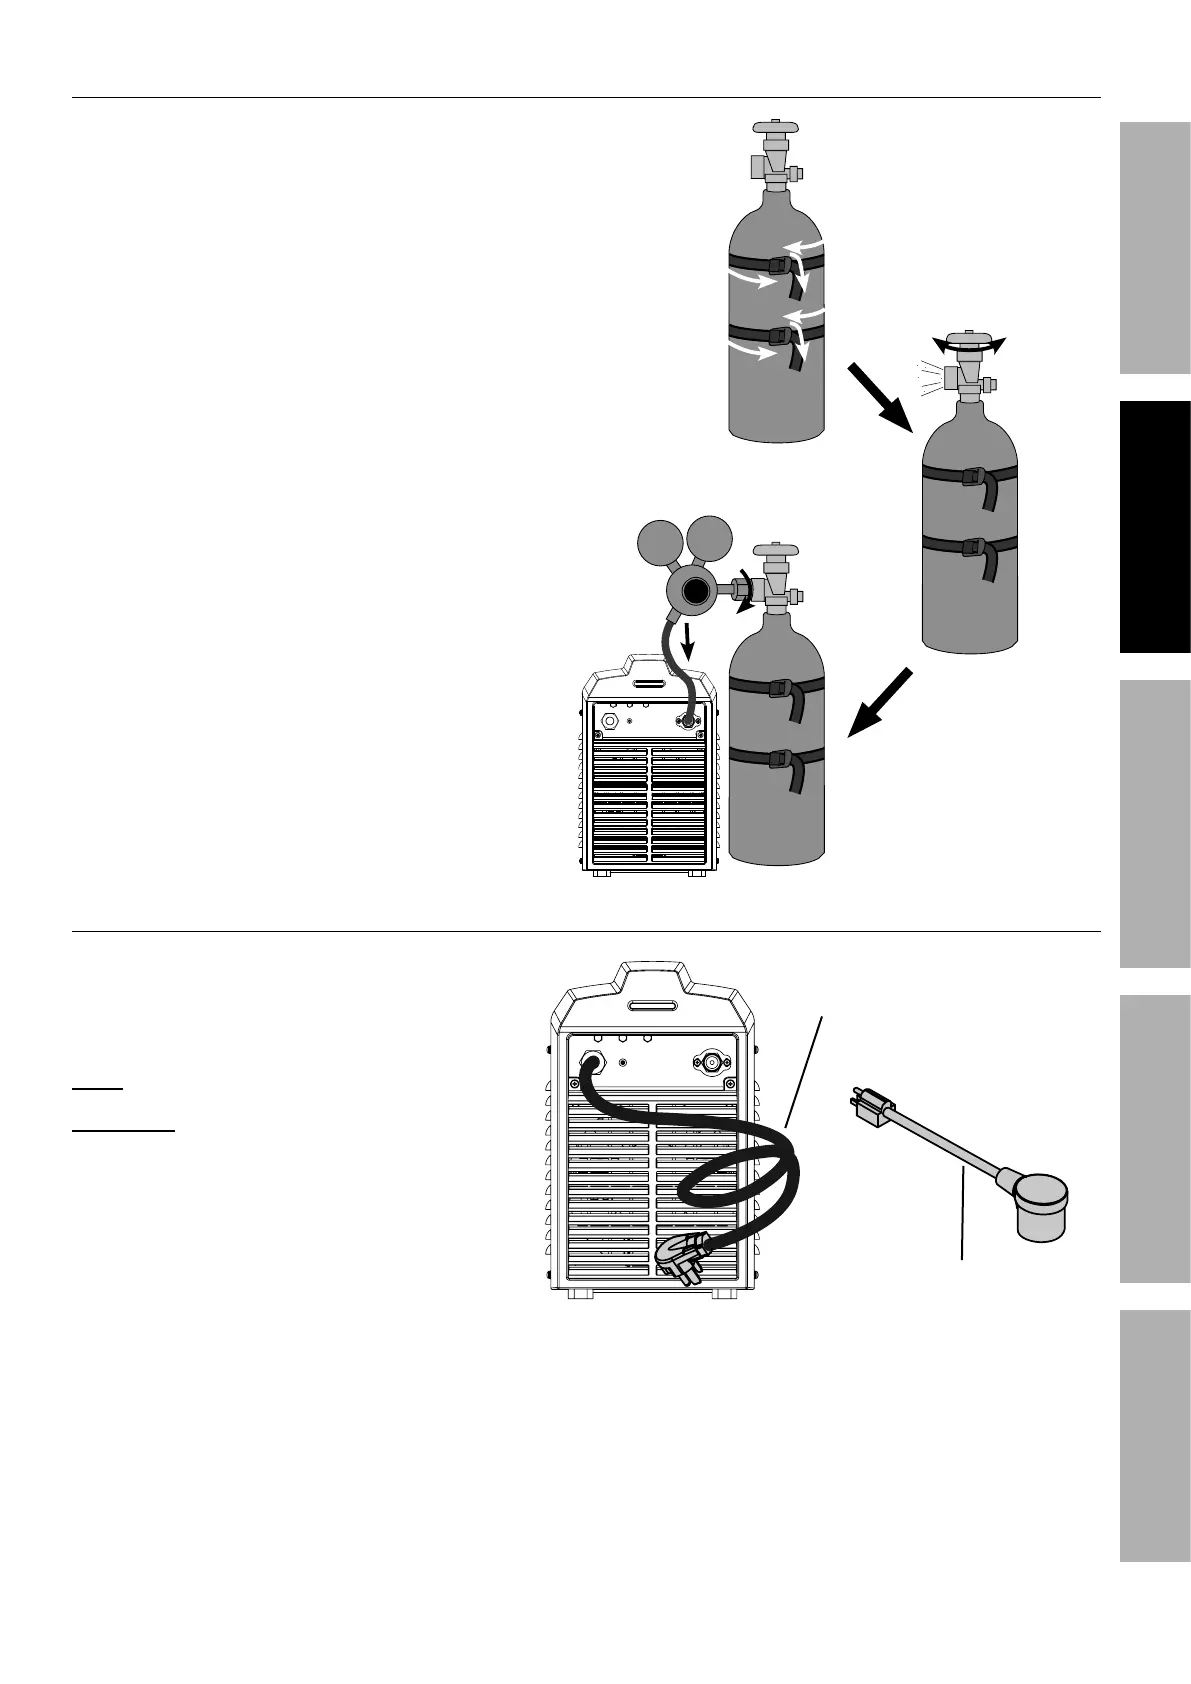
R&88*4$%?."*79"83%V,#
1. With assistance, place an 100% Argon cylinder
(not included) onto a cabinet or cart near the
Welder and secure the cylinder in place with
two straps (not included) to prevent tipping.
2. Remove the cylinder’s cap. Stand to the
side of the valve opening, then open the
valve briefly to blow dust and dirt from the
valve opening. Close the cylinder valve.
3. Close the Regulator’s valve by backing off knob
until it is loose, then thread Regulator onto
cylinder and wrench tighten connection.
4. Attach the Gas Hose (included) to the
Regulator’s Outlet and the Welder’s Gas Inlet.
Wrench-tighten both connections.
a
S("*27>%&/*8%Z,7Z*%
$&%47*,8I%%
$.*8%47&#*%%
Z,7Z*1
b
J
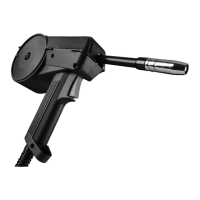
R&88*4$%W&)*(%R&(9
,IXVLQJ9$&FRQQHFWWKHLQFOXGHG
9WR93OXJ$GDSWHUWRWKH
HQGRIWKH93RZHU&RUG,IXVLQJ
9$&GRQRWXVHWKHDGDSWHU
E&$*- Plug will only fit one way.
T@;ECEVc AX%W;6!6EA%?6;CXF?%
CE`F;Q%<;XD%@RRCU6EA@G%XW6;@ACXE-%
Do not plug cord into wall outlet at this time.
93RZHU
R&(9
9WR93OXJ$GDSWHU