Page 8 <&(%$*4.8"4,7%H'*#$"&8#I%/7*,#*%4,77%JKLLLKLMMKNOPO1 Item 56825
?@<6AQ D@CEA6E@ER6S@?CR%T6GUCEV T6GUCEV%ACW?SETUP
?*$'/
% ;*,9%$.*%6EAC;6%CDWX;A@EA%?@<6AQ%CE<X;D@ACXE%#*4$"&8%,$%$.*%+*3"88"83%&2%$."#%
5,8',7%"847'9"83%,77%$*]$%'89*(%#'+.*,9"83#%$.*(*"8%+*2&(*%#*$%'/%&(%'#*%&2%$."#%/(&9'4$1
AX%W;6!6EA%?6;CXF?%CE`F;Q%<;XD%@RRCU6EA@G%XW6;@ACXE-%
A'(8%$.*%W&)*(%?)"$4.%&22%,89%'8/7'3%$.*%)*79*(%+*2&(*%#*$%'/1
Place the Welder on a level surface that can bear its weight near the work
area. Leave space around the Welder for proper air flow.
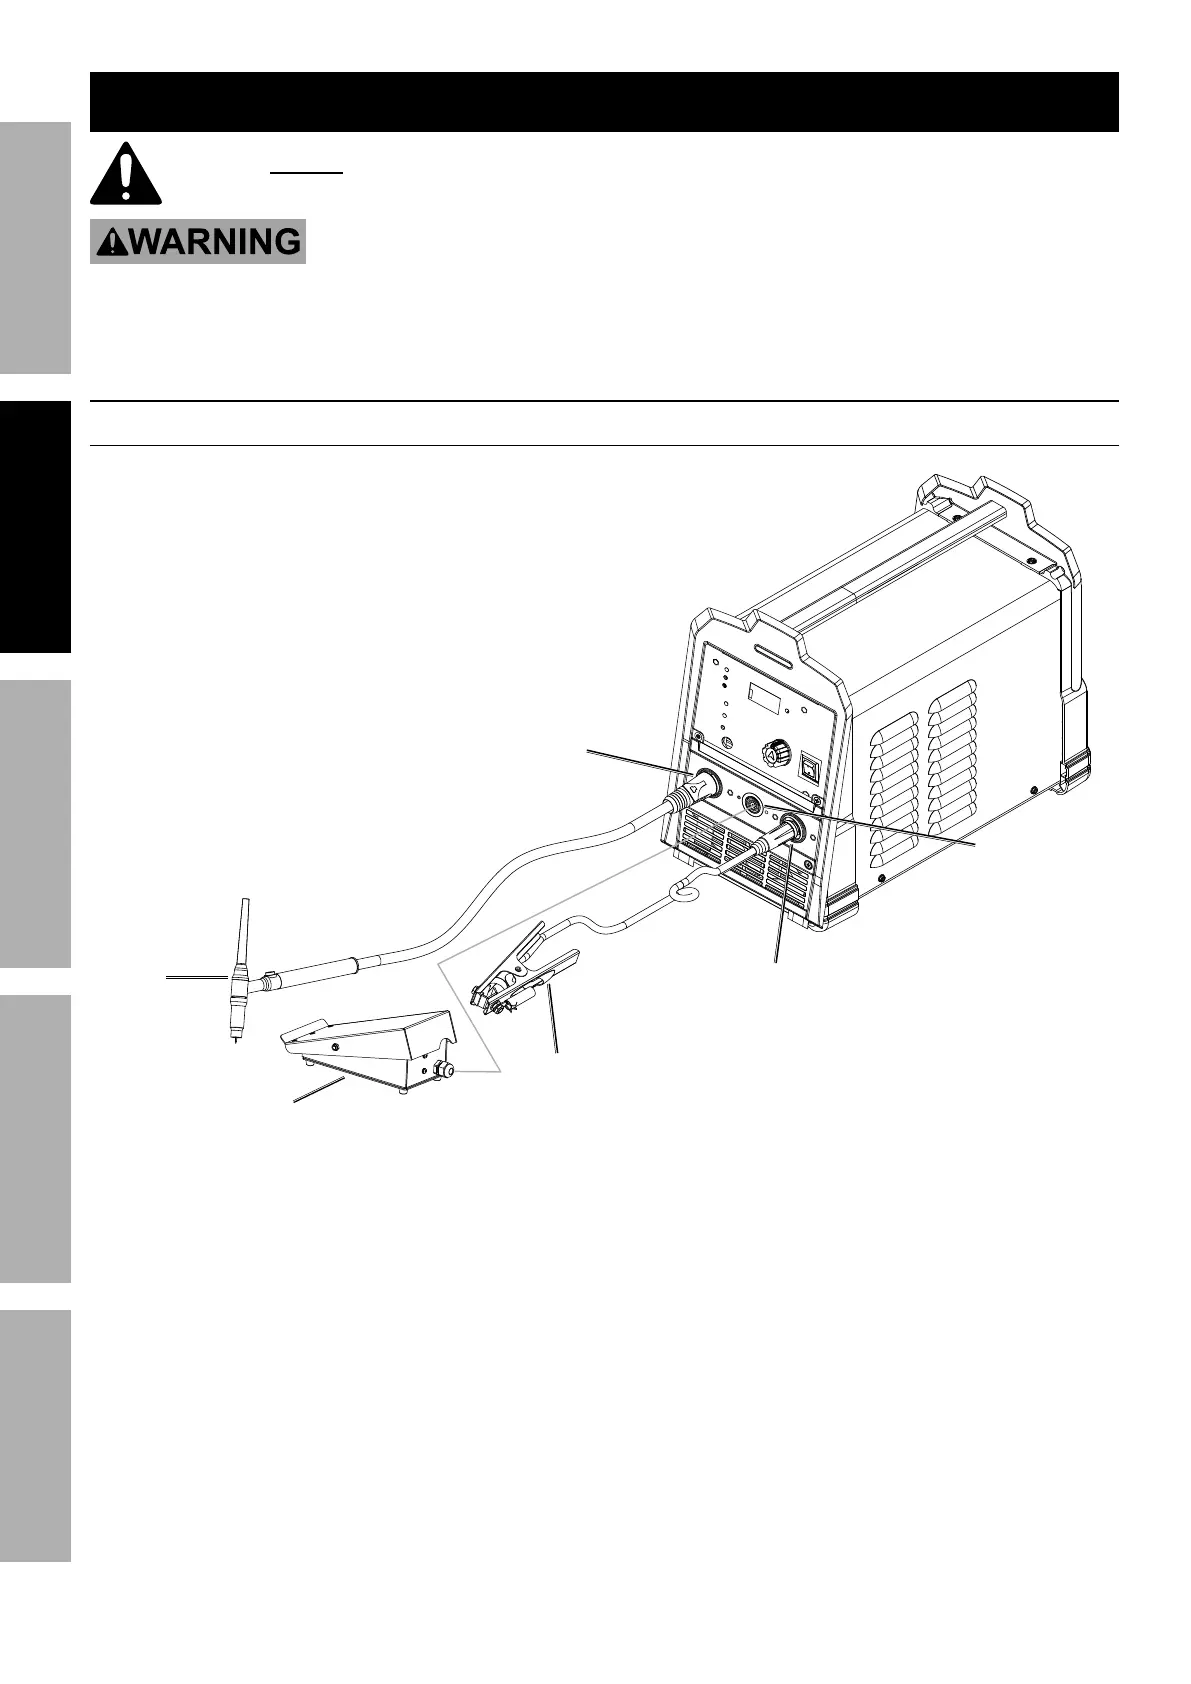
ACV%?*$'/
R&88*4$%R,+7*#
Negative
Socket
Foot
Pedal
Socket
Positive
Socket
Foot
Pedal
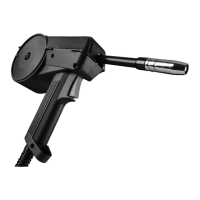
TIG
Torch
Ground
Clamp
1. Plug Ground Clamp cable into Positive Socket.
Twist clockwise all the way to lock in place.
2. Plug TIG Torch cable into Negative Socket.
Twist clockwise all the way to lock in place.
3. Plug Foot Pedal cable into Foot Pedal Socket.
Secure by turning collar clockwise until tight.