Chapter 1 ProView™ 7000 Installation Guide
© 2014 Harmonic Inc. All rights reserved. 7 ProView 7000 Release 3.4, Rev A
Power Supply to the Unit
Power Supply to the Unit
Toensurecorrectandsafeoperationoftheunit,ensurethefollowing:
Ensurethataqualifiedelectricianhasinstalledthemainpowersupplyinaccordancewith
powerauthorityregulations.Makesureallpoweringmustbewiredwithanearthleakage,
accordingtolocalregulations.
Whentheunitisrack‐mounted,ensurethattherackiscorrectlygrounded.
DANGER: To avoid electrocution, ensure that the rack has been correctly grounded before switching on the
ProView 7000 device. When removing the unit, remove the grounded connection only after the unit is switched
off and unplugged.
Installing the Unit in a Rack
Forrackinstallation,ensurethatadesignated19"rackisfullypreparedforinstallation.Ensure
sufficientspacebehindtherackforeasyaccessforinstallationandmaintenance.Rackmounting
requirestheuseofLshapeslides,availablefromHarmonic.Theamountofunitsinstalledina
rackisa functionoftheunit
s’powerconsumptionandheatdissipation.AddressHarmonic
supportforcalculatingthemaximumloadontherack.
Thef
ollowingsectionsdetailtheinstallationofaProView7000unitina19"rackusingmounting
slides.
Fitting the Brackets
Tofitthebrackets:
1. Fitapa
irofbracketstobothsiderailsoftherackhousingwithtwoflatwasherscrew son
eachside.Usethetwofrontholesatthesidesofthehousingtoattachthebrackets.
(Complementingnutsarealreadyinstalledontheinnersideoftheholes,thefourscrews
re
quiredarenotincludedinthesuppliedkit).
2. Ensurepr
opergroundingoftherackassemblytopreventpotentialelectricalproblems.
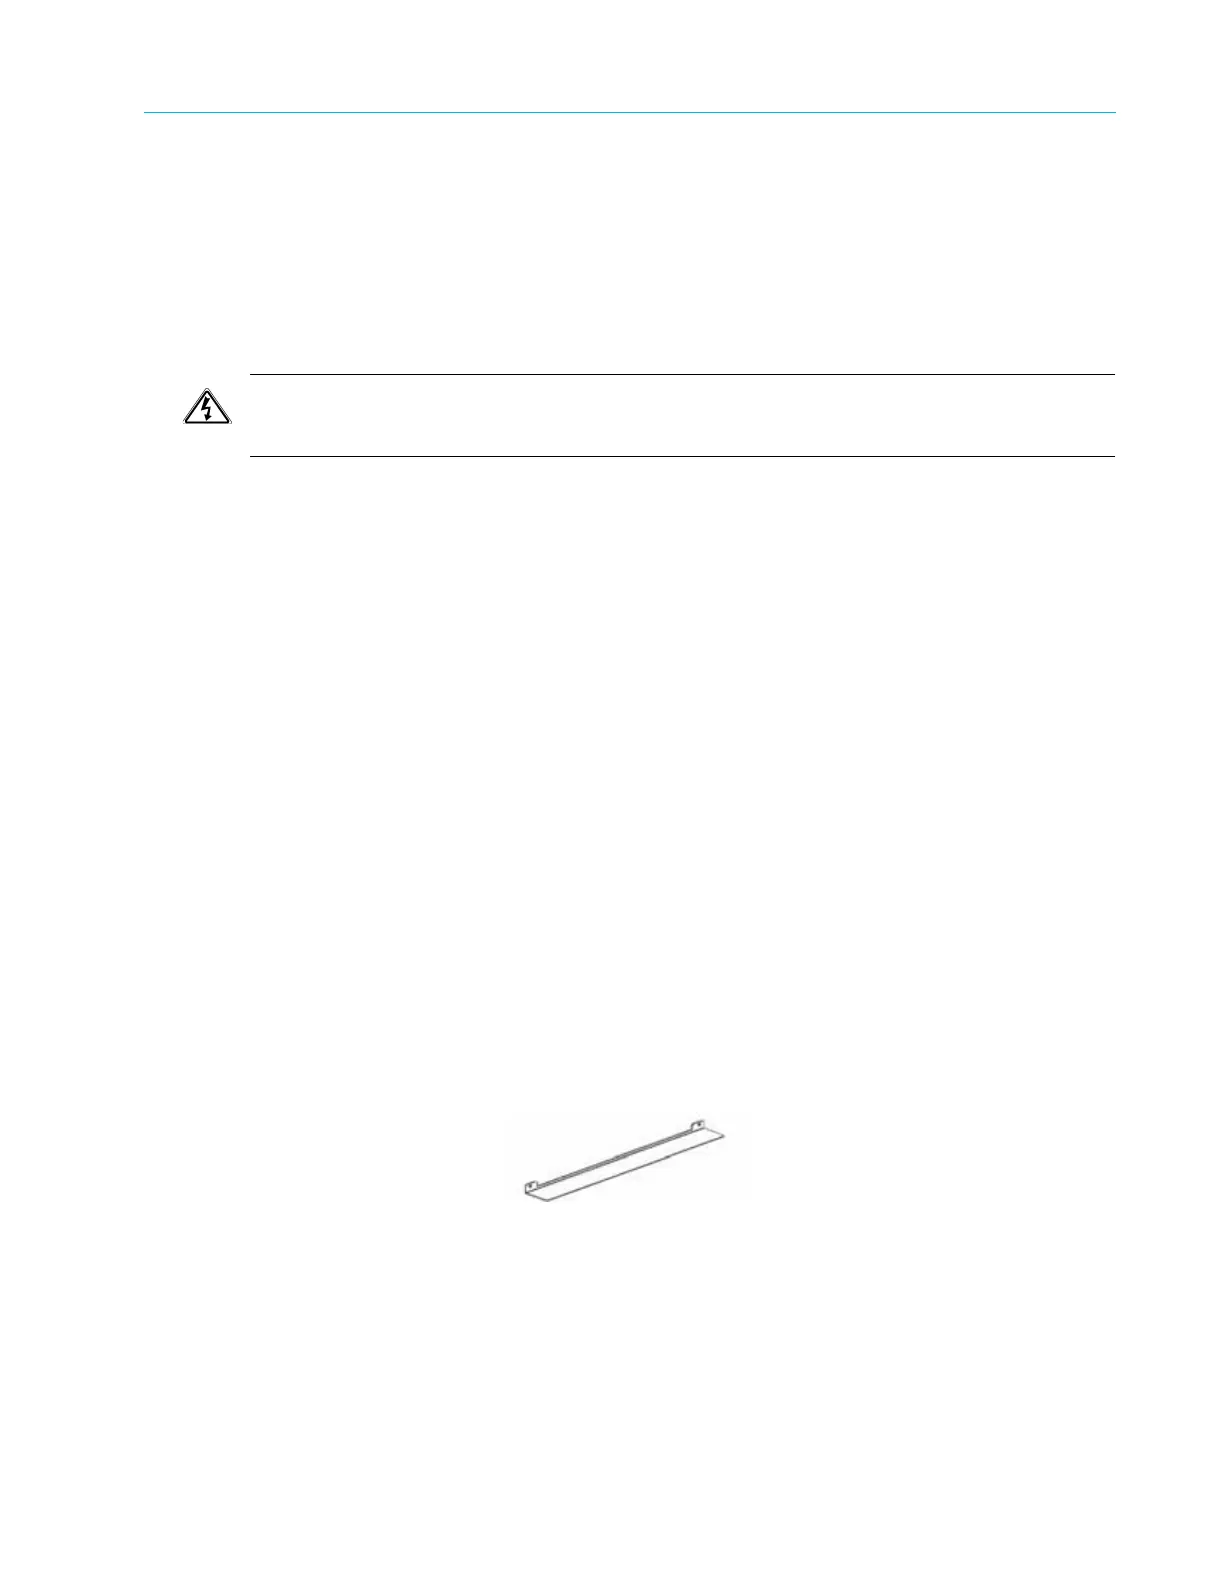
Installing the L Shape Slides
TheProV iew7000usesforcedairventilation,evacuatingtheairouttheleftsideofthe19"rack.
Toensuresmoothairflow,Lshapeslidesareprovidedforrackmounting.
TofittheLshapeslides:
1. Ensuretha
tthebracketsarefastenedwithappropriatescrewstoeachsideofthechassis’
rails.
2. FitLsha
peslidestothefittedbracketsandfastenwithfourscrews(notincluded).