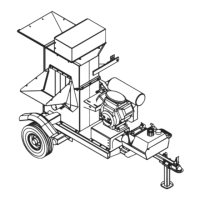
Chipper/Shredder
R
2. Connect the battery to a charger accord-
ing to the manufacturer’s instructions and
charge at 10 amperes for 50 minutes, or
2-9 amperes for 2 hours (depending on
capability of the charger).
Installation:
1. Make sure the cable terminals and any
hold-down parts are clean. If the battery is
a replacement and the connectors and
hold-down parts have been used before;
clean them with a wire brush.
2. Place the battery in the box with the
terminals on the side nearest the tongue,
and secure the battery in position with
hold-down parts provided.
3. Connect the cables to the proper
terminals, connecting the UNGROUNDED
cable rst. Do not over-tighten. Apply a
commercial battery anti-corrosion material
or petroleum jelly to the terminals to
minimize corrosion.
SAFETY WARNING!
• Battery electrolyte can cause se-
vere burns if handled improperly.
Observe all poison/danger warnings
on electrolyte cartons and on the
battery.
• Wear splash-proof goggles and
protective clothing when adding
electrolyte to batteries.
• Avoid contact of electrolyte with
skin, eyes, or clothing.
• Keep batteries and electrolyte OUT
OF REACH OF CHILDREN.
• If electrolyte is spilled or splashed
on the body, IMMEDIATELY FLUSH
WITH WATER.
• If electrolyte comes into contact
with the eyes, FLUSH WITH
WATER FOR 15 MINUTES AND GET
PROMPT MEDICAL ATTENTION.
• If electrolyte is taken internally,
DRINK LARGE QUANTITIES OF
WATER OR MILK, FOLLOWED WITH
MILK OF MAGNESIA, BEATEN
EGGS, OR VEGETABLE OIL.
SAFETY WARNING!
• The battery can produce explosive
gases. Ventilate when charging or
using in an enclosed space.
• DO NOT produce sparks from cable
clamps, tools or other sources.
• DO NOT allow ames or smoking in
the vicinity of the battery.
• Shield eyes when working near the
battery.
• Keep the vent caps tight and level.
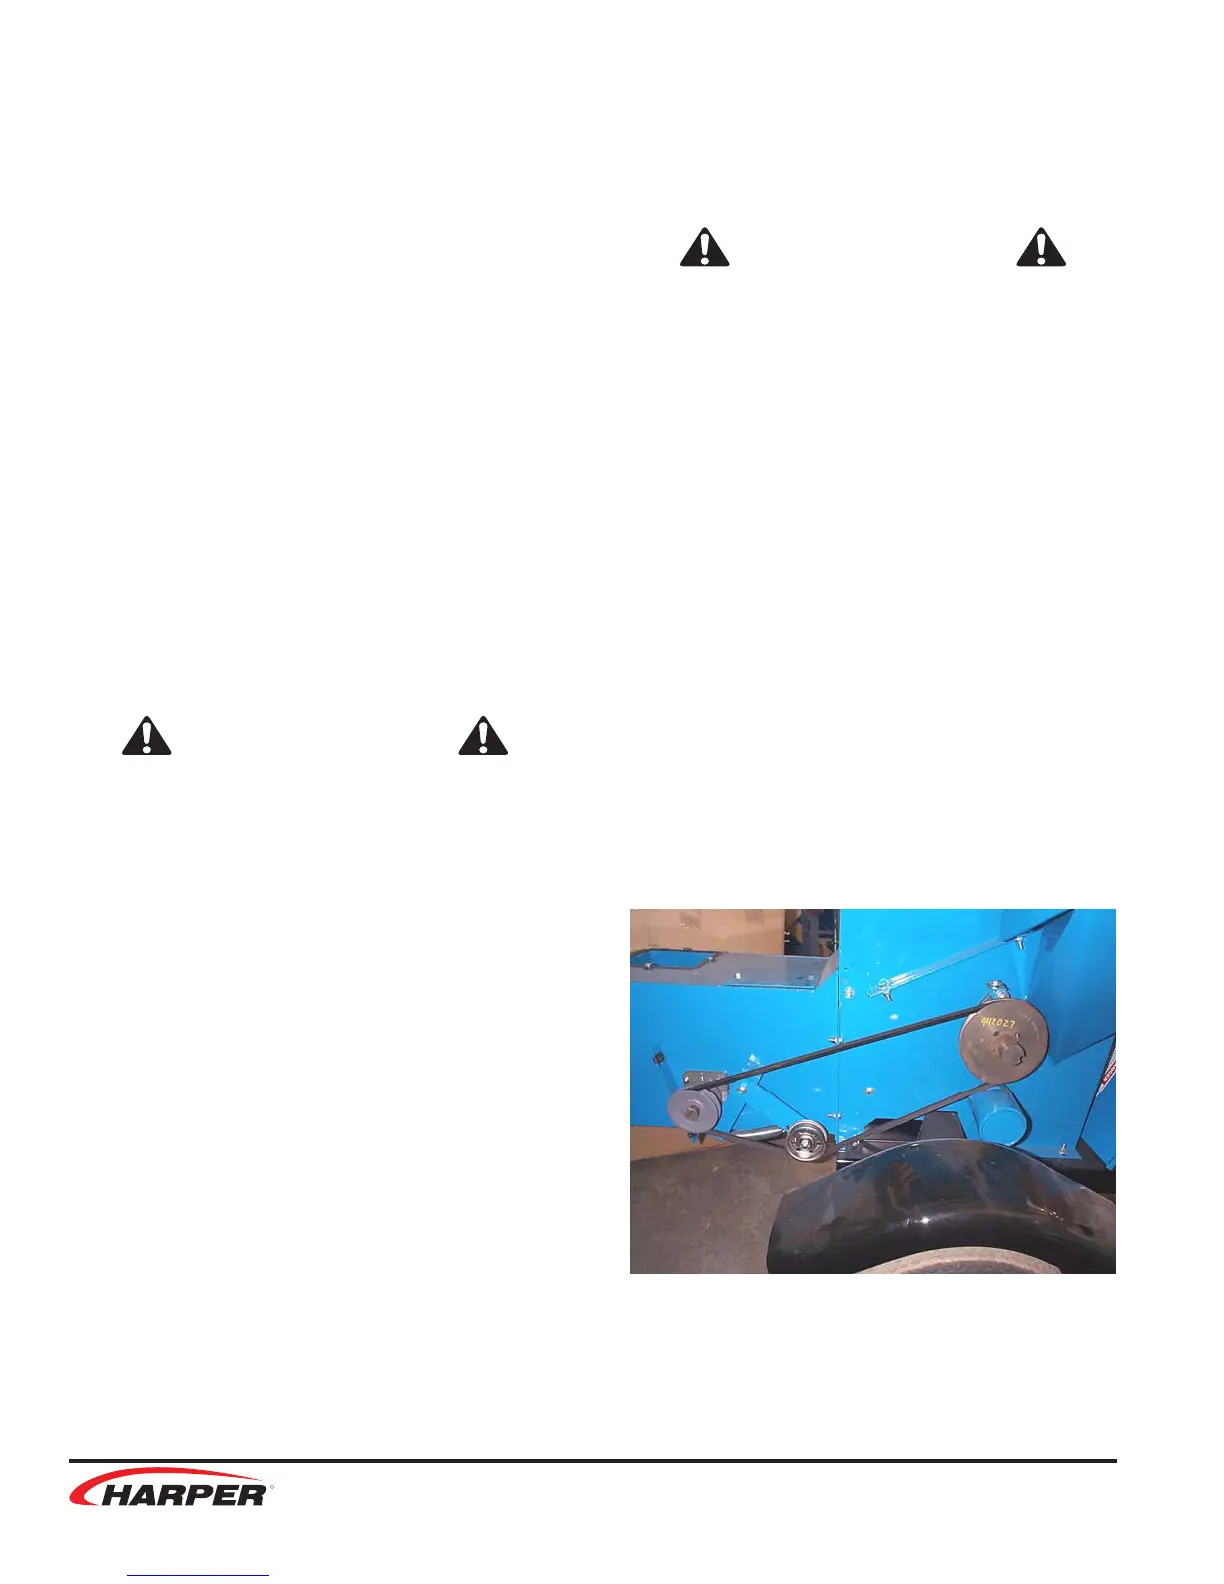
Blower Attachment
1. Remove blower and directional spout from
boxes.
2. Remove rear shaft guard and safety door
from Chipper/Shredder.
3. Mount blower attachment to Chipper/
Shredder using safety door hinge pin,
secure blower to unit using 4 - 5/16” x 3/4”
bolts and 5/16” nylock nuts.
4. Install belt shield mount tab on top bolt of
bearing using 1/2” lock nut.
10