14 – English
encedthesettings,refertospecificproceduresexplained
laterinthismanual.
Ifanypartsare damaged or missing,pleasecall
1-800-776-5191forassistance.
WARNING:
Ifanypartsaredamagedormissingdonotoperate
thisproductuntilthepartsarereplaced.Useofthis
productwithdamagedormissingpartscouldresultin
seriouspersonalinjury.
WARNING:
Do not attempt to modify this product or create
accessoriesnotrecommendedforusewiththistool.
Anysuchalterationormodificationismisuseandcould
result in a hazardous condition leading to possible
seriouspersonalinjury.
WARNING:
Do not connect to power supply until assembly is
complete.Failuretocomplycouldresultinaccidental
startingandpossibleseriouspersonalinjury.
WARNING:
Donotstartthecompoundmitersawwithoutchecking
forinterferencebetweenthebladeandthemiterfence.
Damagecouldresulttothebladeifitstrikesthemiter
fenceduringoperationofthesawandmayresultin
personalinjury.
UNPACKING
Thisproductrequiresassembly.
Carefullyliftmitersawfromthecartonbythe“D”handle
andthesawbase,andplaceitonalevelworksurface.
WARNING:
DonotusethisproductifanypartsontheLoose Parts
Listarealreadyassembledtoyourproductwhenyou
unpackit.Partsonthislistarenotassembledtothe
product by the manufacturer and require customer
installation. Use of a product that may have been
improperlyassembledcouldresultinseriouspersonal
injury.
Thissawhasbeenshippedwiththesawarmsecuredin
thedownposition.Toreleasethesawarm,pushdown
onthe“D”handle,cutthetie-wrap,andpulloutonthe
lockpin.
WARNING:
Thesawarmisspringloaded.Holdthehandledownto
preventitfromsnappingupwhencuttingthetie-wrap.
Failuretodosocouldresultinpossibleseriousinjury.
Liftthesawarmbythe“D”handle.Handpressureshould
remainonthesawarmtopreventsuddenriseuponre-
leaseofthetiewrap.
Inspectthetoolcarefullytomakesurenobreakageor
damageoccurredduringshipping.
Donotdiscardthepackingmaterialuntilyouhavecare-
fullyinspectedandsatisfactorilyoperatedthetool.
Thesawisfactoryset for accurate cutting. After
assemblingit,checkforaccuracy.Ifshippinghasinflu-
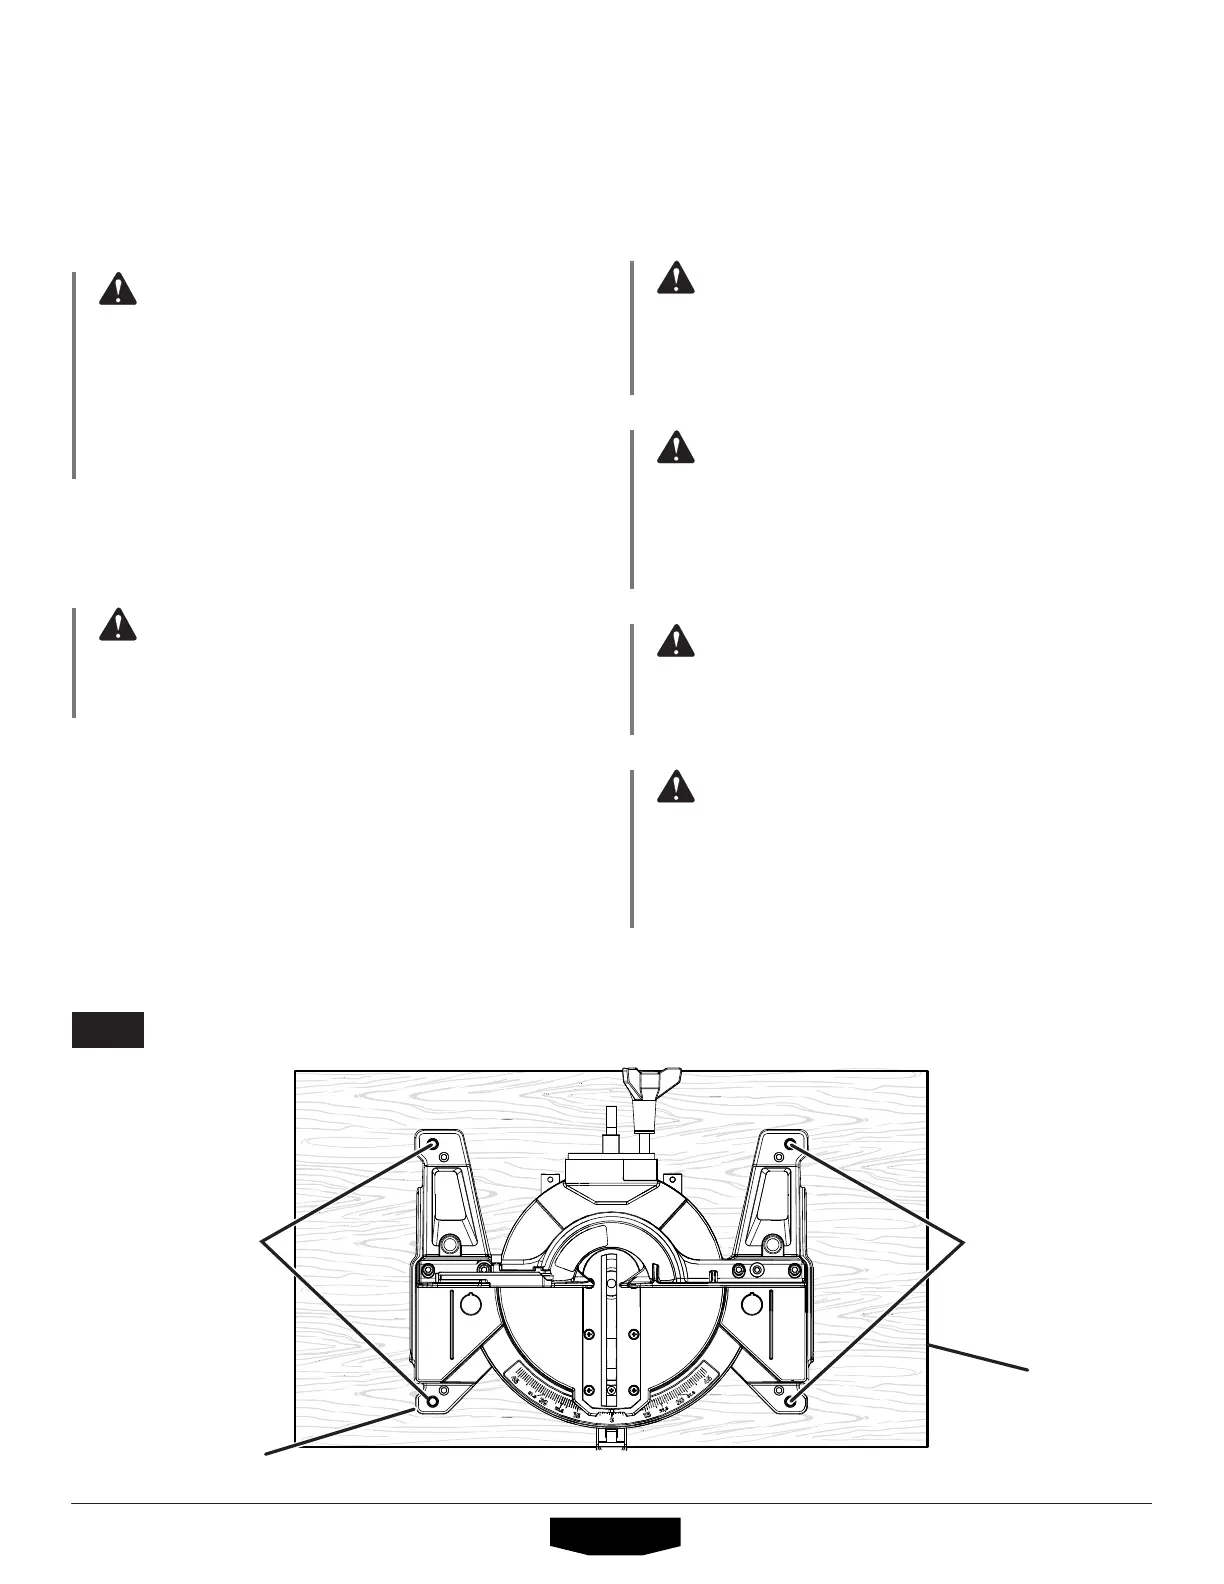
TRACE HOLES
AT THESE
LOCATIONS
FOR HOLE
PATTERN
TRACE HOLES
AT THESE
LOCATIONS
FOR HOLE
PATTERN
SAW
BASE
MOUNTING
SURFACE
ASSEMBLY
FIG. 8